JOINING SECTIONS
This is the 3rd part in my 4-part series called ‘How to Foundation Paper Piece’. Please read the previous part one here and part two here if you have not already.
Joining sections together accurately is really important in FPP. The visual effectiveness and impact of the image can be lost if key intersections are misaligned.
I lay out sections with fabric facing up to help you visualise how it goes together. If you’re working on a larger project you might like to pin the layout to a cork board or your design wall if you have one. Remember they won’t line up exactly when flat like this as each section has a seam allowance round it!
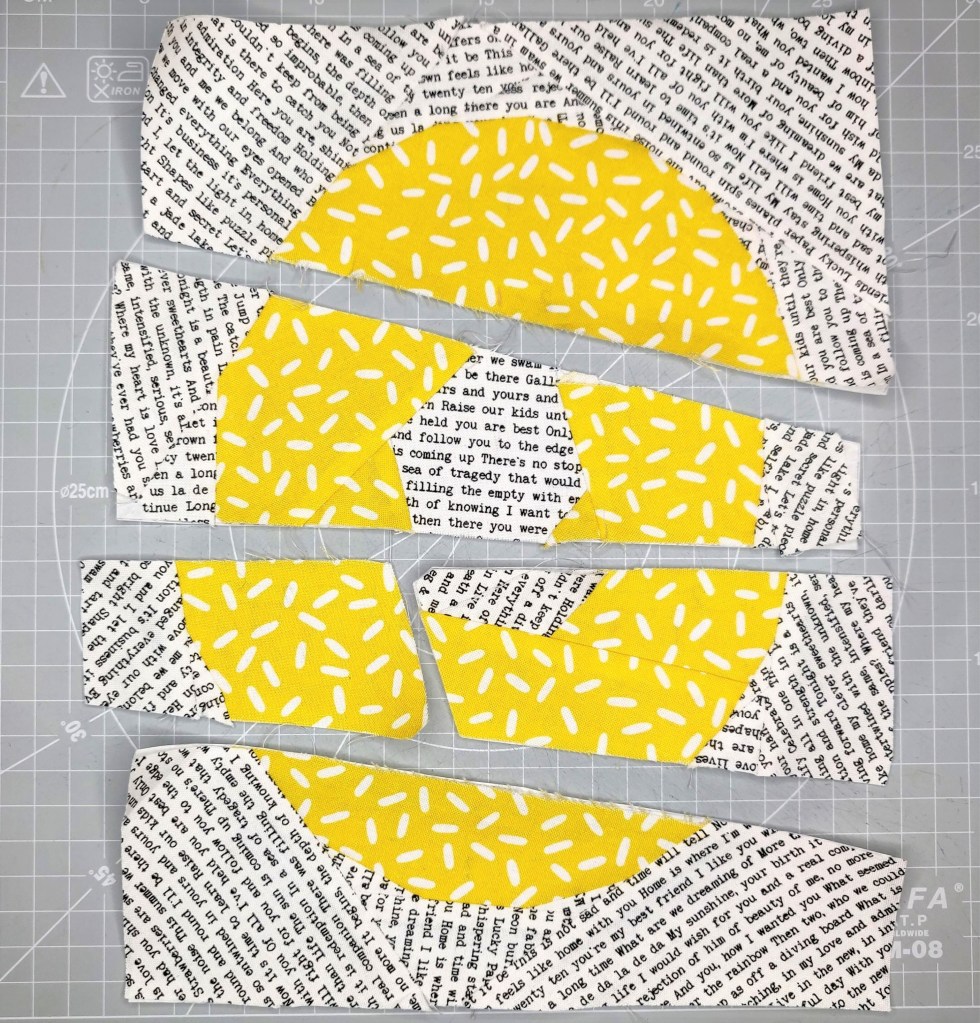
Start with the shortest joins between sections. This will be tight under the sewing machine but it means you can practice where a small amount of slippage doesn’t impact as much as it’s over a shorter length. In my example this is sections C & D.
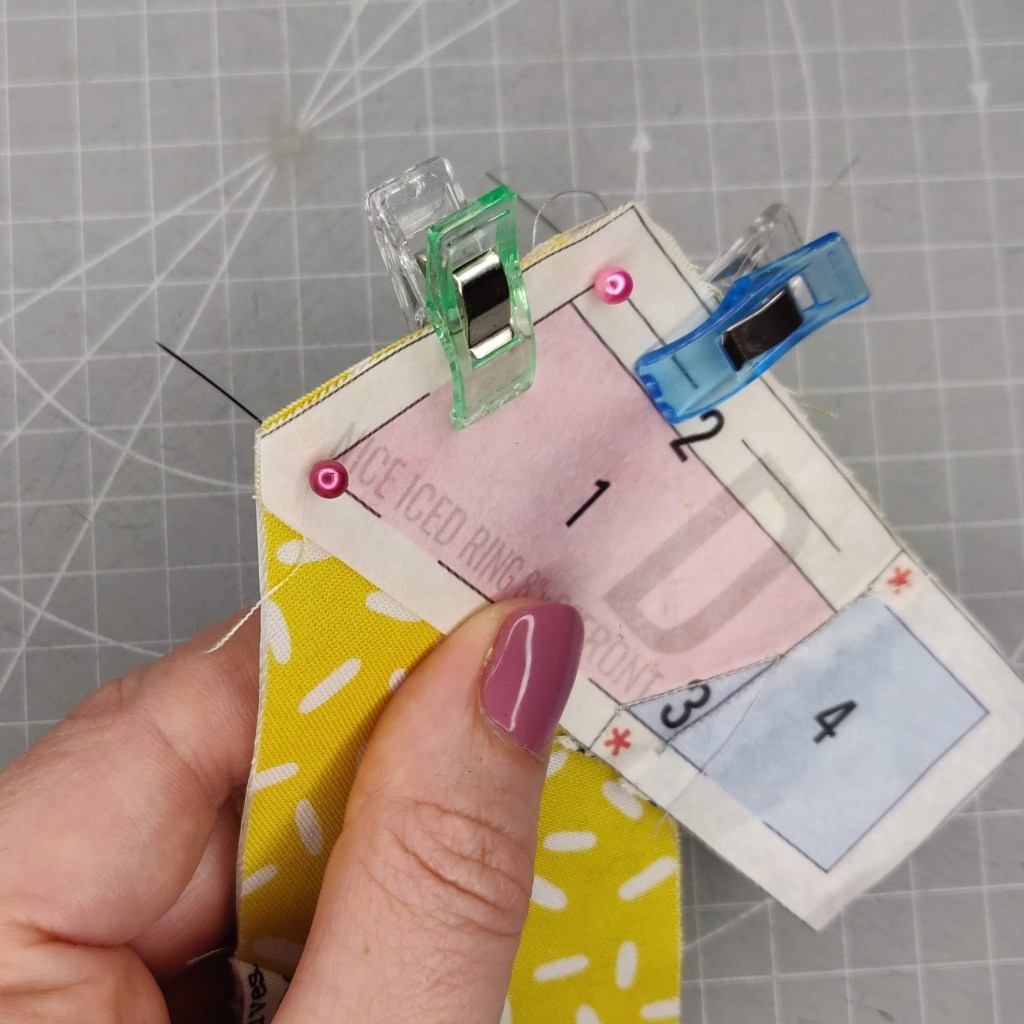
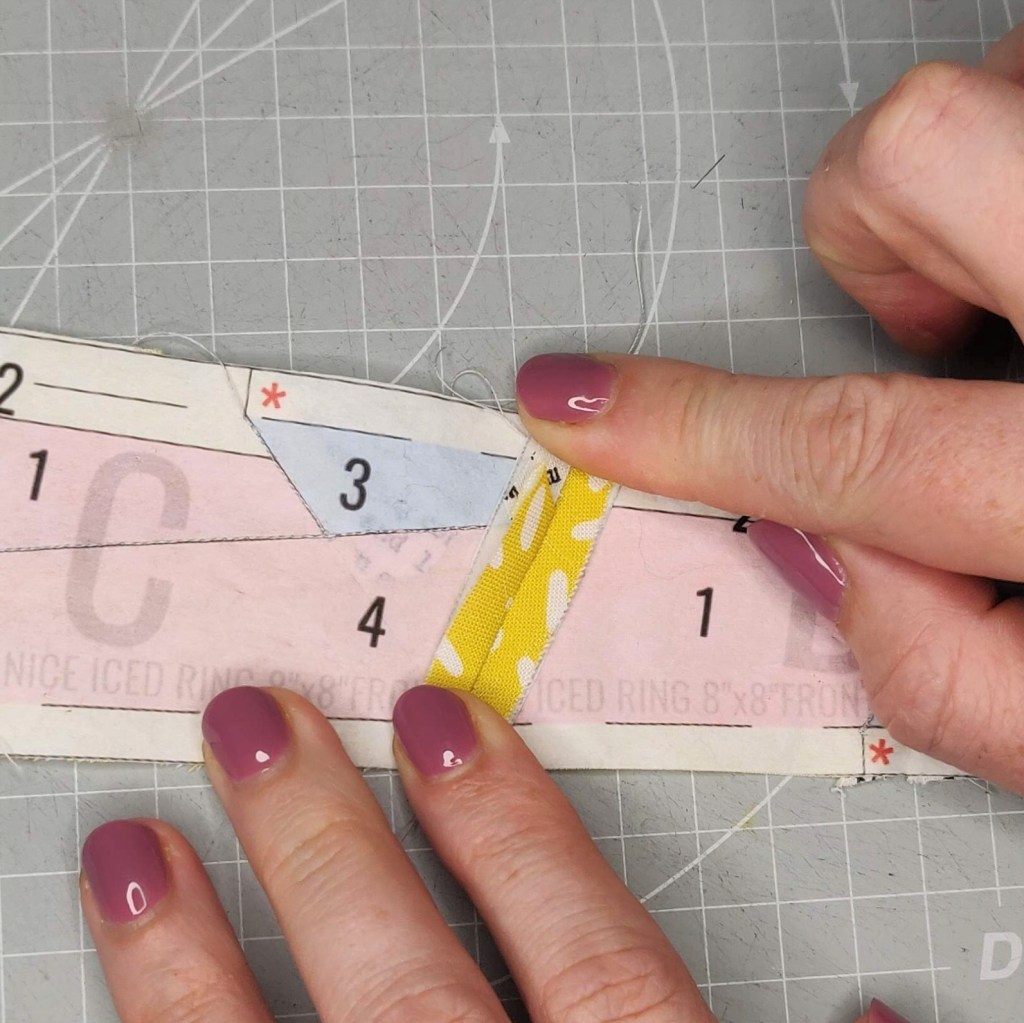
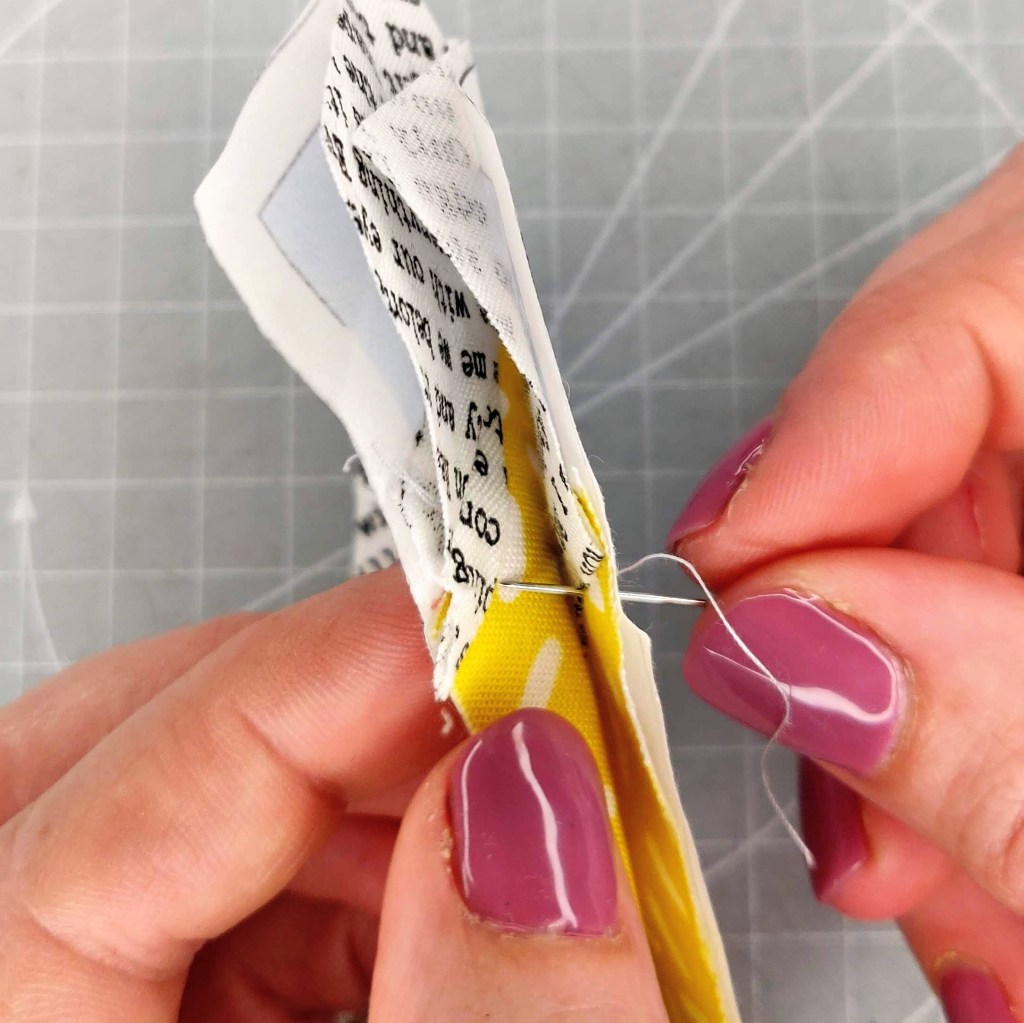
Place the sections fabric sides facing and roughly line up the seam to be joined. As these section don’t have any important intersections between the fabrics that must line up, I start in the corners. Take a pin and push through exactly in the corner. Push through to the second section aiming to hit the corner exactly again.

You may have to re-adjust and try a couple of times but take your time. Practice makes perfect. I almost always now push the pin through perfectly aligned 1st time.
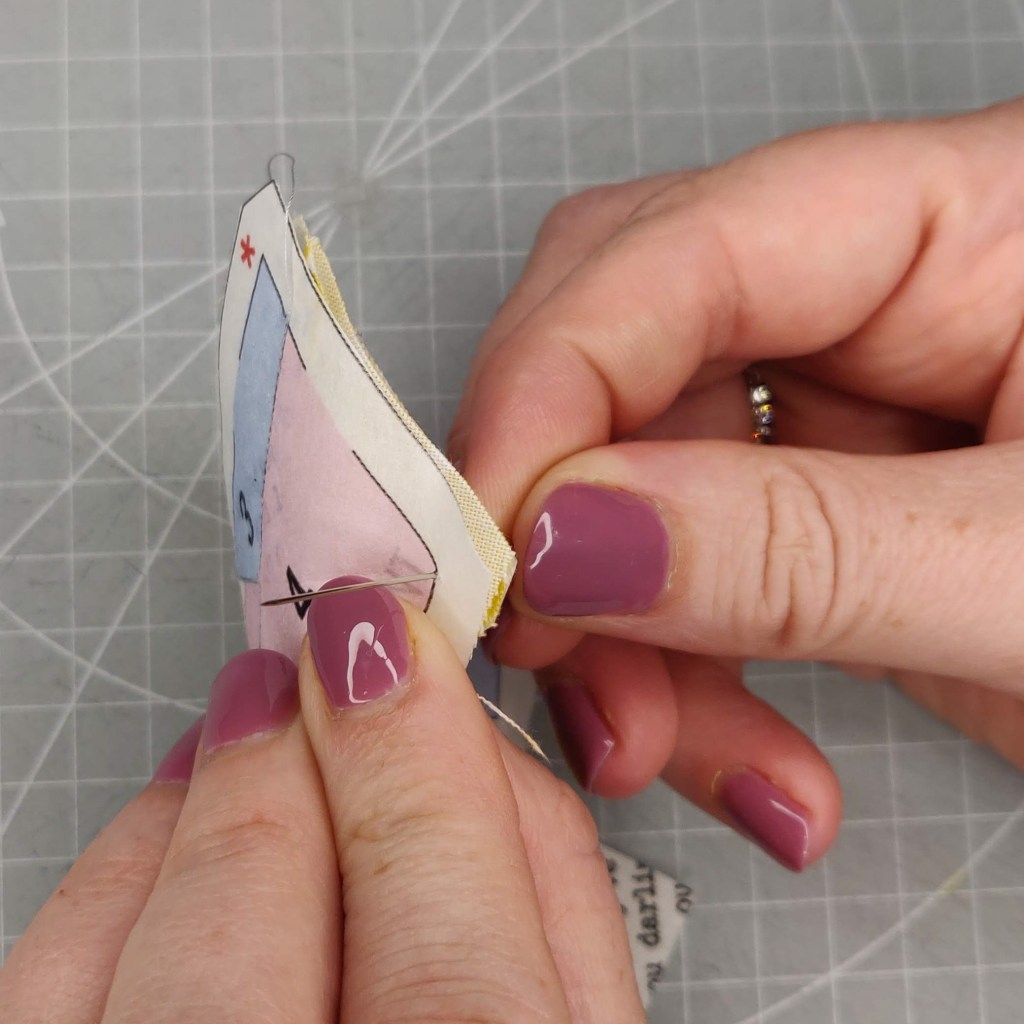
Now push the pin all the way through up to the head. This helps to keep the fabric from slipping down and the pin ending up at an angle through the 2 sections. Do the same for the other corner.
Next use wonder clips or similar (I don’t like pinning together as I find it shifts the fabric) to hold the sections in place. As it is a short seam (1-1.5” long) 2 positioning pins should be sufficient.
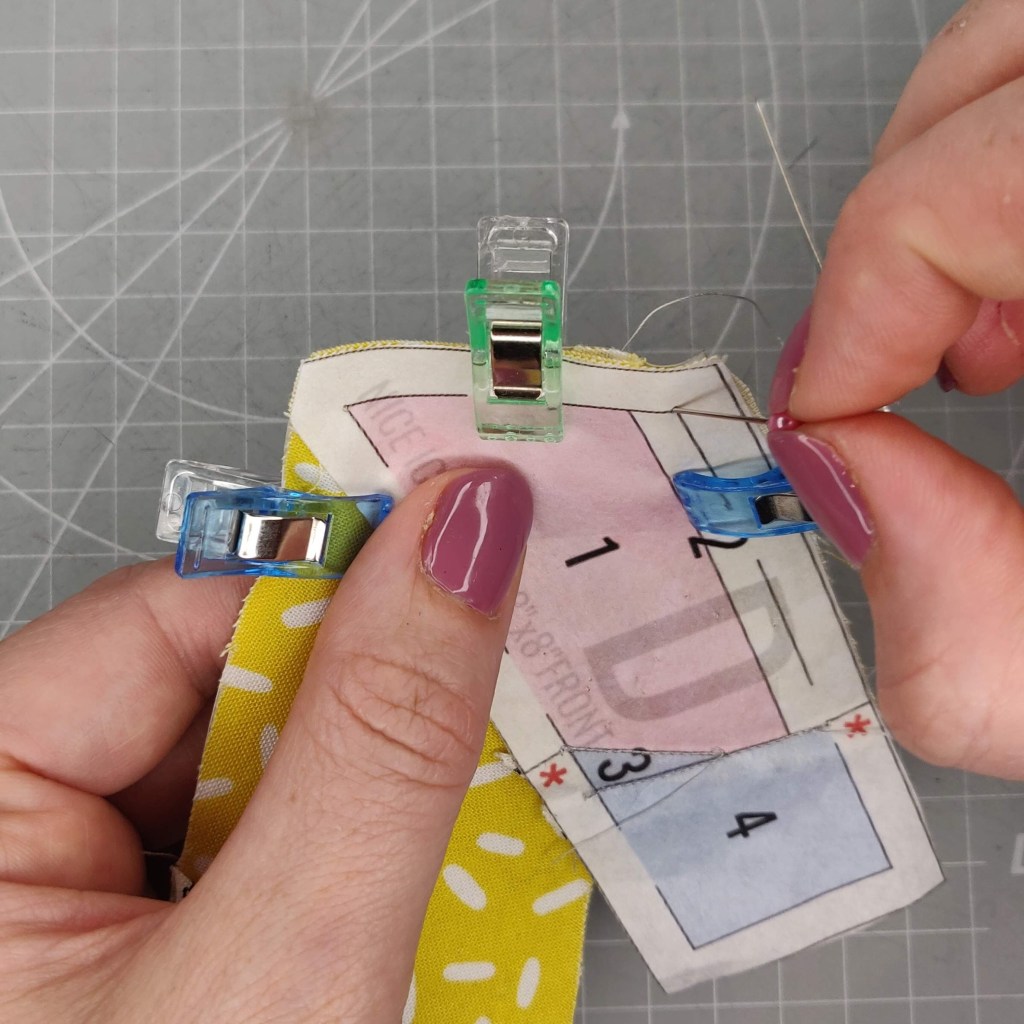
Remove the pins (at 90 degrees) and just have the clips holding the seam in place.
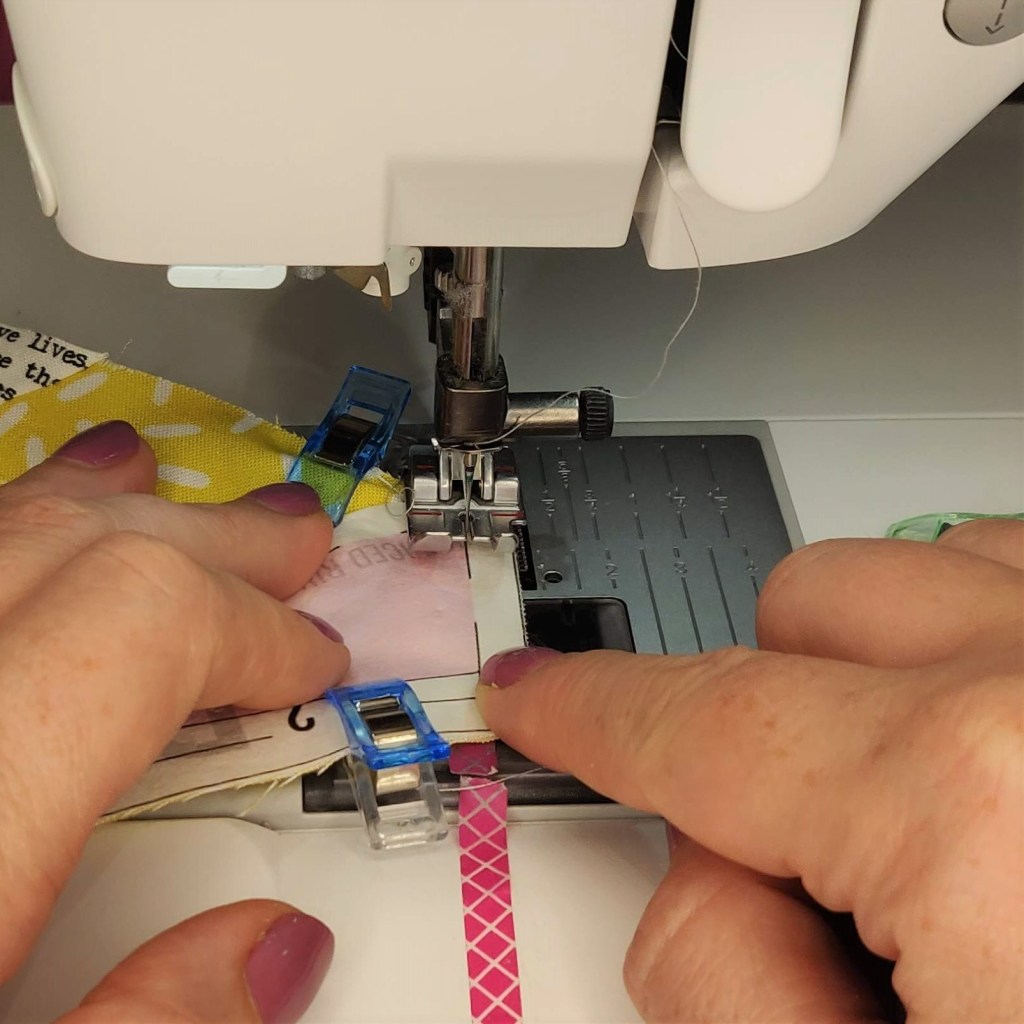
Sew on machine only on the line and not into the seam allowance. This can be sewn at your normal straight stitch length but I tend to leave mine at a length of 1.5 to make tearing the paper easier without straining the thread. Remember to do a lock stitch at the beginning and end. Remove the clips as you sew the seam ensuring neither section shifts.
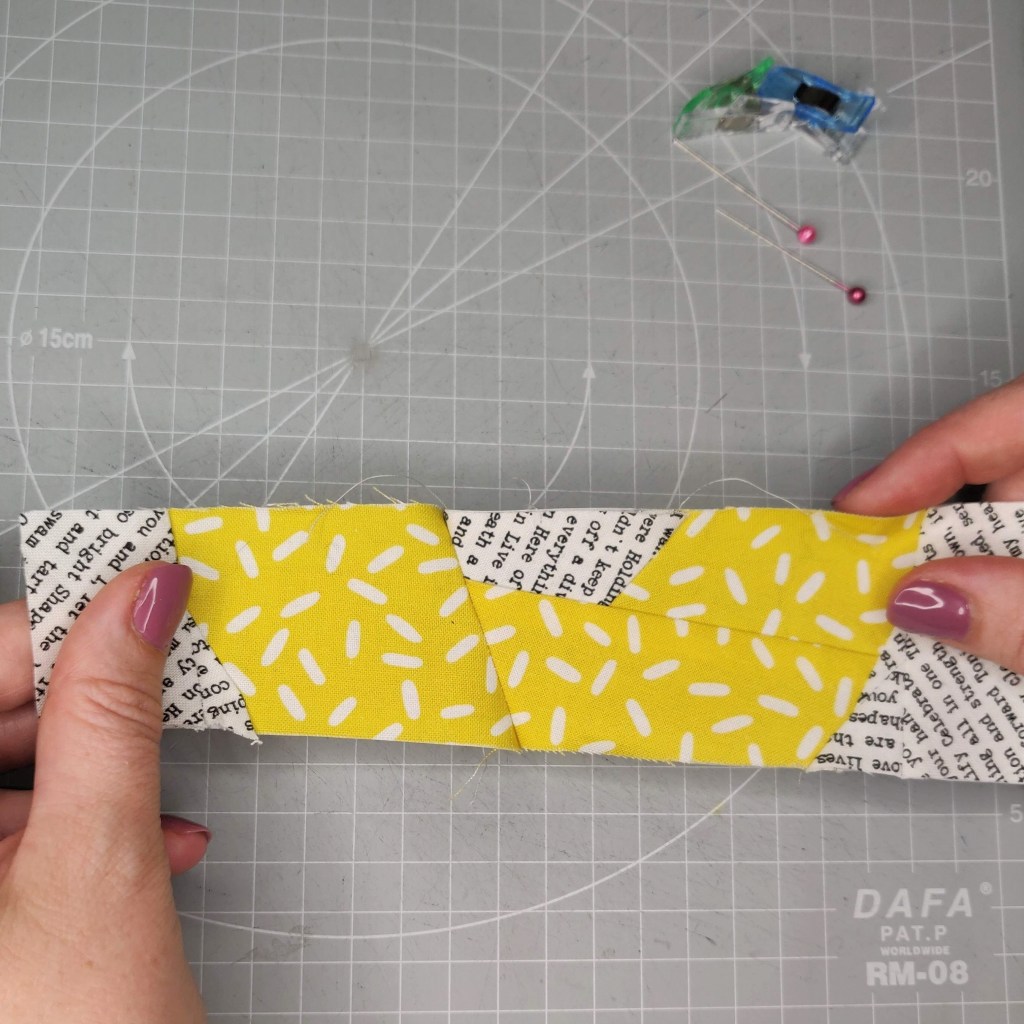
Remove any remaining clips and open up the seam to check you’re happy with the alignment. If you’re not happy, unpick and try again with the same process as above. Sometimes I find the alignment looks off but once I have pressed it open a bit it looks good so don’t rush for the seam ripper.
Turn block over, open seam with fingers and press so it starts to stay open.
Use the roller, pressing firmly over the open seam. I do this both on the front and back. This will now be known as section ‘CD’. Other designers’ instructions will similarly combine letters when sections are joined.

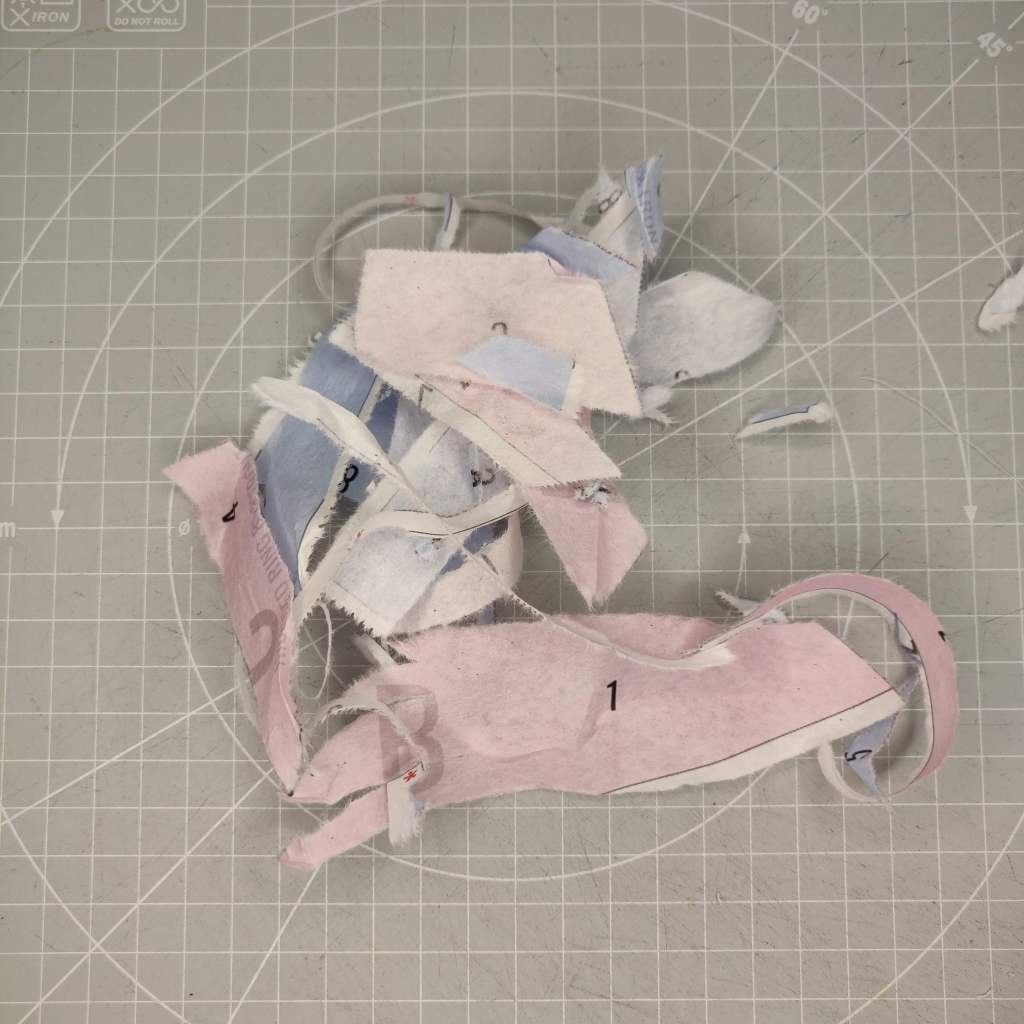
Lastly remove the paper only in the area of the seam allowance so it sits as flat as possible.
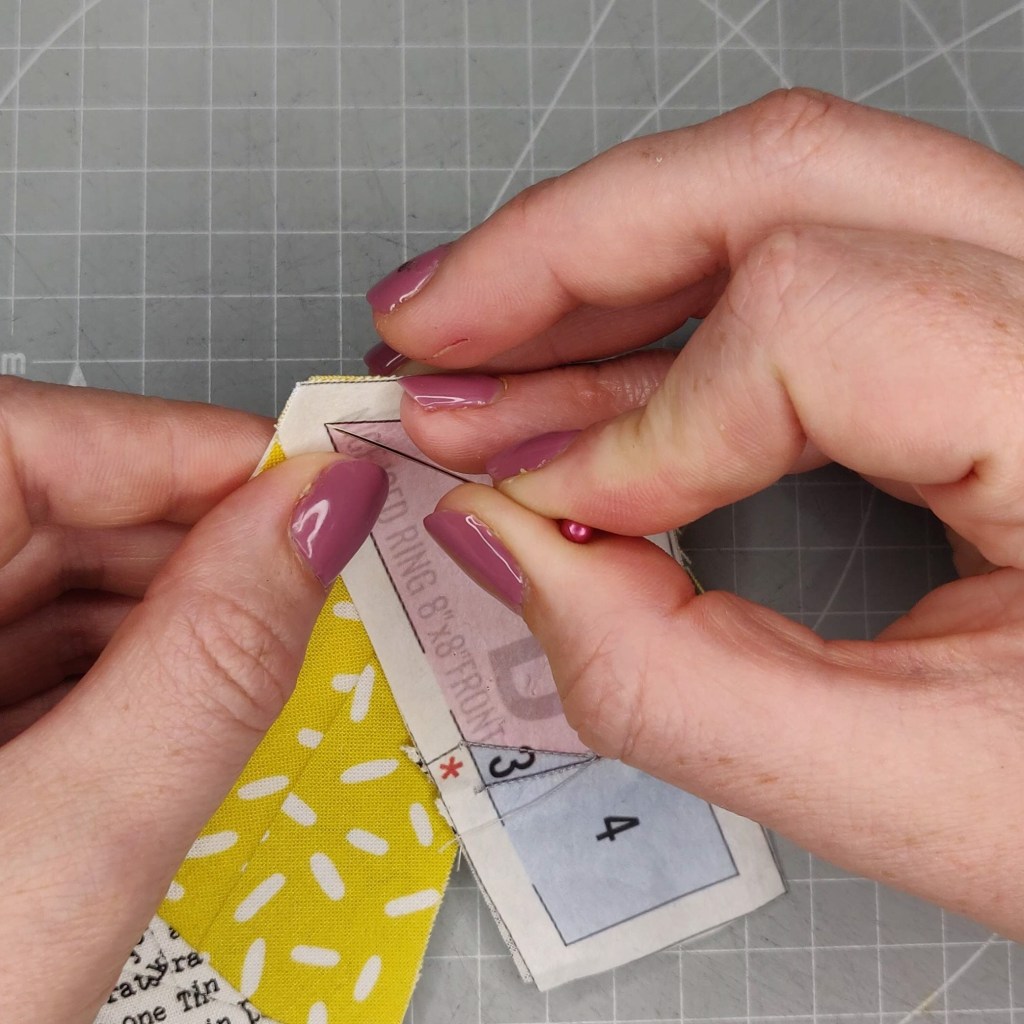
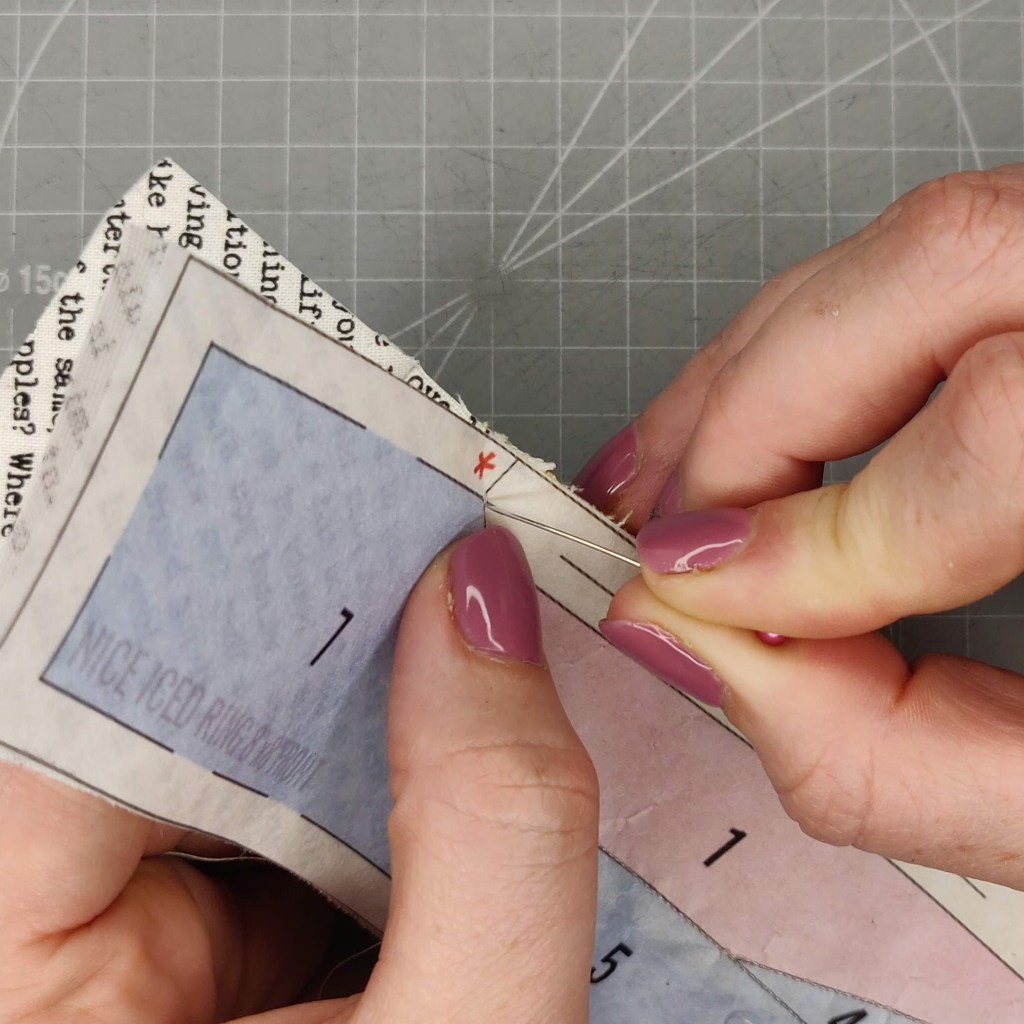
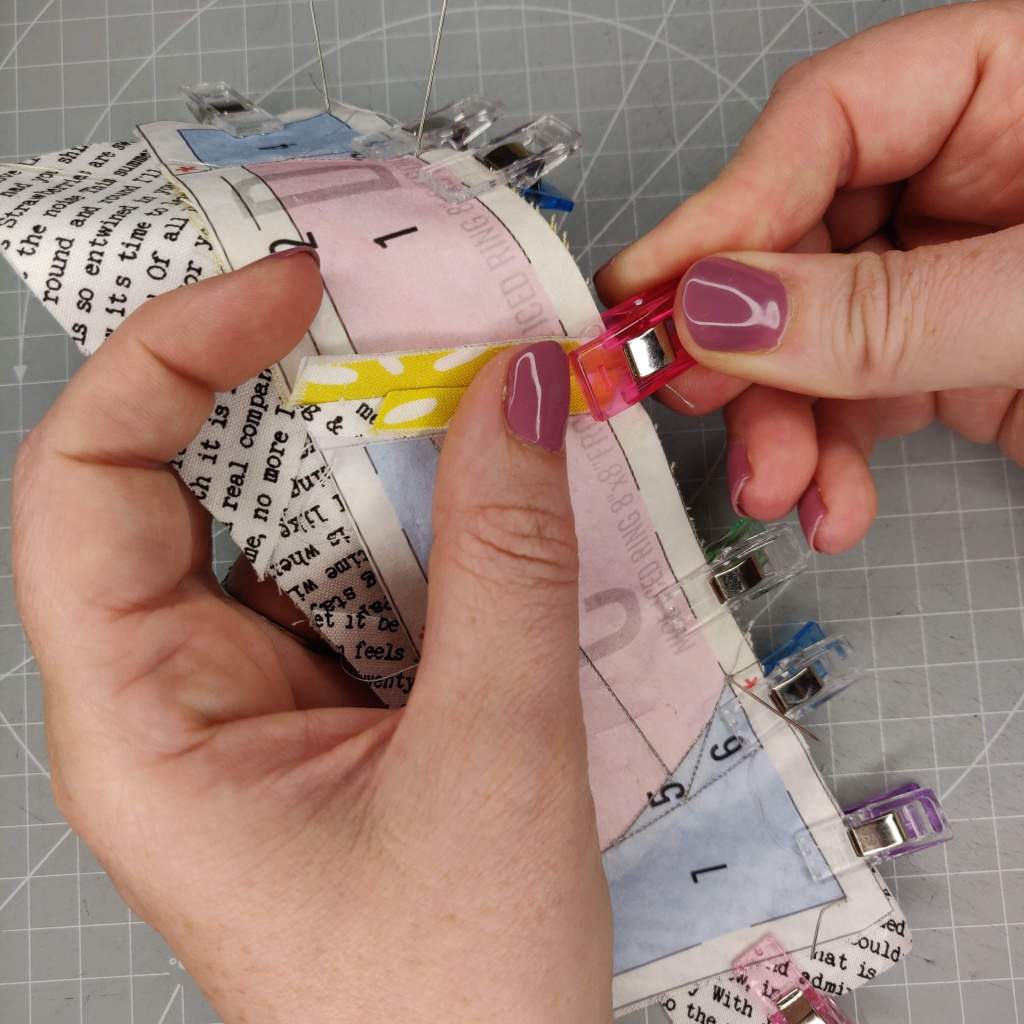
For longer seams the process is similar, just with more pins and clips. In my example I am joining sections CD and E. Place the sections you are joining, fabric face together, along the seam you will sew. My pattern sections have * where important junctions of fabric need to line up. These marked line intersections are where I will pin through first.

Check on the fabric sides of the pattern when pushing the pin through, as sometimes the fabric has has shifted over the intersection line.
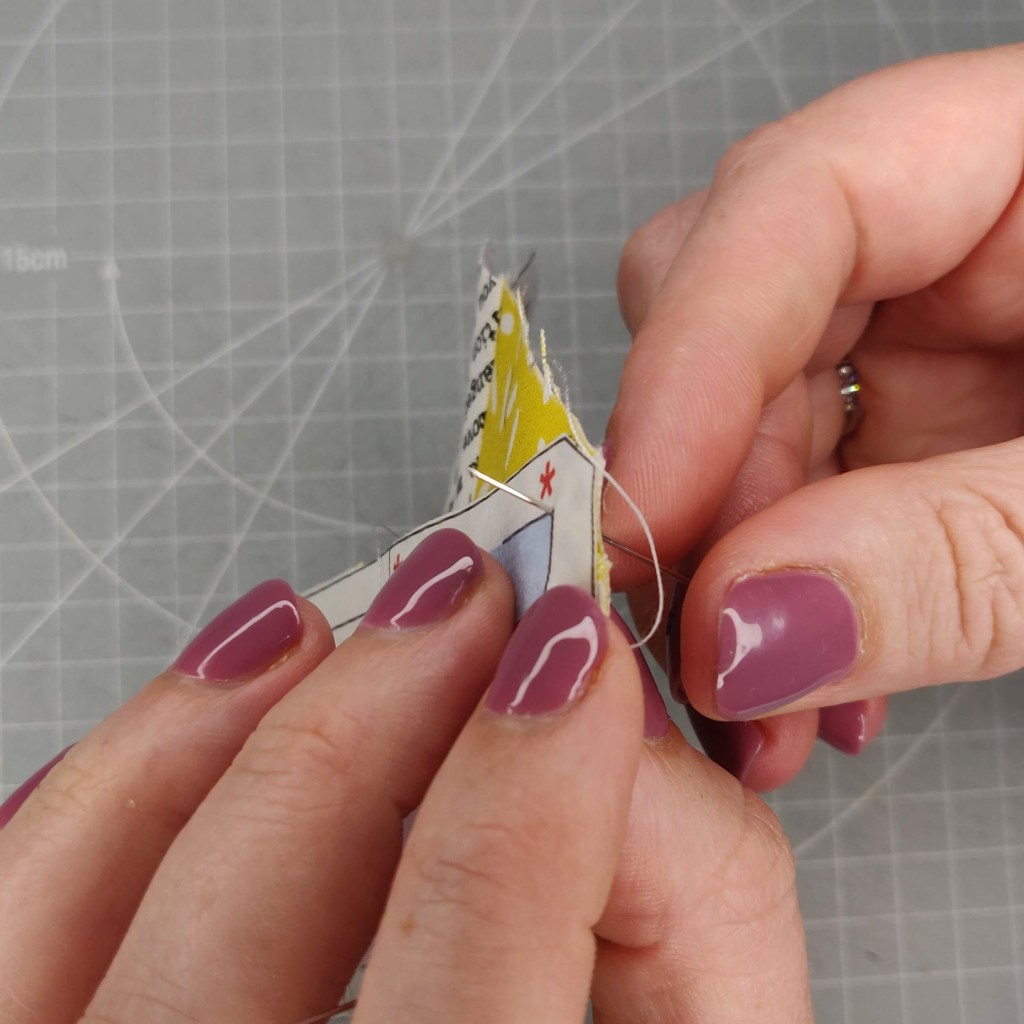
Check the positioning of the fabric and paper as you go through the second section, (with the locating pin) so you go accurately through the line intersection again. Push the pin all the way through.
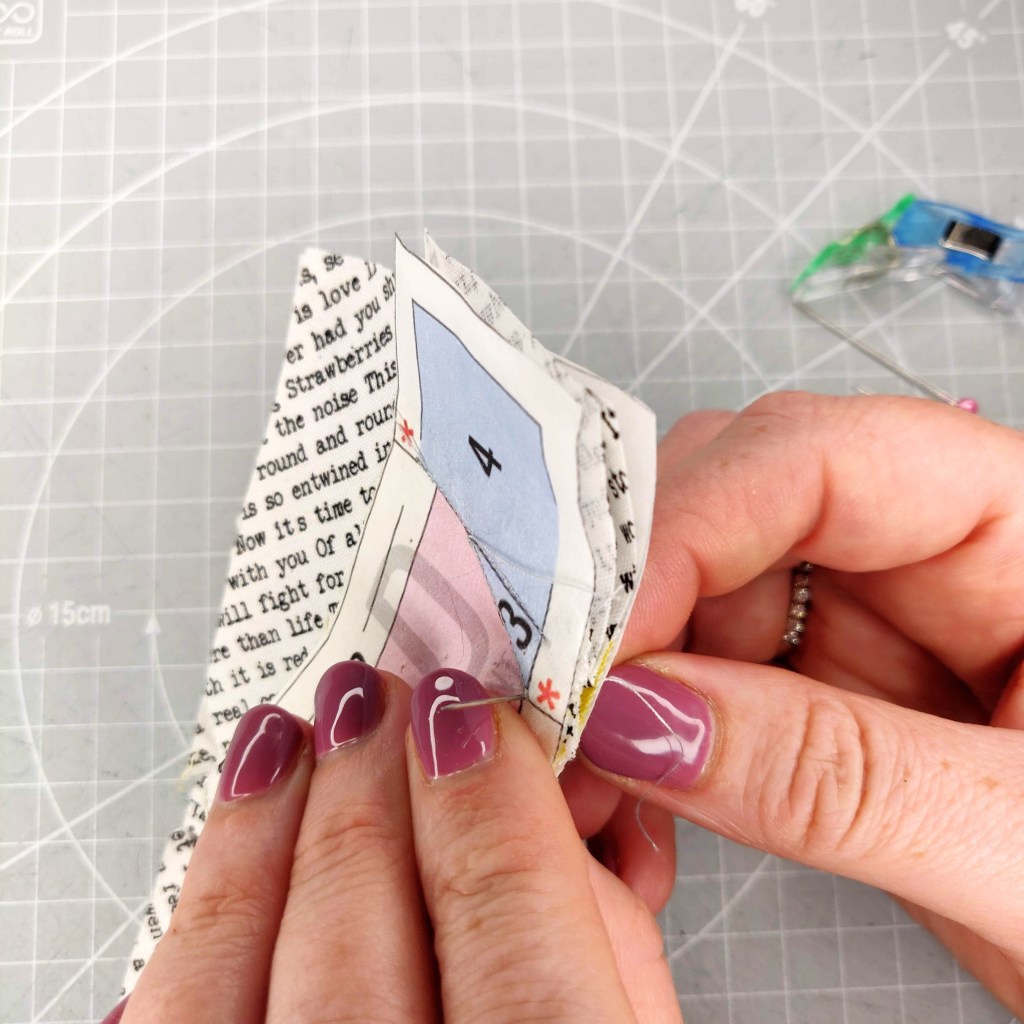
Do this for any important intersections (these may not be marked, unlike my patterns).
Now clip to the side of the pins to hold the fabric together.
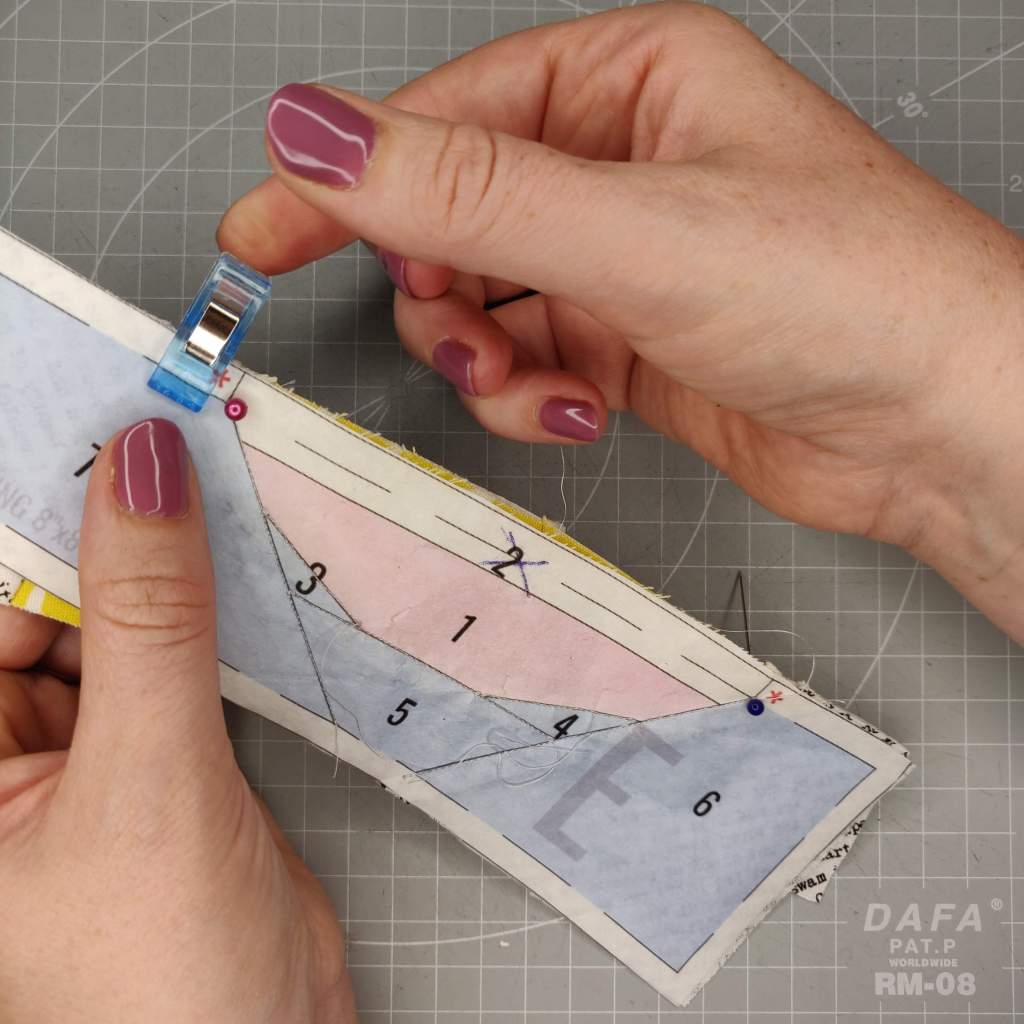
Next use more pins to accurately locate the corners using the same method as before.
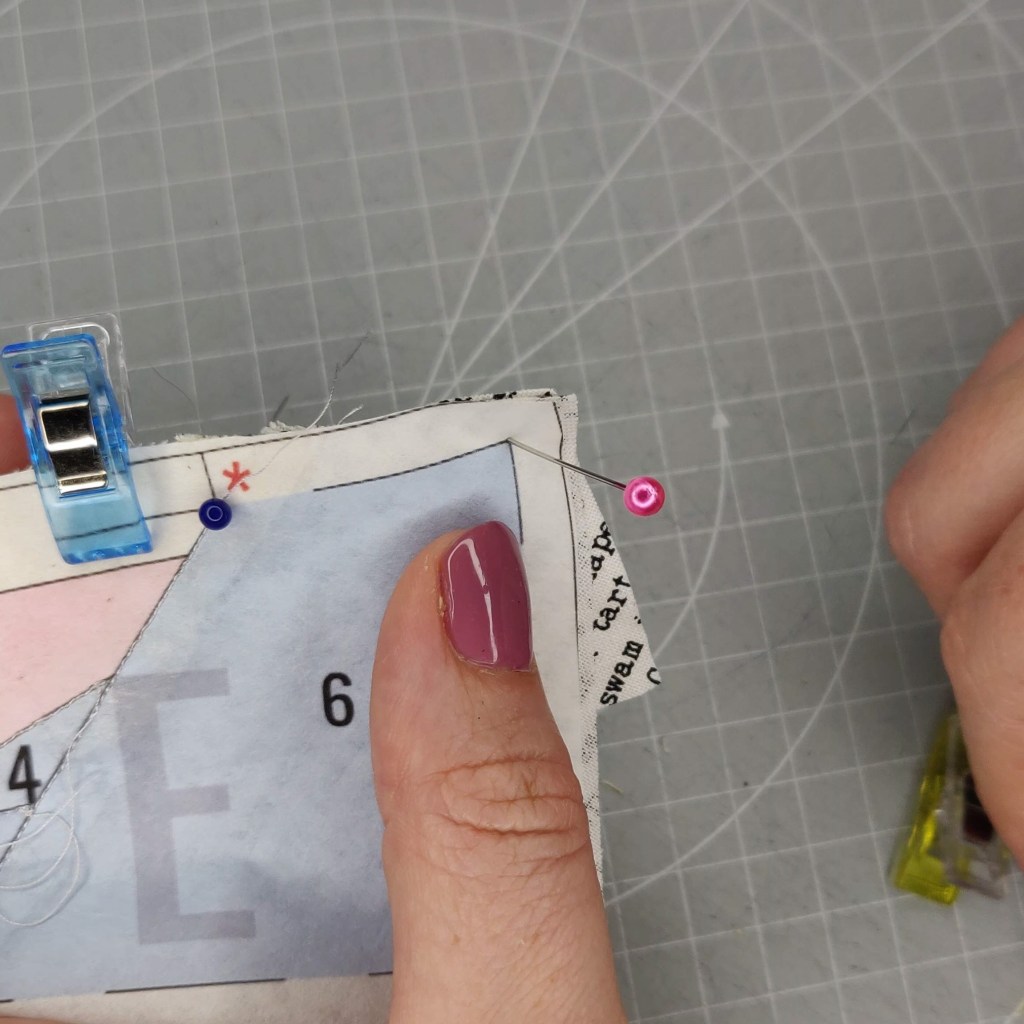
Place more clips round the pins and remove any pins that are not at important intersections. I leave these pins in until the last possible moment to try to prevent the fabric sliding.
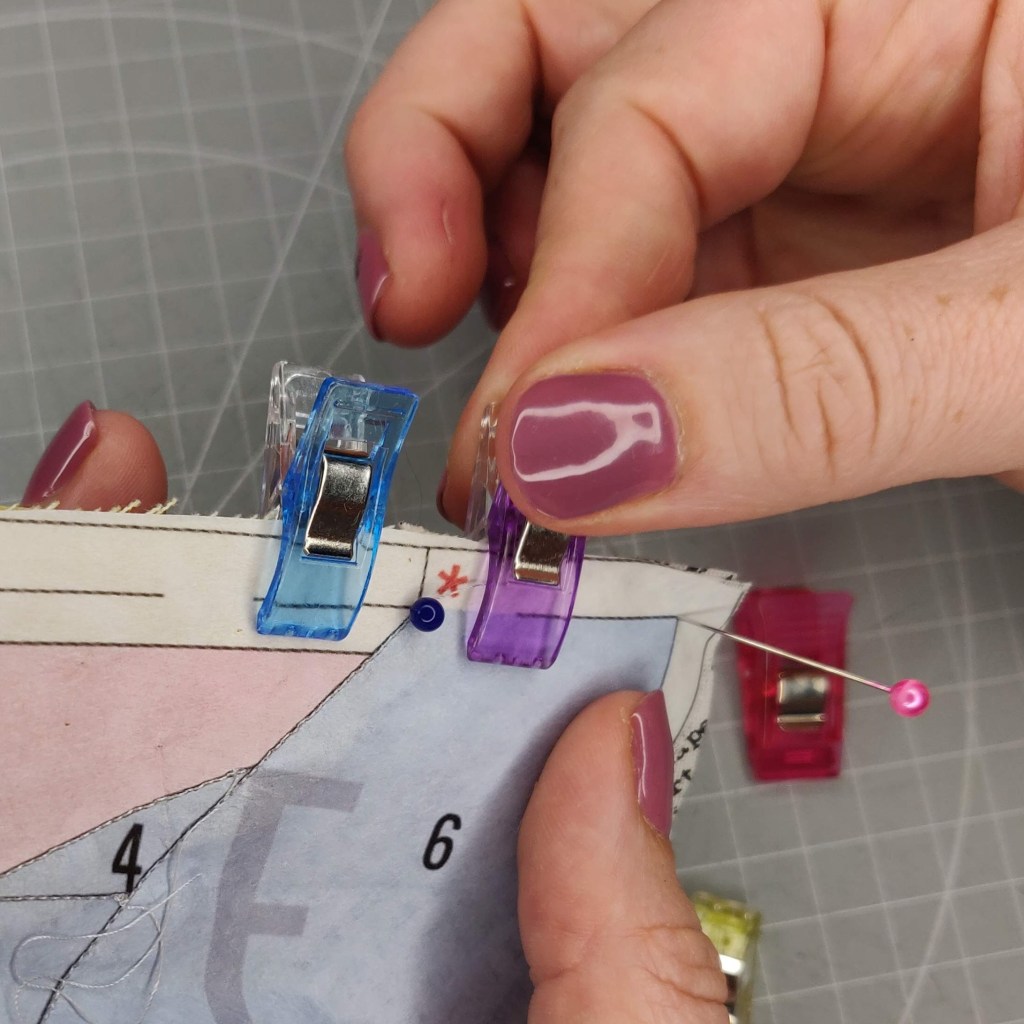
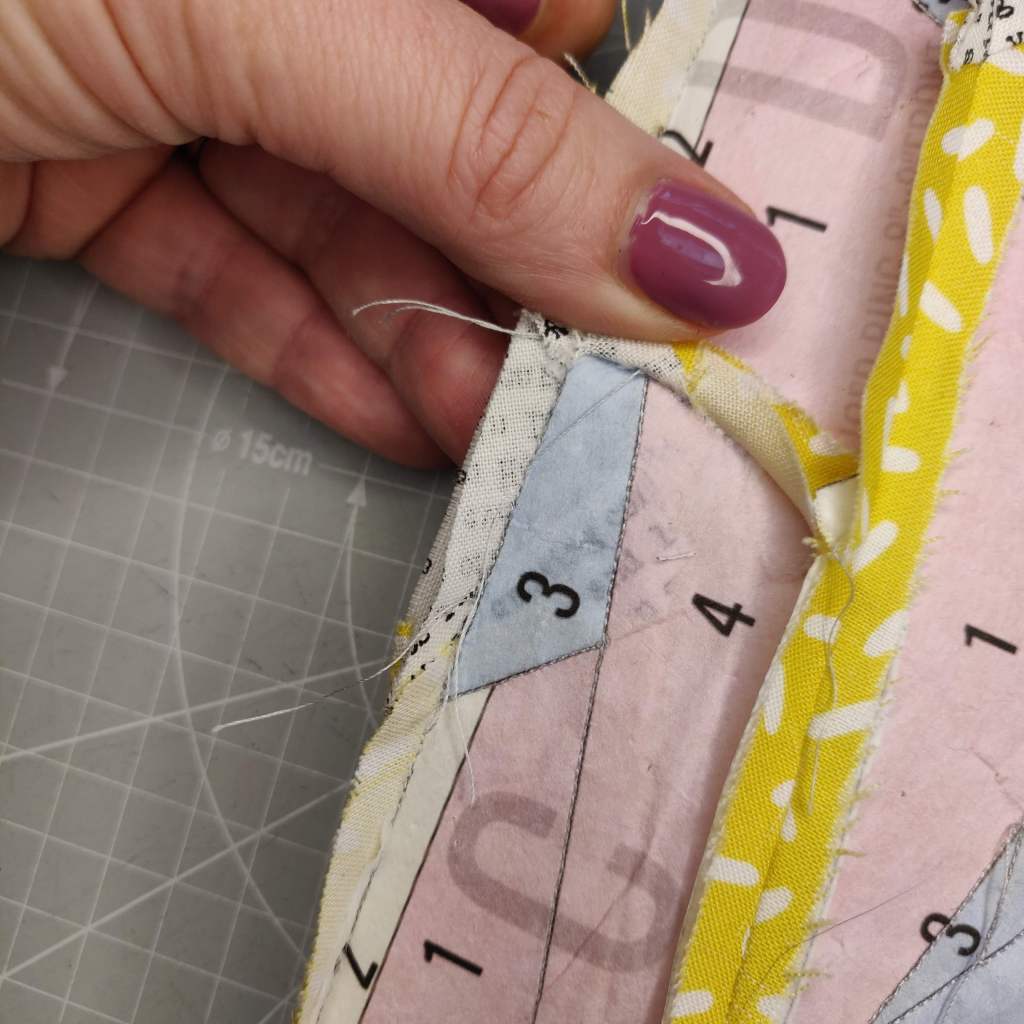
If there are any seams longer than 2” that have not been lined up using a locator pin then check the alignment with a pin and replace with a clip to hold it in place. I also clip open any perpendicular seams so they stay open when sewing and don’t cause bulk.
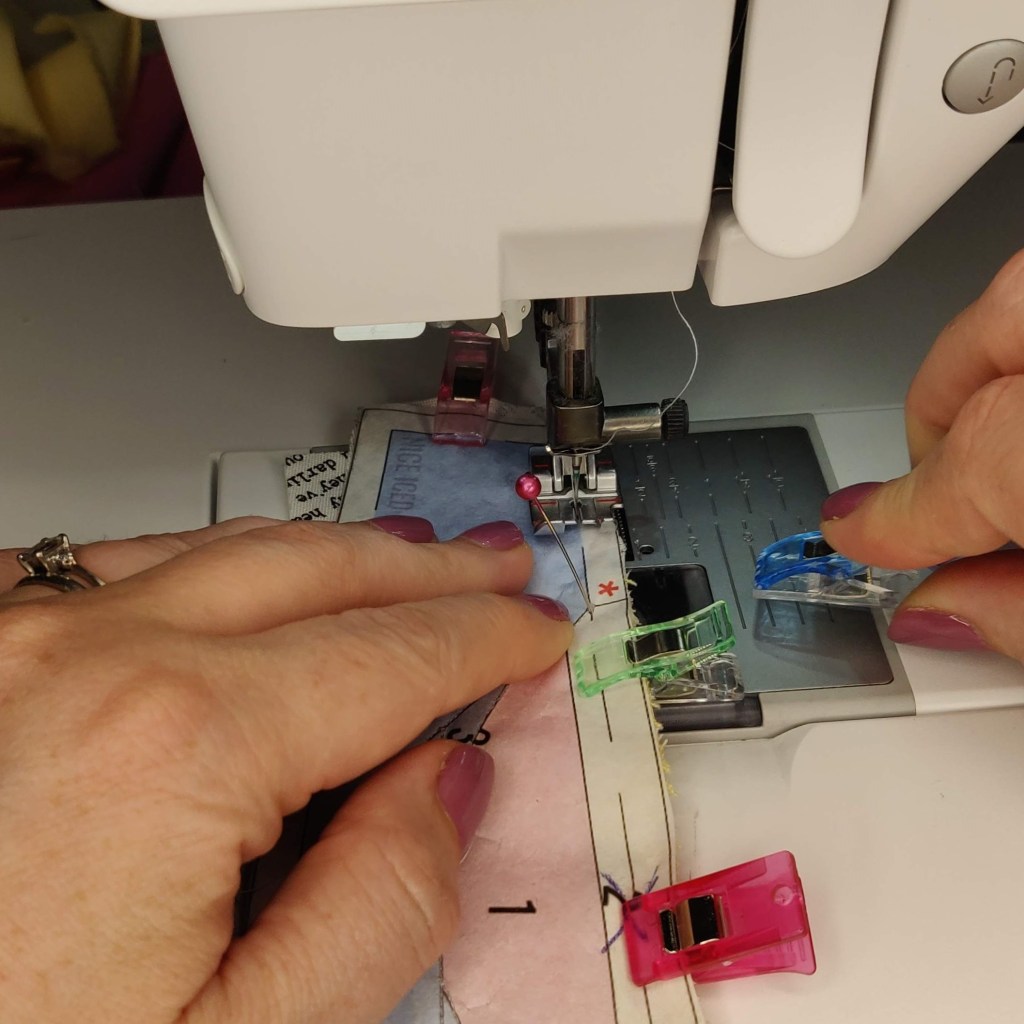
Sew on machine along the seam line (only on the line and not into the seam allowance at either end). This can be sewn at your normal straight stitch length but I tend to leave mine at a length of 1.5 to make tearing the paper easier and without straining the thread. Remember to do a lock stitch at the beginning and end.
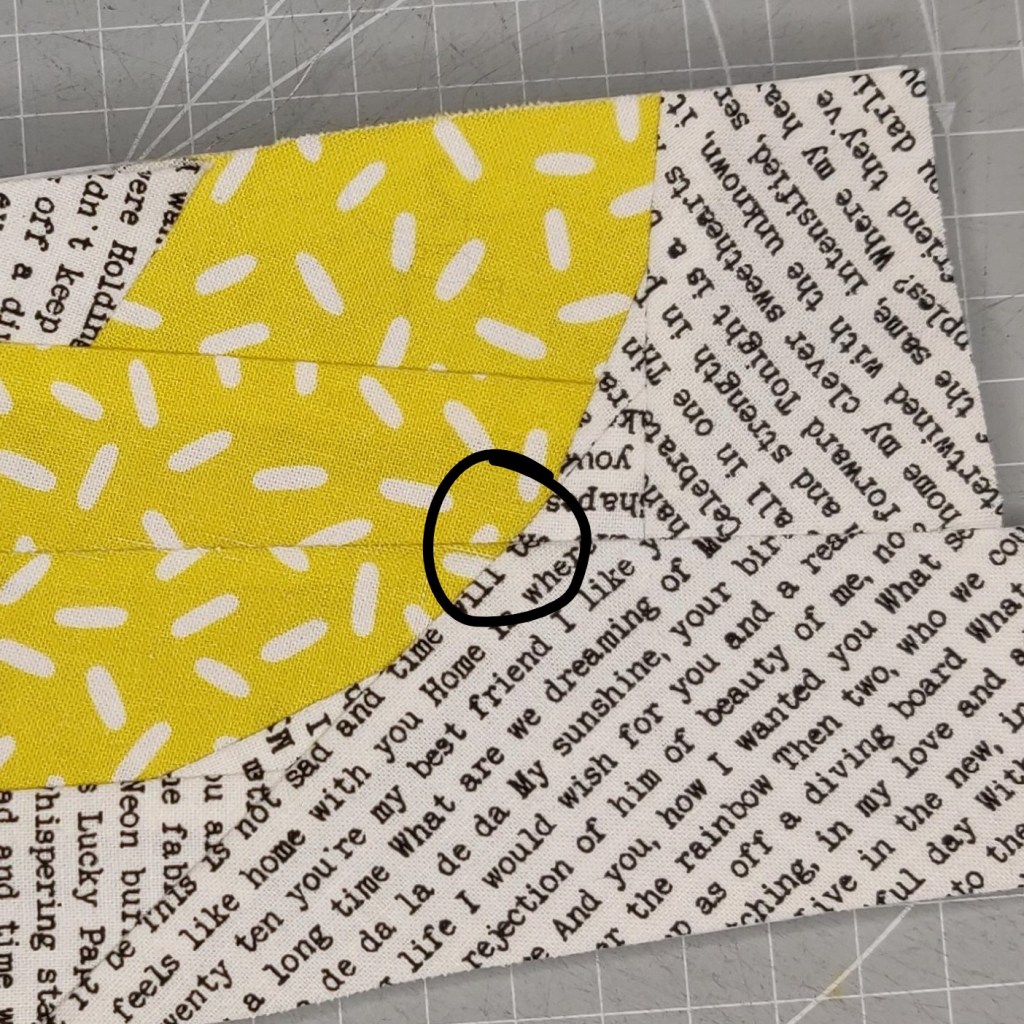
As before, open the seam up and check you are happy with the intersections between the fabric.
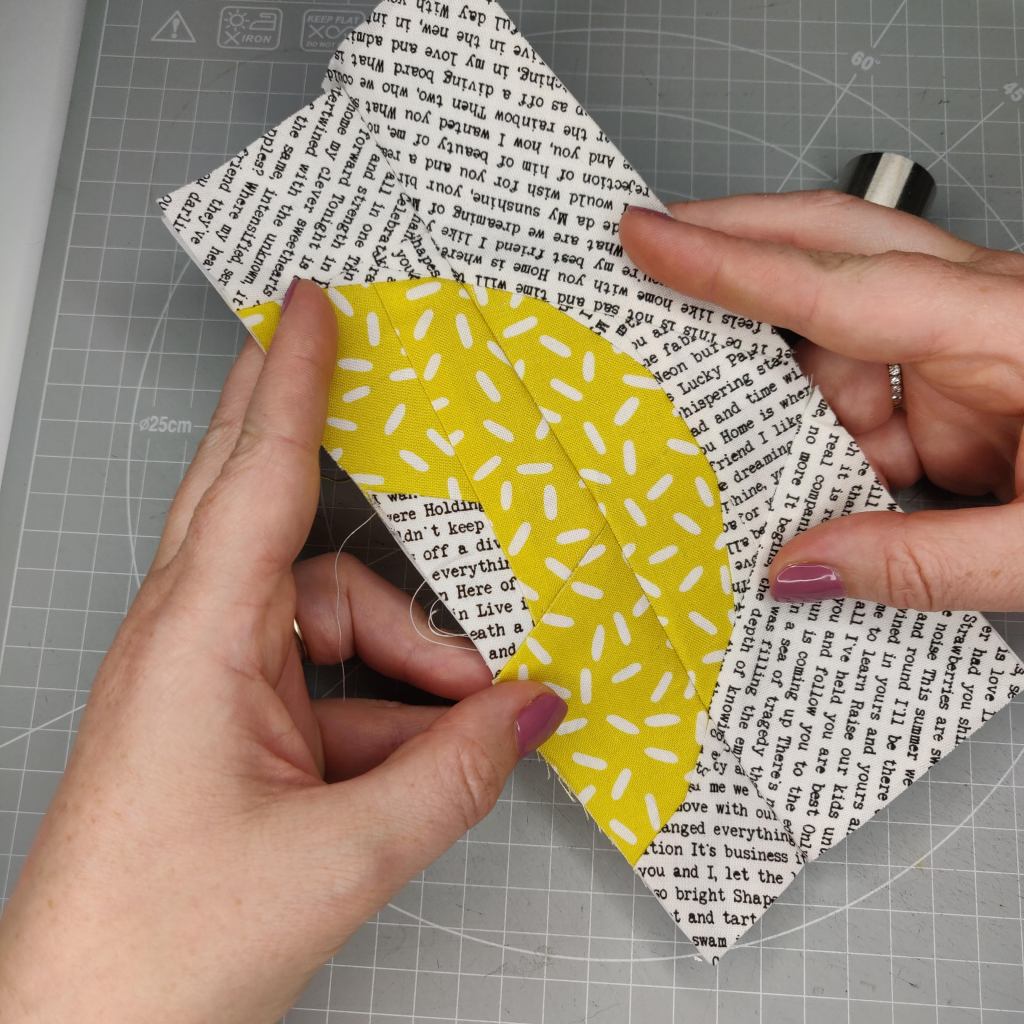
The intersections of fabric should match closely – the smaller the block or more different the fabric is, the more important this is. It really is worth getting right so don’t be afraid to use your unpicker. You can unpick part of a seam to correct an error but don’t do this too many times or stretch the fabric to much as you may distort the block.
Finger press seams open.

Roll to get as flat as possible

My example shows blocks C, D and E joined – don’t worry if it doesn’t look square at the moment you can trim it once the whole block is together and ironed.

Repeat the above steps for the rest of the sections.
Once I have sewn the whole block together, I iron it (without steam), trim it square, and stitch all the way round 1/8” from the edge.
Lastly, I remove the paper (much easier with the foundation paper from Pattern Trace) and as this crumples the block I iron it again with a little starch (or similar) and pin it to my design wall until I use it!
Next up….. Part 4 – MY TOP TIPS
Thank you for reading and keep stitching!!
