TOP TIPS
These are my top tips for foundation paper piecing some of them will be familiar if you have read the previous 3 parts of my “how to foundation paper piece” guide. Read them here – Part 1, Part 2 and Part 3.
Everyone paper pieces differently; you get some really accurate piecers, and you also get some slightly more “It will be all right on the night style piecing”! I tend to land somewhere in the middle of these two styles. I really like to use every scrap of fabric and of course sometimes I get things wrong and fudge them and that’s ok in my eyes!
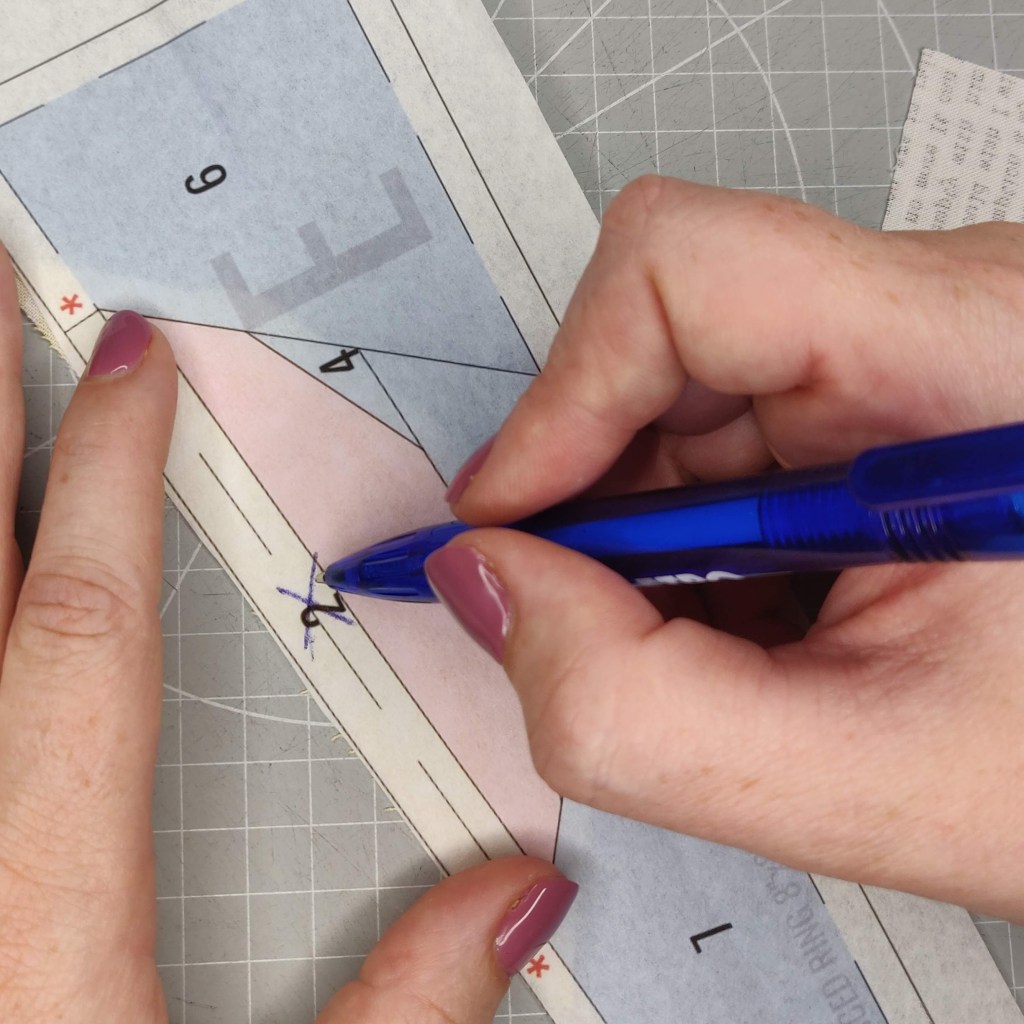
1 – Make notes on the paper. Some patterns are confusing and it can be tricky to remember which fabrics go where. To make the process quicker either write a word or mark a colour on the pattern to help you sew the right fabric next.
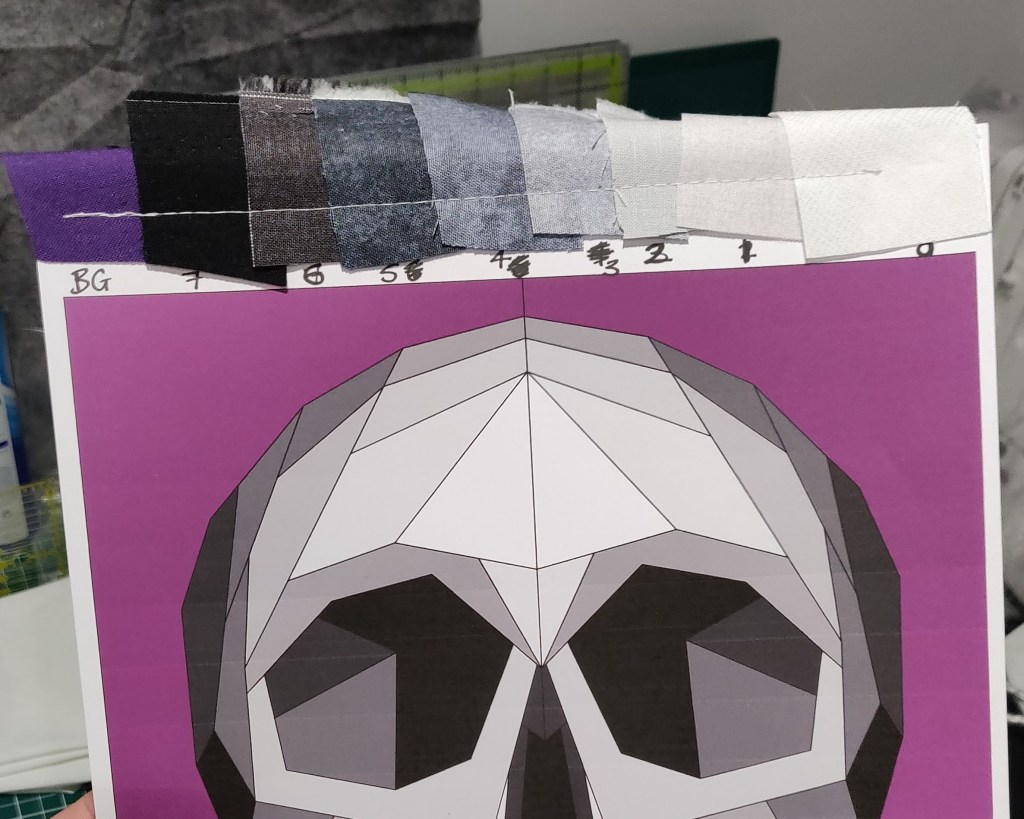
2 – If you are using more than 3 fabrics or colours are similar make a reference page with swatches stuck or sewn on and labelled to refer back to and check scraps against.
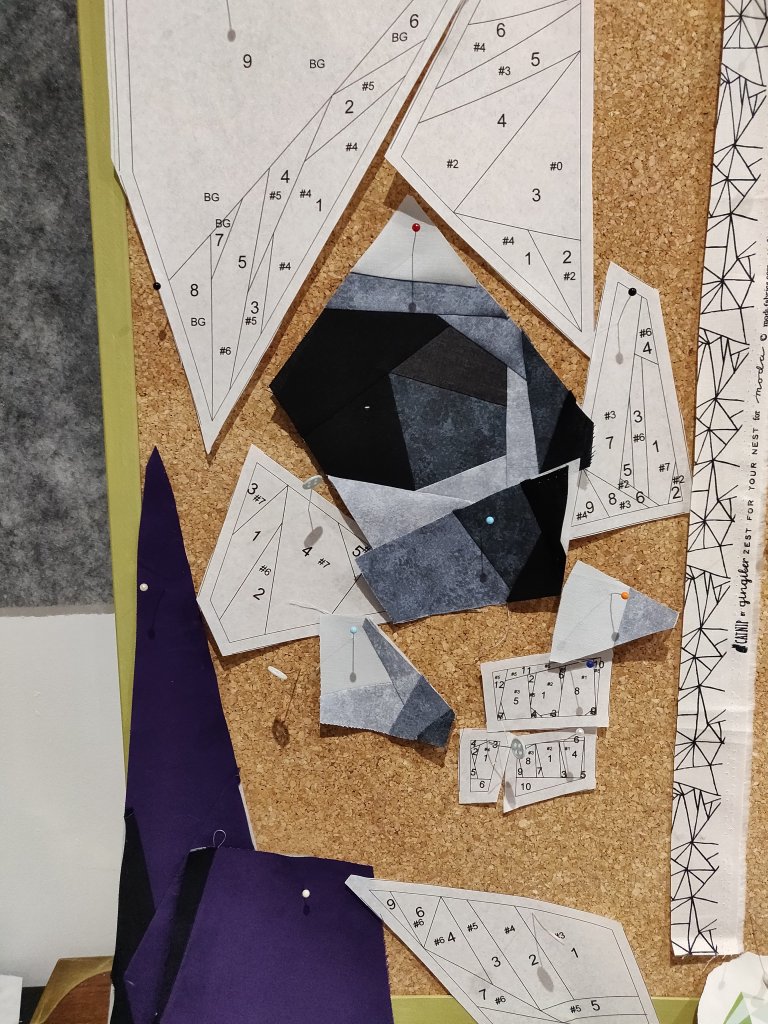
3 – As a beginner and for complex blocks pin the sections to a board or design wall to see how they will eventually be sewn together. This helps you to keep an overview of how they will go together and I like to see my progress.
4 – Glue basting first and last fabrics. When I learnt about this it was a game changer. I was not stabbing myself with pins or warping seams when unbasted fabric shifted while sewing. I use a super cheap kids Pritt stick and I try to use as little as possible.

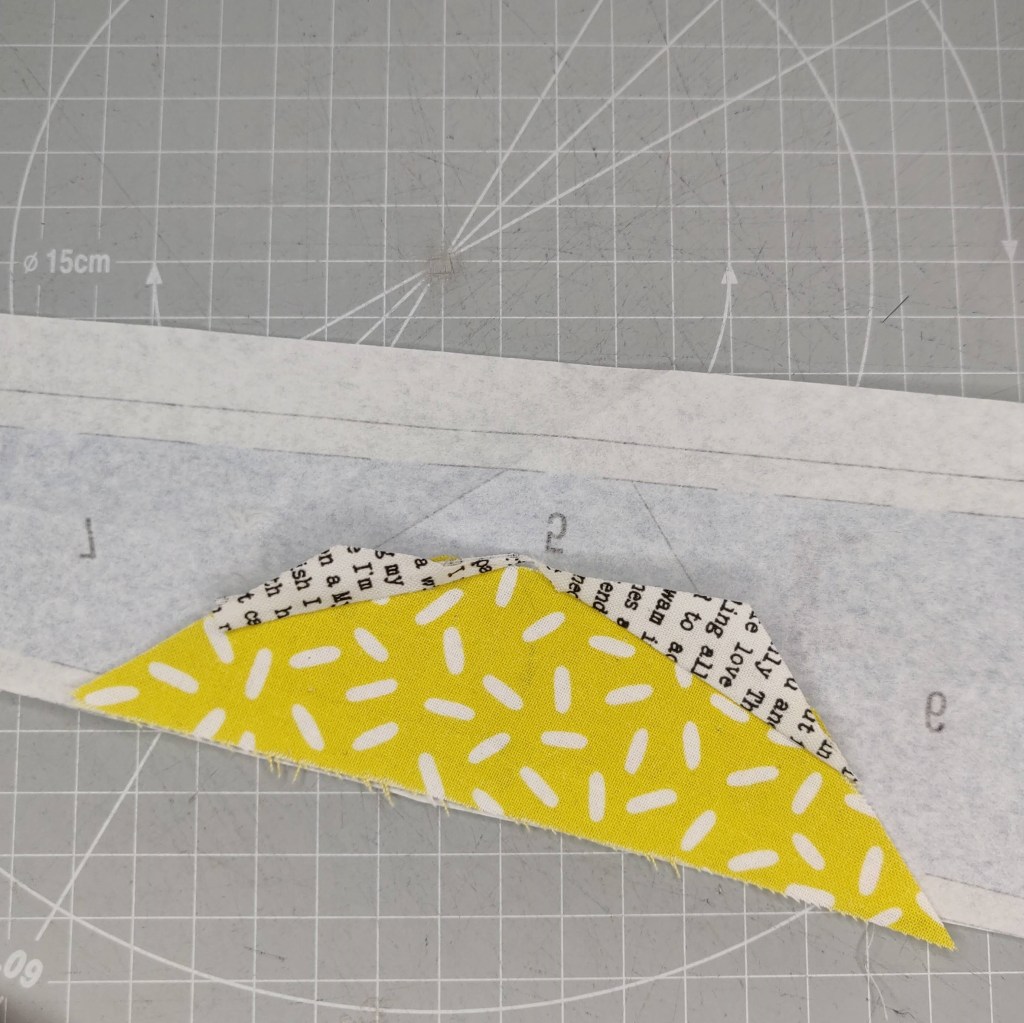
5 – Use fabric efficiently by folding over paper pattern backwards along seam to check you have enough fabric and you are not creating much waste. This is difficult to explain in writing so I have done a video.
Alternatively, I’ve broken it down into little steps to help you understand.
- Fold the paper pattern back on itself along the seam line so the printed sides are touching.
- Select a scrap or section of fabric you think will be big enough.
- Hold the fabric finished side to finished side against the block.
- Line-up the new fabric to the seam allowance.
- Holding fabric and block with both thumbs and first fingers I flip backwards and forwards to check the fabric covers the whole area.
- If the pattern it is large or I’m struggling to see through the copy paper I make sure I have folded the pattern where the next seam will be and hold my fingers where the fabric needs to finish as I flip backwards and forwards
6 – Prep and piece multiple areas at a time either on one section or multiple sections. This means you save a little time not going back and forth between the cutting mat and sewing machine. I suggest only doing this once you are confident and when areas on the same section are not next to each other.
7 – Fray Check – I occasionally screw up a little and don’t allow quite enough fabric. The area I want is covered but after use the fabric might give on the seam. Obviously try to avoid this but sometimes you only notice once it’s too late or don’t have enough fabric to redo … shhhh… don’t tell anyone. A small section of lightweight iron-on interfacing can also help after the paper has been removed.

8 – When joining sections, line up the important/obvious fabric intersections first and not corners. If the corners are slightly out it doesn’t matter much as long as you take any difference into account when sewing a perpendicular seam to the one which is out.

9 – Don’t be afraid of Y-seams! To be honest I have never had a problem with Y-seams but I think it’s because I didn’t know they were scary and didn’t mind un-picking and do a lot of pinning/ clipping and taking it slow! I have done a video showing the making of my nice iced ring back block which you can see here if you want to know more. Happy Sew Lucky also has a good video here. https://www.youtube.com/watch?v=4pyDBxy6bFk
10 – A victory lap round the block when you finish helps to ensure seams stay flat around the edge and do not pull apart. If I’m not going to be quilting much over the panel, I also like to iron a lightweight interfacing on once I have removed the papers. I do also love to starch from the back (before interfacing) to make my block nice and crisp!
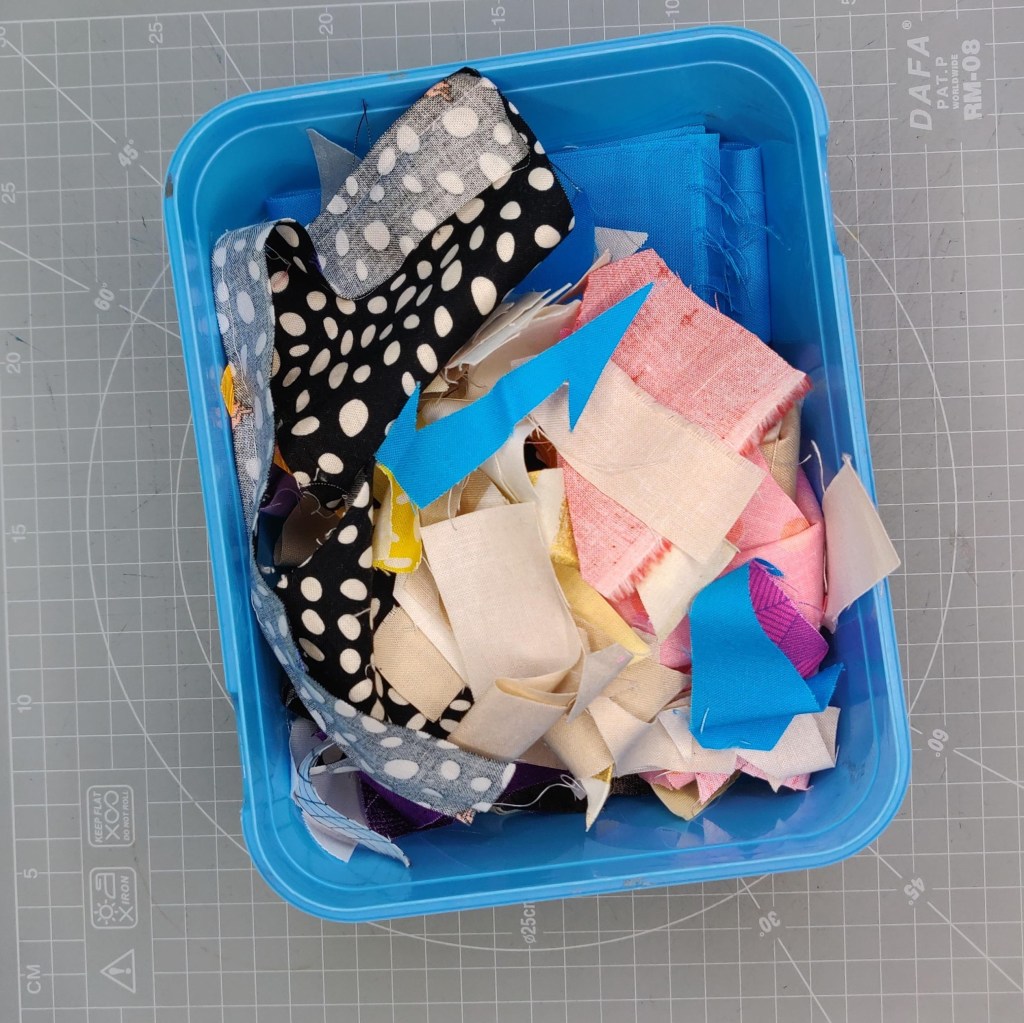
11 – Scrap bin for each project. If I’m working on multiple projects at once, I like to have a scrap bin for each where I store any offcuts (unless smaller than ½” or 1.5cm) in case I have a purpose for them. I then also don’t have to hunt through too many scraps. Then when I have finished the project I can easy sort those scraps into my main scrap storage.
12 – The seam ripper is your friend – don’t be afraid you use it! It’s ok to get things wrong. If you’re not happy with a block, take a section apart or just part of a seam. I have done “surgery” on my blocks many times as you will have seen on my Instagram stories if you follow me!

