Sorry guys I’ve been pretty quiet though doing quite a bit which you can see over on my Instagram feed. I really do suck at writing text and blog updates! This morning (its only just still morning) I have set myself a timer to write this (it will be pretty raw and unedited so please excuse) otherwise it will sit in my draft posts for months with the other 10 I am struggling to finish (perfectionism and procrastination issues).
I had to share this all with you as I’m really proud of myself! (saying this is also something I suck at as I think I sound arrogant and annoying!)
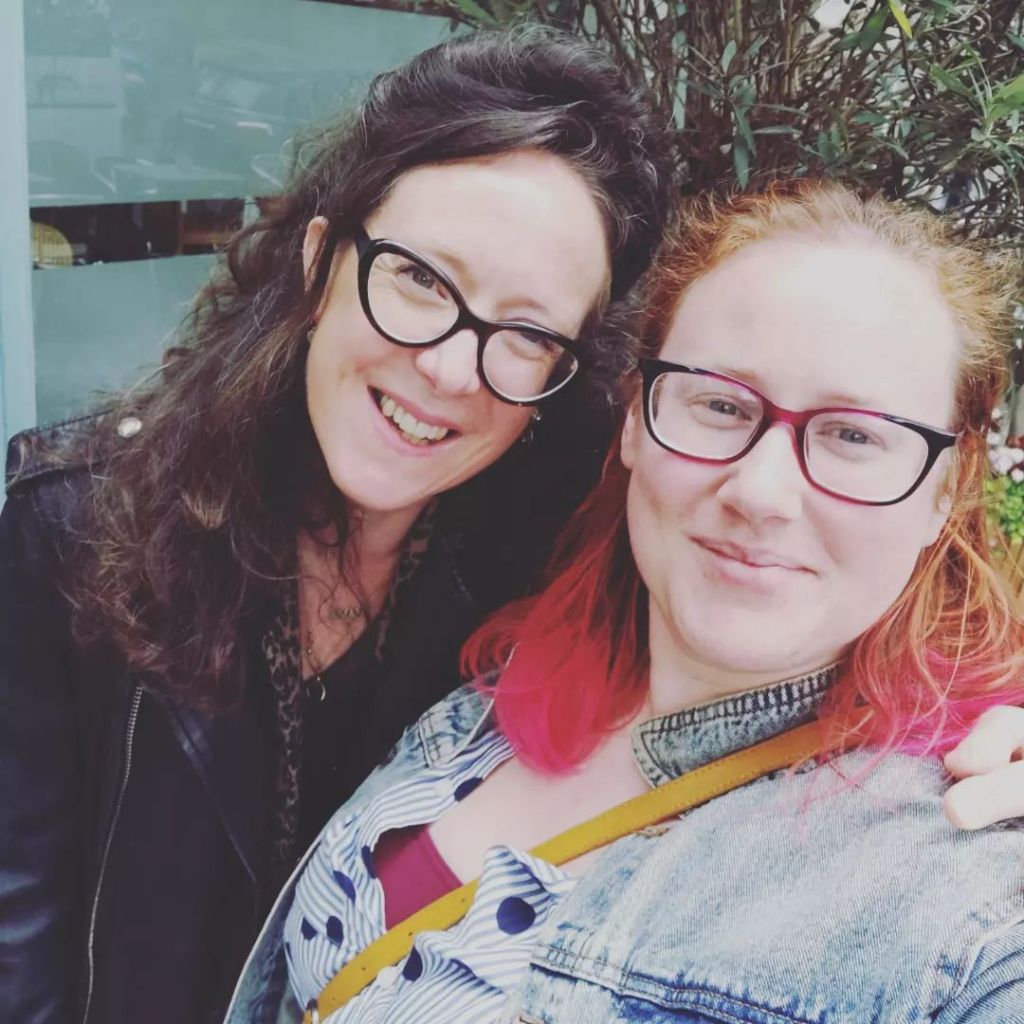
Around Christmas I was asked by a lovely friend Jo, if I would exhibit my work at an exhibition she was organizing. Jo is a friend who I clicked with as soon as we met, I could say what was in my head, with no judgement and I could be just me without anxed. The exhibition was to be a celebration of Neurobrilliance – Neurodivergent people and their artwork. Neurodivergent people tend to be seen or feel different and lacking but are actually different and can be very creative. Jo and here friends at NEST wanted to support and encourage these creatives with an exhibition and to raise money for Suicide Crisis due to the mental health issues which are common among the Neurodivergent.
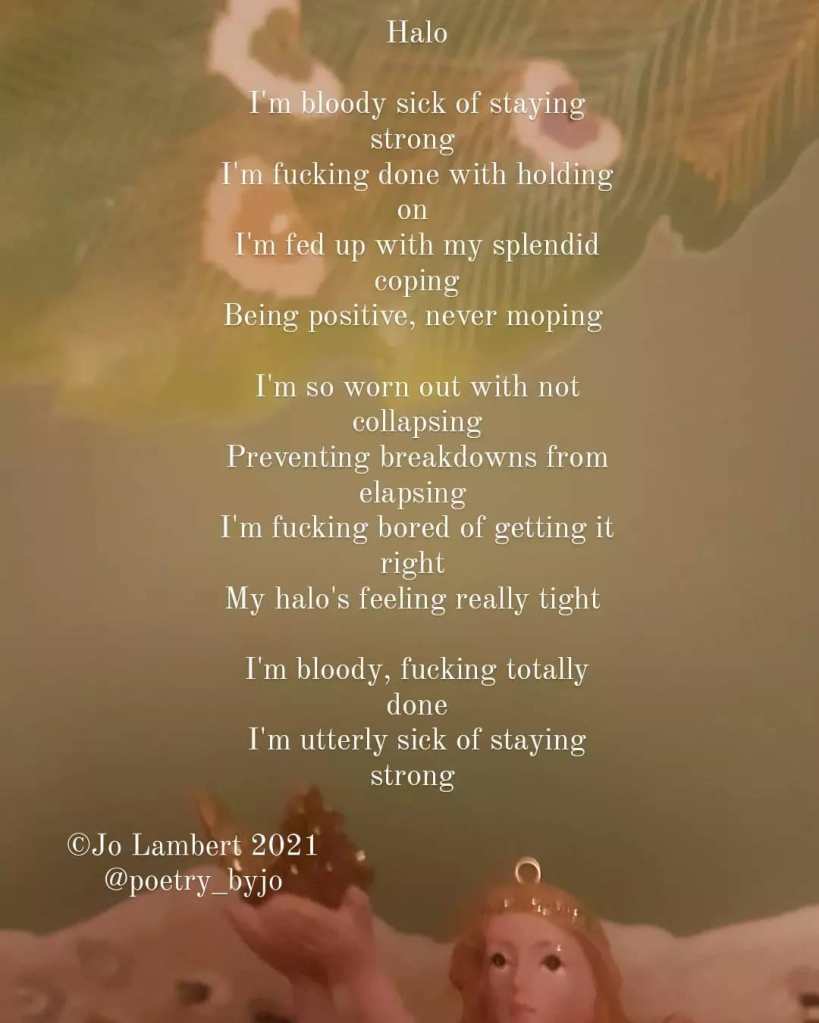
Jo has written many fantastic poems, that I love as they are straight to the point all of which has been compiled into a wonderful book “Stay”. Below are just a few of Jo’s poems I love!


Below is the text I wrote for the exhibition about me and each piece:
“I’m a 36 year old stay at home mother of two, diagnosed with dyslexia aged 8 and ADHD (inattentive type) aged 17. I battled through education to study architecture at university, and am naturally adept at spatial awareness and problem solving. Writing and language is my nemesis.
I have always been creative but started sewing casually after a mental breakdown due to a work situation in 2012. After my second daughter was born, I decided to do more for my mental health and to have a purpose other than being a mother.
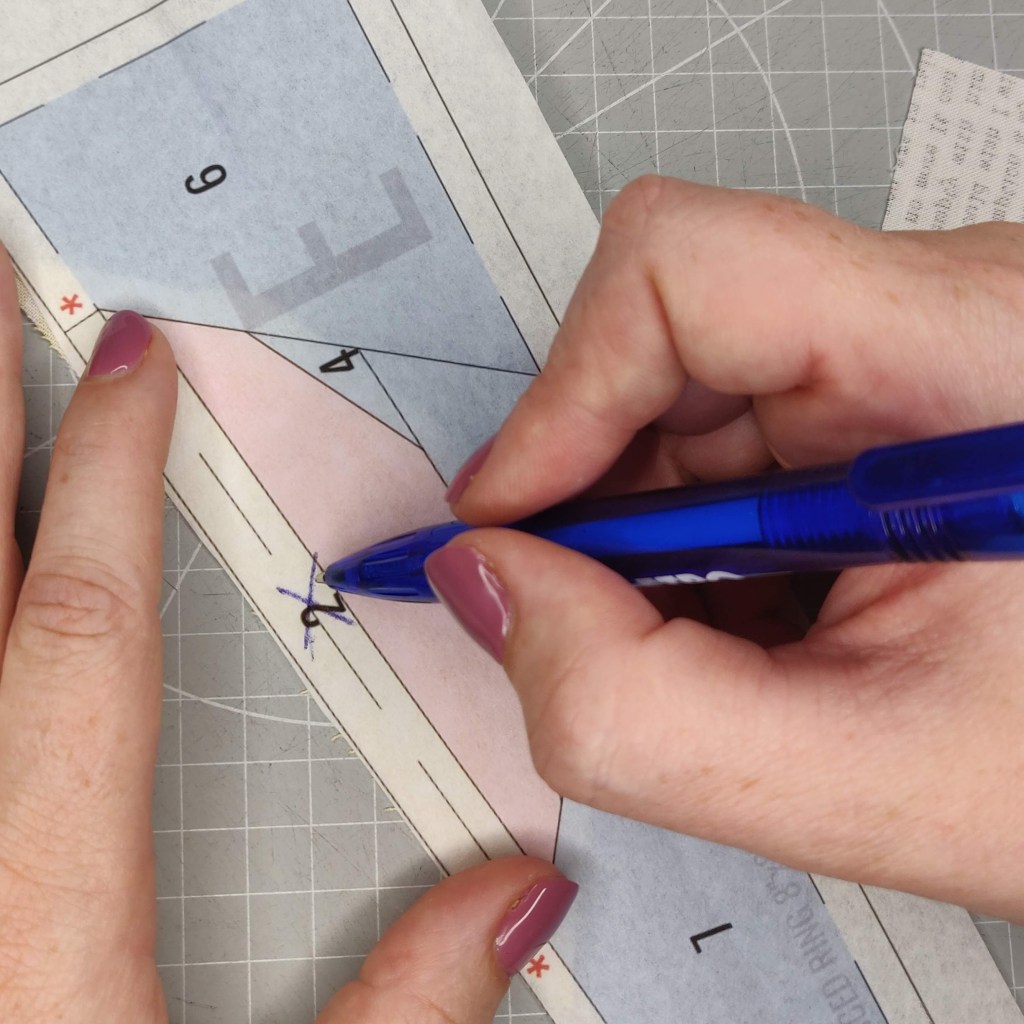
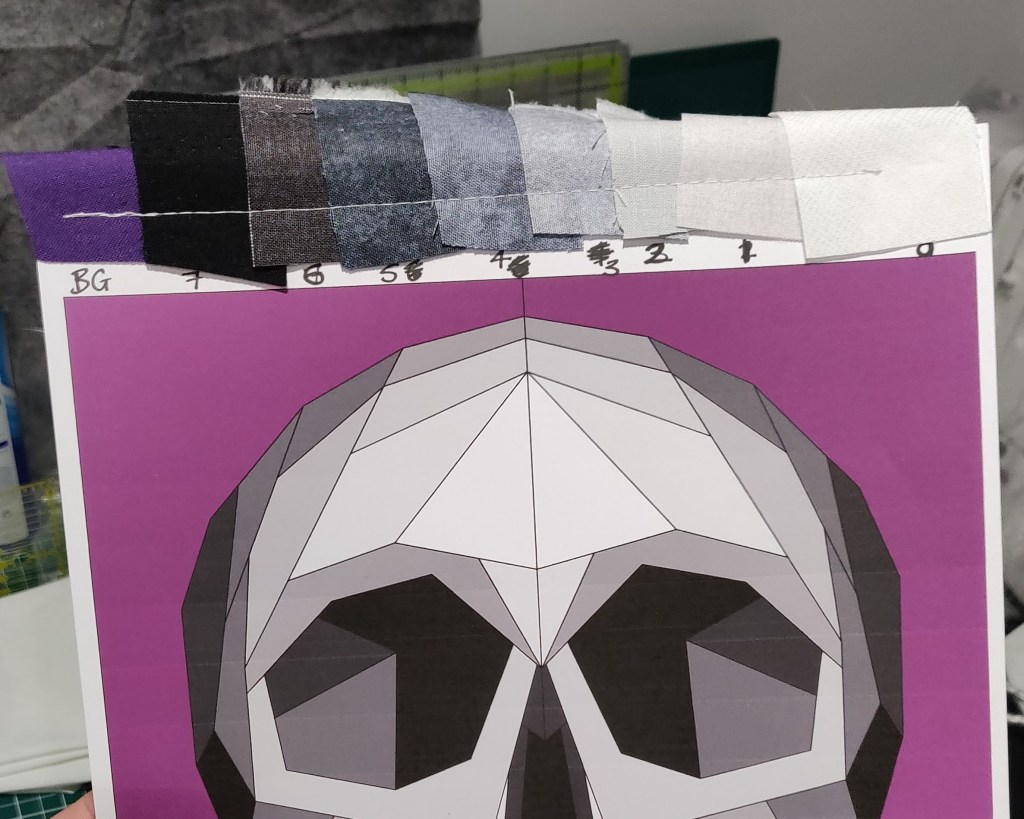
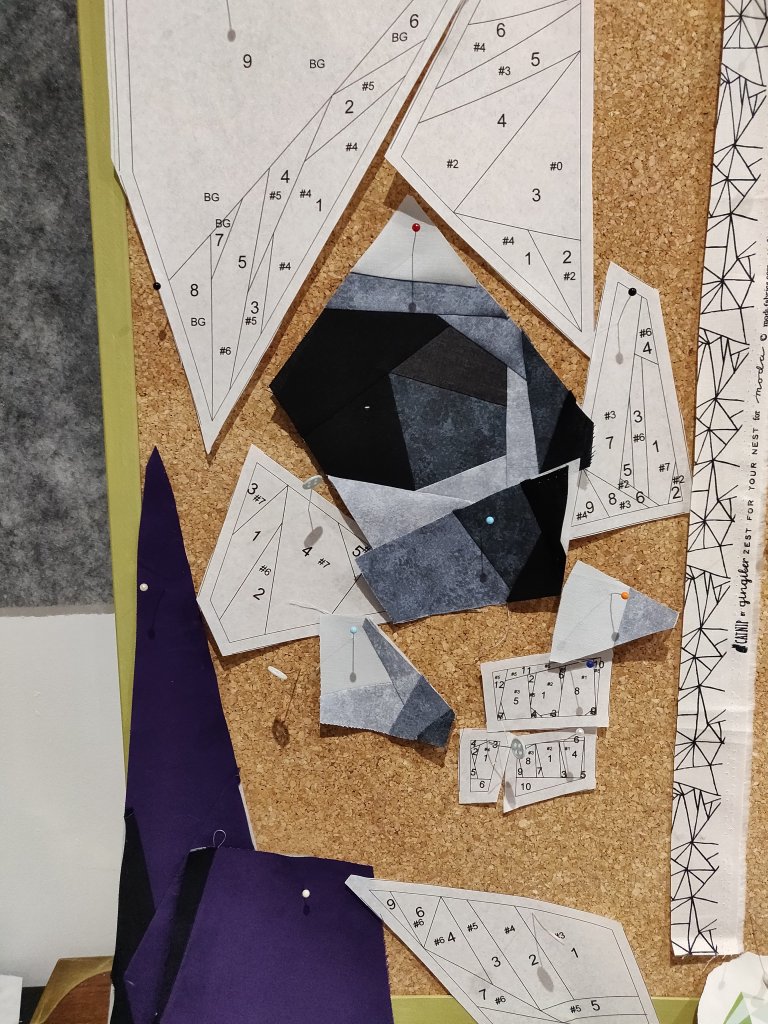
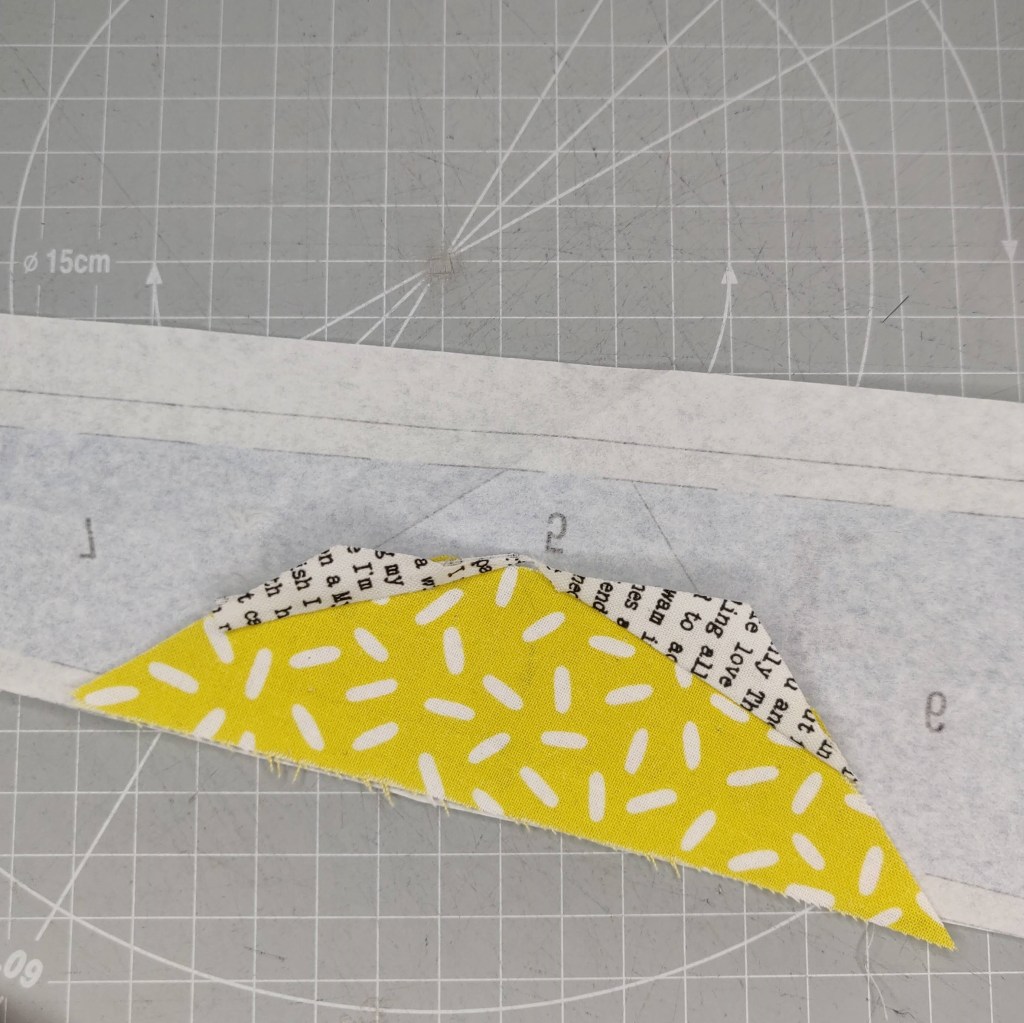
I specialise in a technique called Foundation Paper Piecing (FPP) where fabric is sewn directly to a paper pattern – normally using straight lines. It allows you to accurately sew large and small pieces of fabric together and with increased complexity than would otherwise be possible, as issues with bias stretch and size are eliminated. In 2020 my confidence grew and needed to push myself so I didn’t get bored. I started to design patterns for sale with some success and I am entering competitions.”
A little video I put together can be seen here!
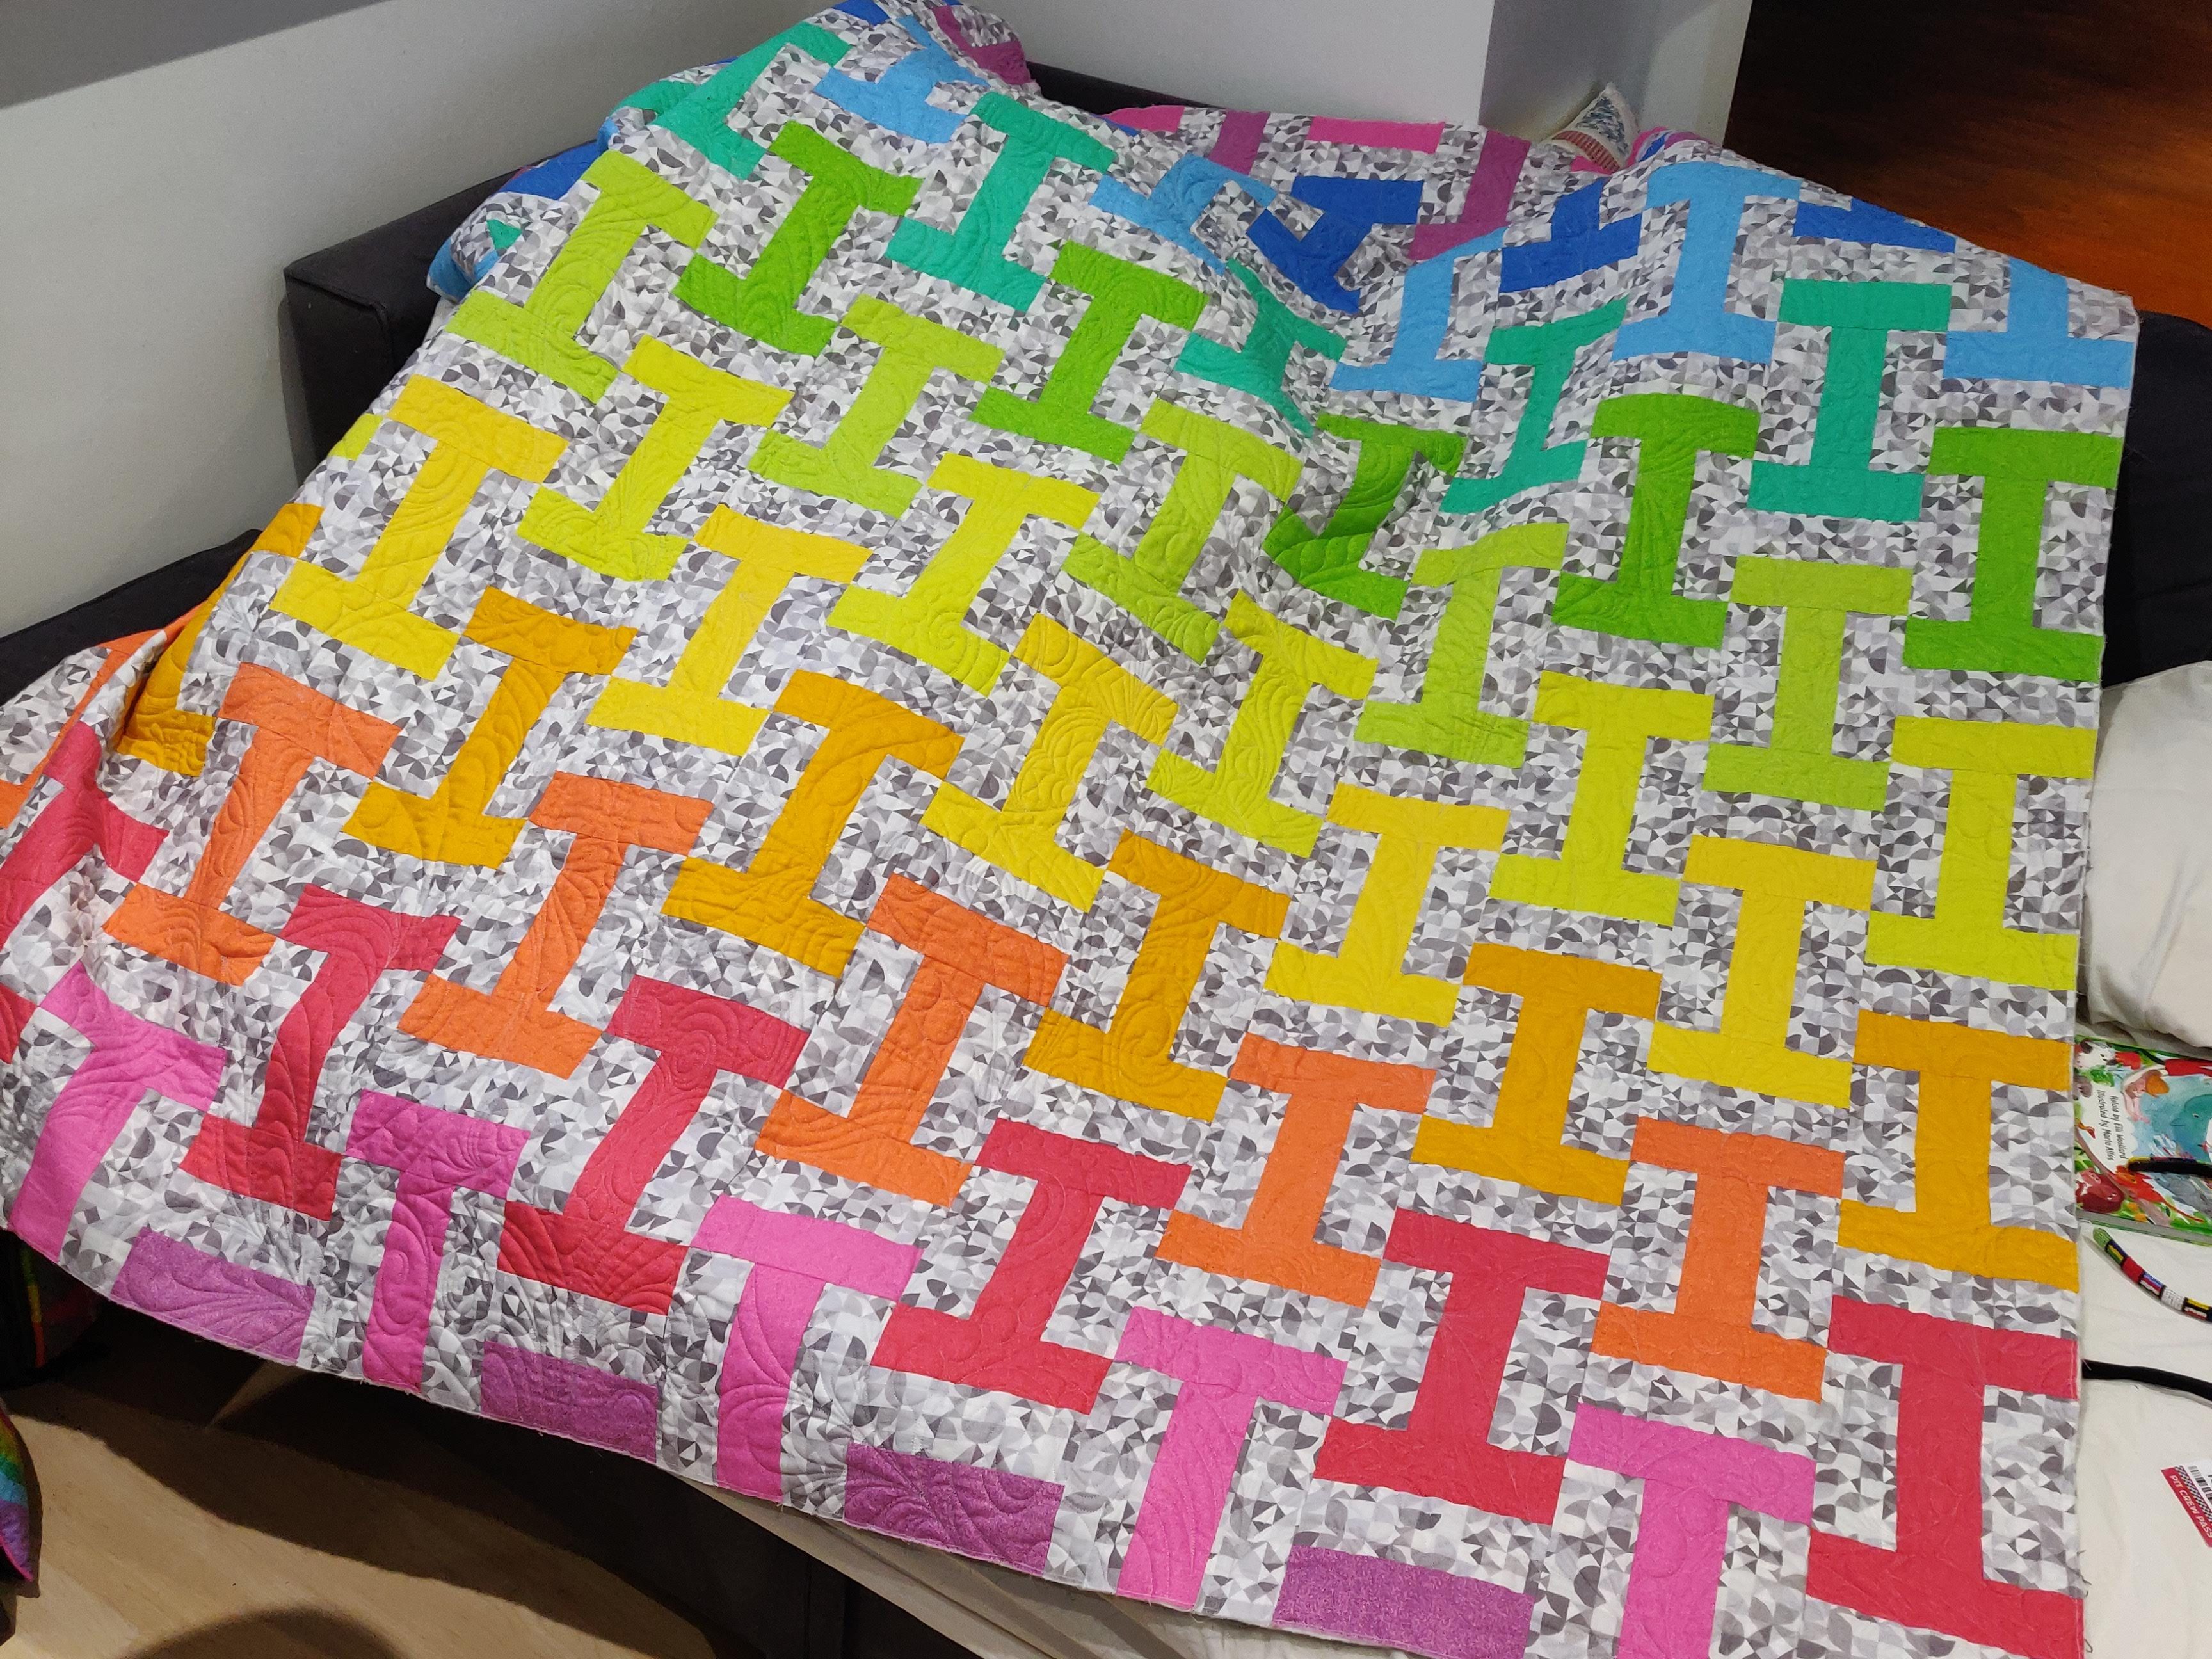
HI
– approx. 1.8m x2.4m (72”x 96”)
A traditional rail fence block where rectangles are grouped in threes and alternate groups are rotated 90 degrees.
The fabrics are positioned to interweave and intersect, and the intention if for the groups to be read as an H in one direction and I in the other. The bold colours are displayed in a gradient, from a fabric collection from one of my favourite fabric designers, against the muted by graphic print from another of their collections.
Made for my family and the comfort found in the repetitive piecing process and sense of achievement at a period of low mood.
A brushed cotton backing for a cosy, comforting feel with dense graffiti style quilting to add depth/ another dimension to the simplistic patchwork.
Quilting was done on a computerised long arm – a large sewing machine – by a friend @thatsewkerry on Instagram.
This quilt was in the break out area of the exhibition were children or adults could play or relax if the formal exhibition space got to much! The intention of having a quilt in this area was to encourage interaction. I firmly believe that quilts are for use (except for a few which i am now working on which i feel have a more art/ meaning focus. I certain found comfort in not feeling obliged to constantly feel like I was on display too.

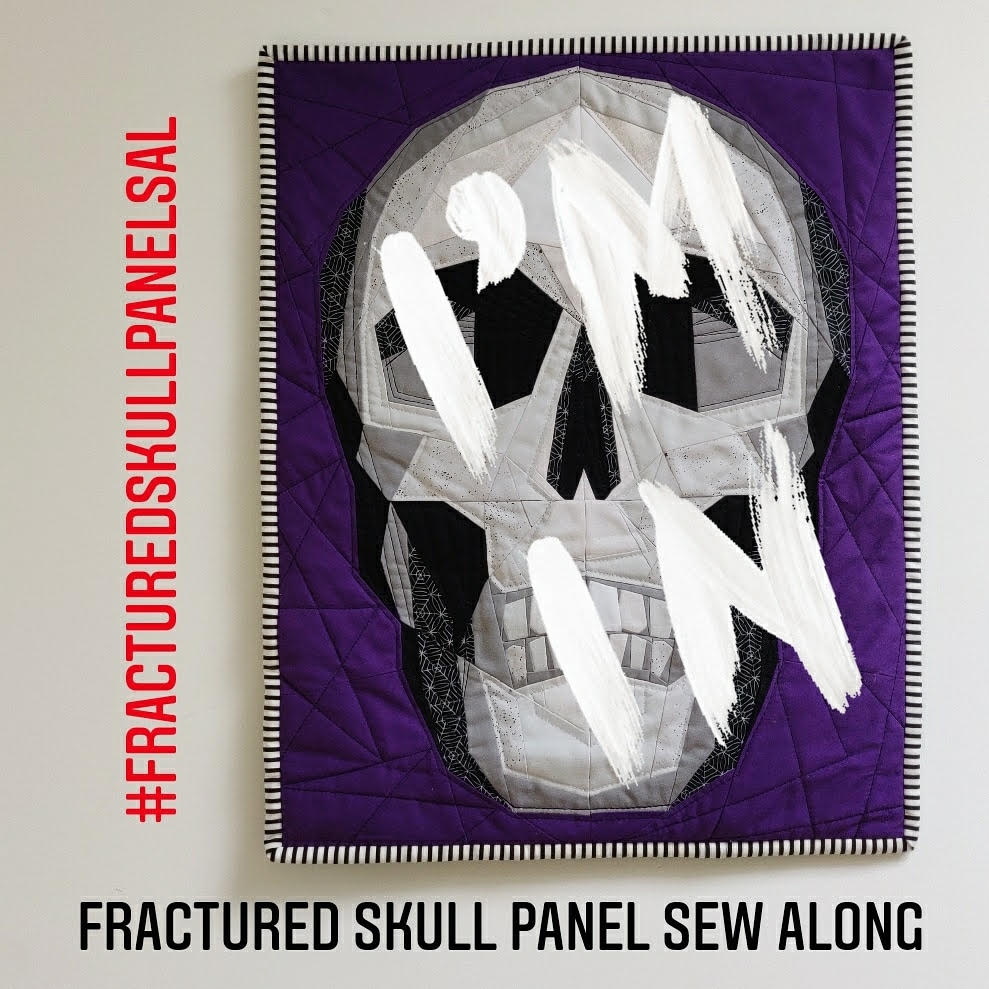
ORIGINAL FRACTURED SKULL WITH HEADDRESS
Only the second pattern I ever designed. After working out how to write and sell a pattern, I challenged myself. I wanted to make an FPP pattern like no other I had seen. I wanted it to look 3D but it had to also be simplified and I wanted it to be a modern, geometric graphic. Partly because Halloween was round the corner and partly because I have an image of Damian Hirst’s “For The Love Of God” hanging in my house as a ‘memento mori’ – a skull felt right.
Dopamine kicked in and I hyper-focused and designed it, wrote it up and got it to testers in two weeks while looking after my 2 year old.
This version has an added appliquéd flower headdress. Many people had commented they didn’t like the that skull was dark and sinister. I didn’t intend the skull to be seen like this so added these beautifully drawn roses from the popular fabric designer Tula Pink to channel the celebration/ positive vibe of “Dias de los Muertos”.
FOR SALE £200 (still available if interested)
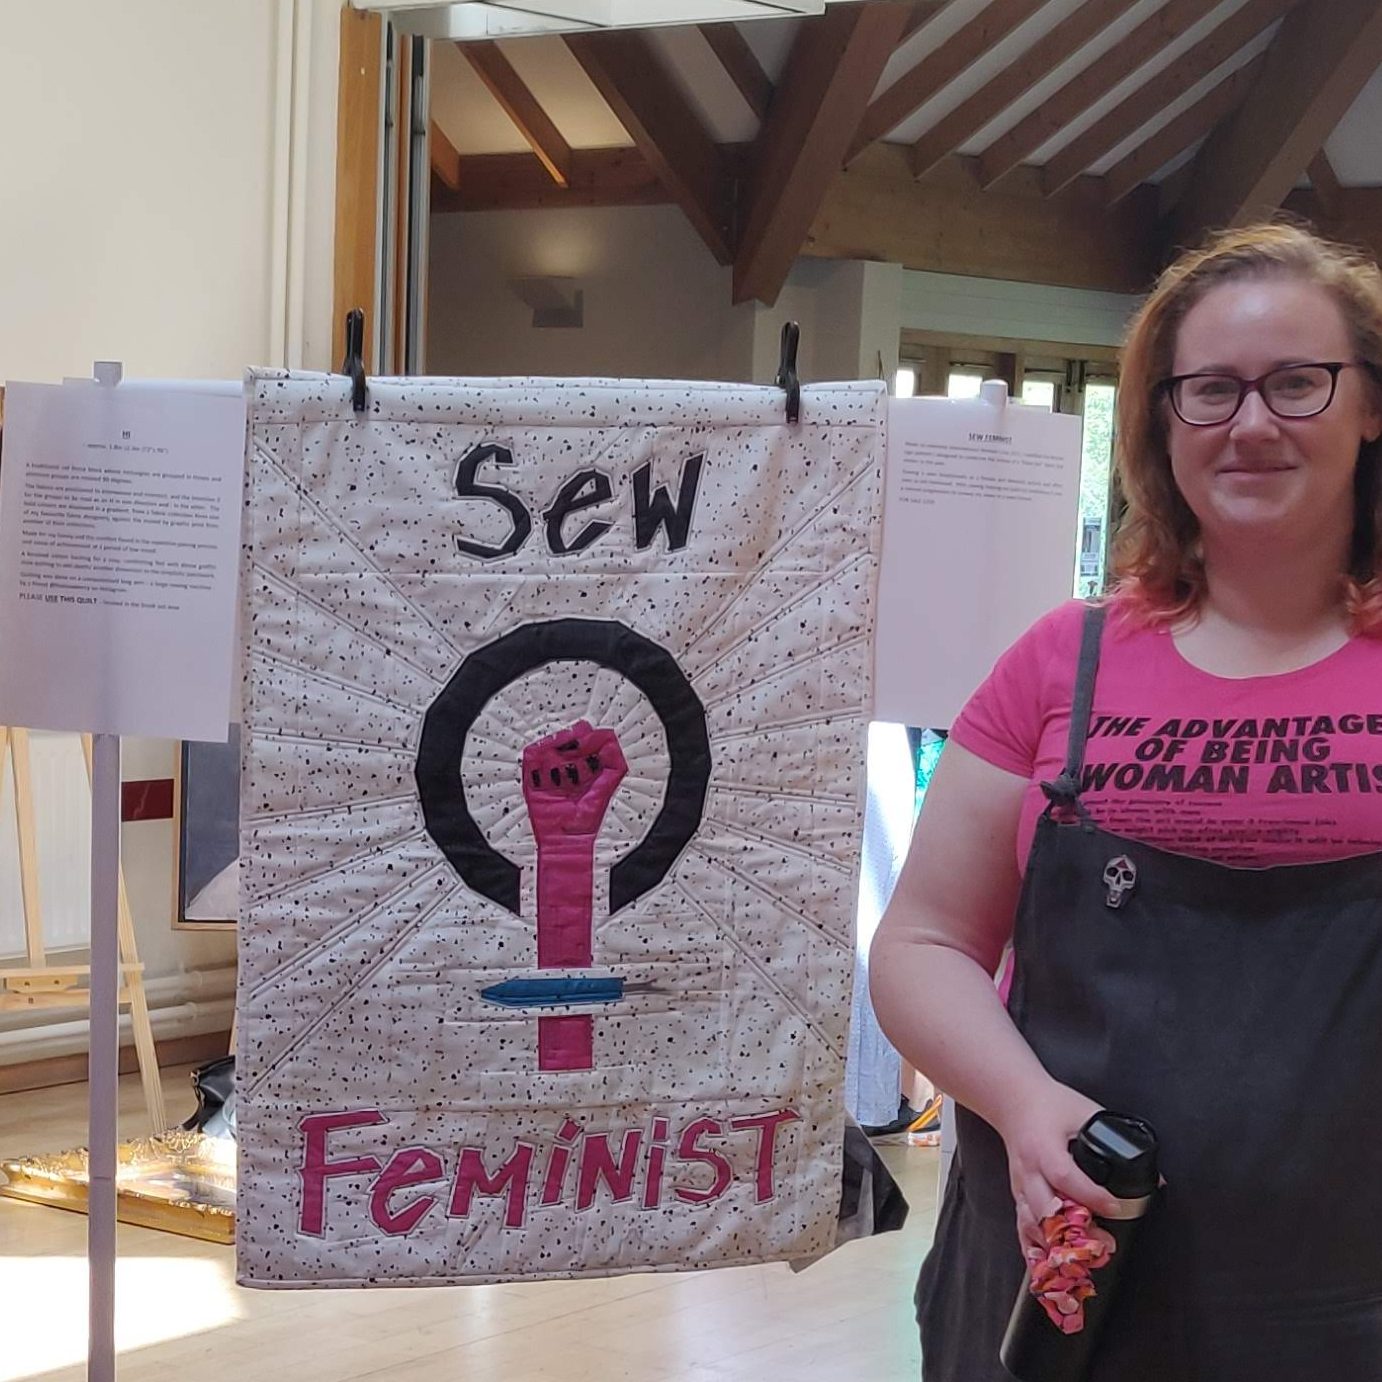
SEW FEMINIST
Made to celebrate International Woman’s Day 2021, I modified the female sign pattern I designed to celebrate the release of a “Rebel Girl” fabric line earlier in the year.
Sewing is seen traditionally as a female and domestic activity and often seen as old-fashioned. With sewing helping me build my confidence it was a natural progression to convey my views in a sewn format.
FOR SALE £250 (still available)

FRACTURED SKULL
– approx. 2m (80”) square
An improved version of the fractured skull pattern was born from a mixture of my perfectionism and desire to push myself further. I knew a larger version of the skull would be popular and I could make the design better but I kept having excuses for why I couldn’t/ shouldn’t do it. After a year and following a pep-talk to myself I got on with it.
It’s now a giant reminder to know no limits, to do what I want and I can overcome difficulties when I put my mind to it. As well as its original reminder of mortality.
It is the largest quilt I have designed and made, including doing the free motion quilting on my domestic sewing machine.

DISTURBANCE – approx. 1.5m (60”) square
Everything/ somethings always seems so black and white, simple and straightforward but I struggle to focus on even the simplest of things. This quilt is an explorative work inspired in part by Bridget Riley and replicates how I feel.
A quilt in physicality with 3 layers held together, the design is also triple layered.
Constructed from inset circles in square blocks using one fabric but rotated 90 degrees. When viewed en masse it is designed to create a visual disturbance and be uncomfortable to view.
The bias stretch in the fabric exposed by the cuts introduces disturbance into the pattern when examined closely, the initial regular pattern is not quite as regular as it seems.
Lastly, the straight-line quilting in both black and white thread at regular intervals becomes invisible in places yet the forces it exerts on the fabric again disturb the regularity of the pattern.
The quilt top was also constructed during the first weeks of the Ukraine invasion which was also a time of high anxiety, discomfort and disturbance in my life for other reasons.

SEEING CIRCLES (working title) – approx. 1.8m (72”) square
WORK IN PROGRESS
This is the patchwork top only for a quilt to be entered into a national competition in August. It’s the evolution of my “Saturation” Quilt Pattern released for sale last year. It is an experiment in increasing the complexity of a single FPP block repeated multiple times. Made only in black and white, exploring the outcomes for straight lines and repetition, continuing the influence of Bridget Riley and in the same body of work as the disturbance quilt.
It’s made from equal amounts of black and white fabric in 36 12” square blocks. Each block has 32 sections of fabric therefore over 1,150 pieces have been cut and sewn together. At the diagonal corners of each block 24 fabrics all converge as neatly as I could make them.
What do you see when you look at this piece? – I see circles! Others see stars and diamonds.
The paper pattern has been removed ready to press it, sandwich with batting and backing and then quilt. I’ve not decided how I will quilt it. My current plan is to use colour-matching thread and free motion zig zag in each area and possibly some neon hand quilting – part of the same explorative work as “Disturbance”.
SECRET SQUIRREL
There was another work in progress on display but I have not included photo’s! It’s a new pattern that is currently with testers and will be released 1st July 2022. It will be for both panel size and single bed size and is my most complex pattern to date. Keep a close eye on my feed and emails from mid June.

REFLECTIONS ON THE EXHIBITION
It was actually really nice showing my work to strangers and non-quilters. It was empowering it being seen as a form of artwork and not just ‘boring sewing’/ ‘housewife’s hobby’ which normally leads into being asked to alter a dress or hem some trousers!
The whole exhibition experience and the purpose of the show has I think induced a lot of personal growth. I have been ashamed and embarrassed to be an adult with ADHD. I have been told by loved ones and teachers to just get on with it, I’m lazy and I will get better if I eat more fruit and veg and less sugar.
When I was diagnosed and introduced to medication it was/is controversial (as I take a controlled drug) and I always felt I needed to justify/ qualify my difference because everyone always says ‘I really struggle to concentrate maybe I have it’ – a response which invalidated my struggles and made me feel worse about myself. I totally agree it could be you and you could be undiagnosed, plus ADHD is a spectrum so go and investigate and don’t judge my perspective of my experience against yours without understanding. I’m going off at a tangent but I have really struggled with my mental health and it was the main reason I really wanted to be part of the exhibition. As I grown-up (yes I know I’m already middle aged) I am really working to correct the crippling issues I have to help give my girls the best future happiness. Anyway, kind of back to the point.. I’ve always been ashamed and embarrassed to say I have ADHD and feel guilty taking medication when I really can’t cope without. In the last few years I have learnt life is so much more enjoyable when I take my medication because the day to day acts of functioning are easier. My husband has been a rock regards this always reminding me “you wear glasses to help you see, yes you can mostly function without. You wouldn’t not wear them because you feel guilty thinking normal people don’t need them. Your medication is like glasses it helps you see things more clearly.”
Before the exhibition I had never actually met other diagnosed and ‘out’ adults with ADHD. I was surprised by how much of a revelation and enlightenment it was. Especially hearing about common personality traits and experiences (parenting). A lot of things I have felt guilty for being bad at and need to change or excuse/ apologise for are the ADHD characteristics. It was also refreshing to not feel guilty or embarrassed when I got half way through a conversation and got distracted. I didn’t realise I felt so guilty and burdened. I always felt like saying I had ADHD was an excuse. I am beginning to have some compassion for myself and instead of berating myself or wishing I didn’t, to embrace my difference, and understand what I can and can’t do and set strategies in place. This all sounds so reasonable when I read it back. For years I have said I should be able to do this, I just need to be more organised, when really I need to accept I can’t do the standard and find ways round that suit me. I have in part been doing this for years but I’ve always viewed them negatively.
This last bit has been totally unrelated to quilting by this blog is a record for me.. this exhibition was a bit of an earthquake. I’m fine and I need to do a bit of reorganizing/ sorting and maybe I will post here more as a result but if I don’t that’s ok too! I am a person after all!
xxx