THE SATURATION QUILT

Uncategorized

It’s been a long time! Sorry for that – I’ve had 2 lockdowns, more home schooling and life just like the rest of you I’m sure, since the last post.  I have been busy; if you follow me on Instagram you will know and I suck at writing more than a few lines so these longer posts I keep putting off.  I will do some catch up blog posts soon but for now I want to tell you about the Saturation quilt!

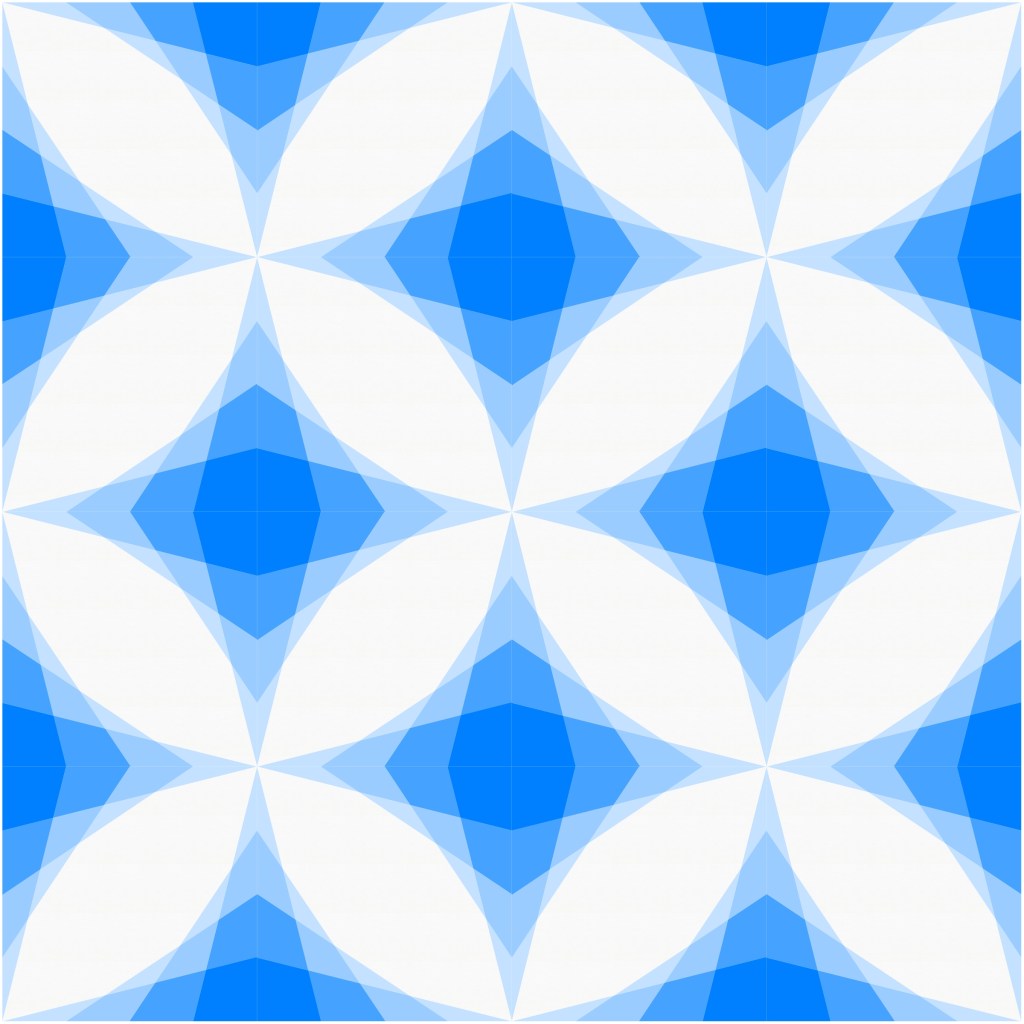
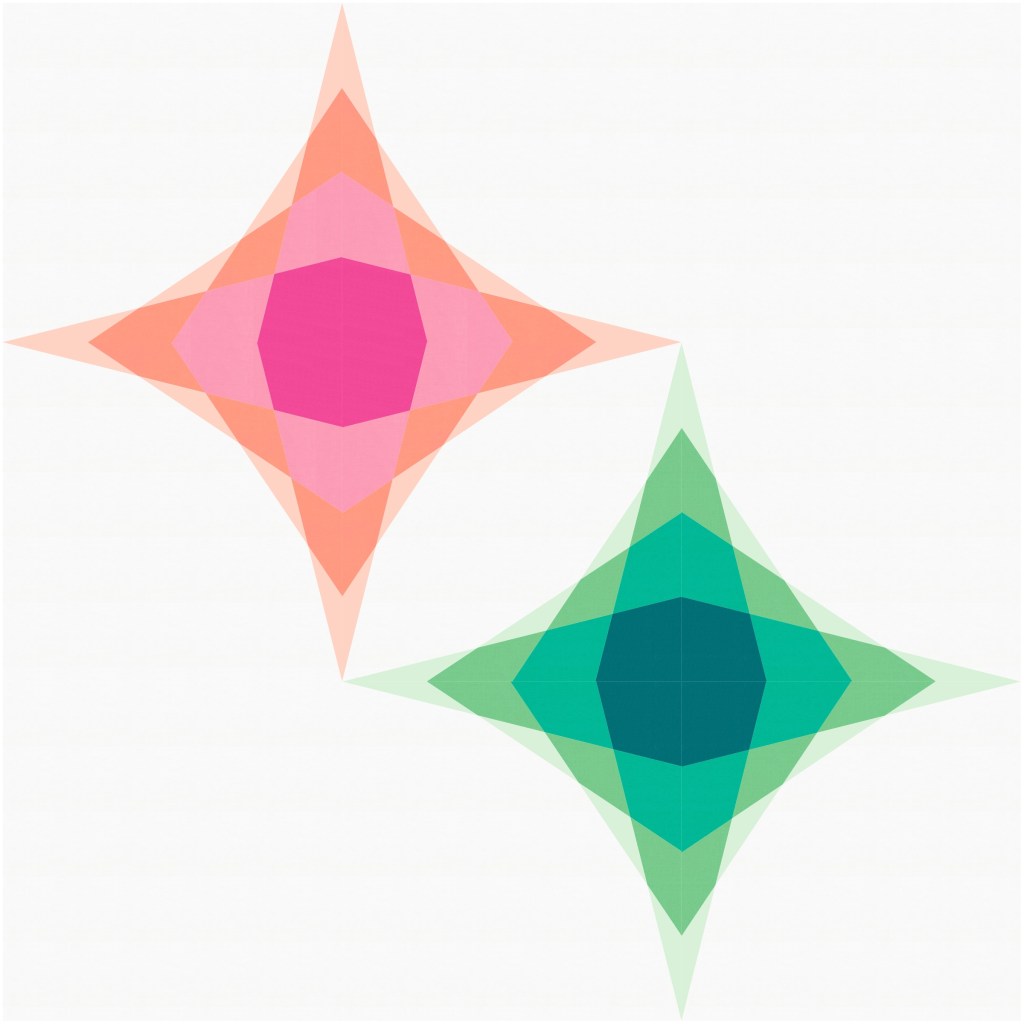
The Saturation idea developed way back in September 2020.  I saw some stained glass in my Instagram feed – having done a glass course a few years ago and have a box of bits, it made me want to get them out and play.  Stacking the glass but rotating the layers gave a cool effect and straight away all I could think of was a quilting block in solid fabrics. 

Layers of Glass the initial inspiration for the Saturation blocks

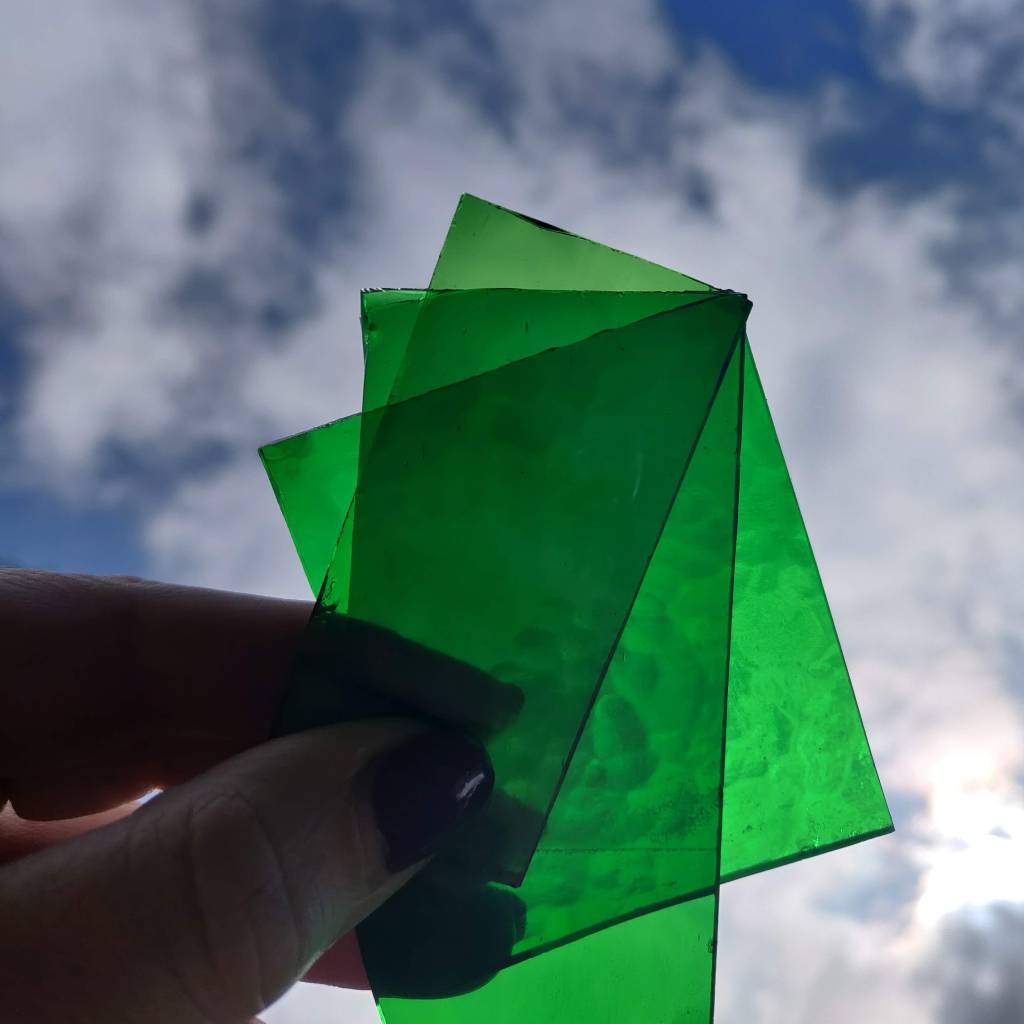
That night I had a block drawn up and a cool blue sea/glass mock-up got me very excited but I needed to be sewing up my fractured skull sample and pattern for Halloween so it was put to the side. 

First mock up on EQ8

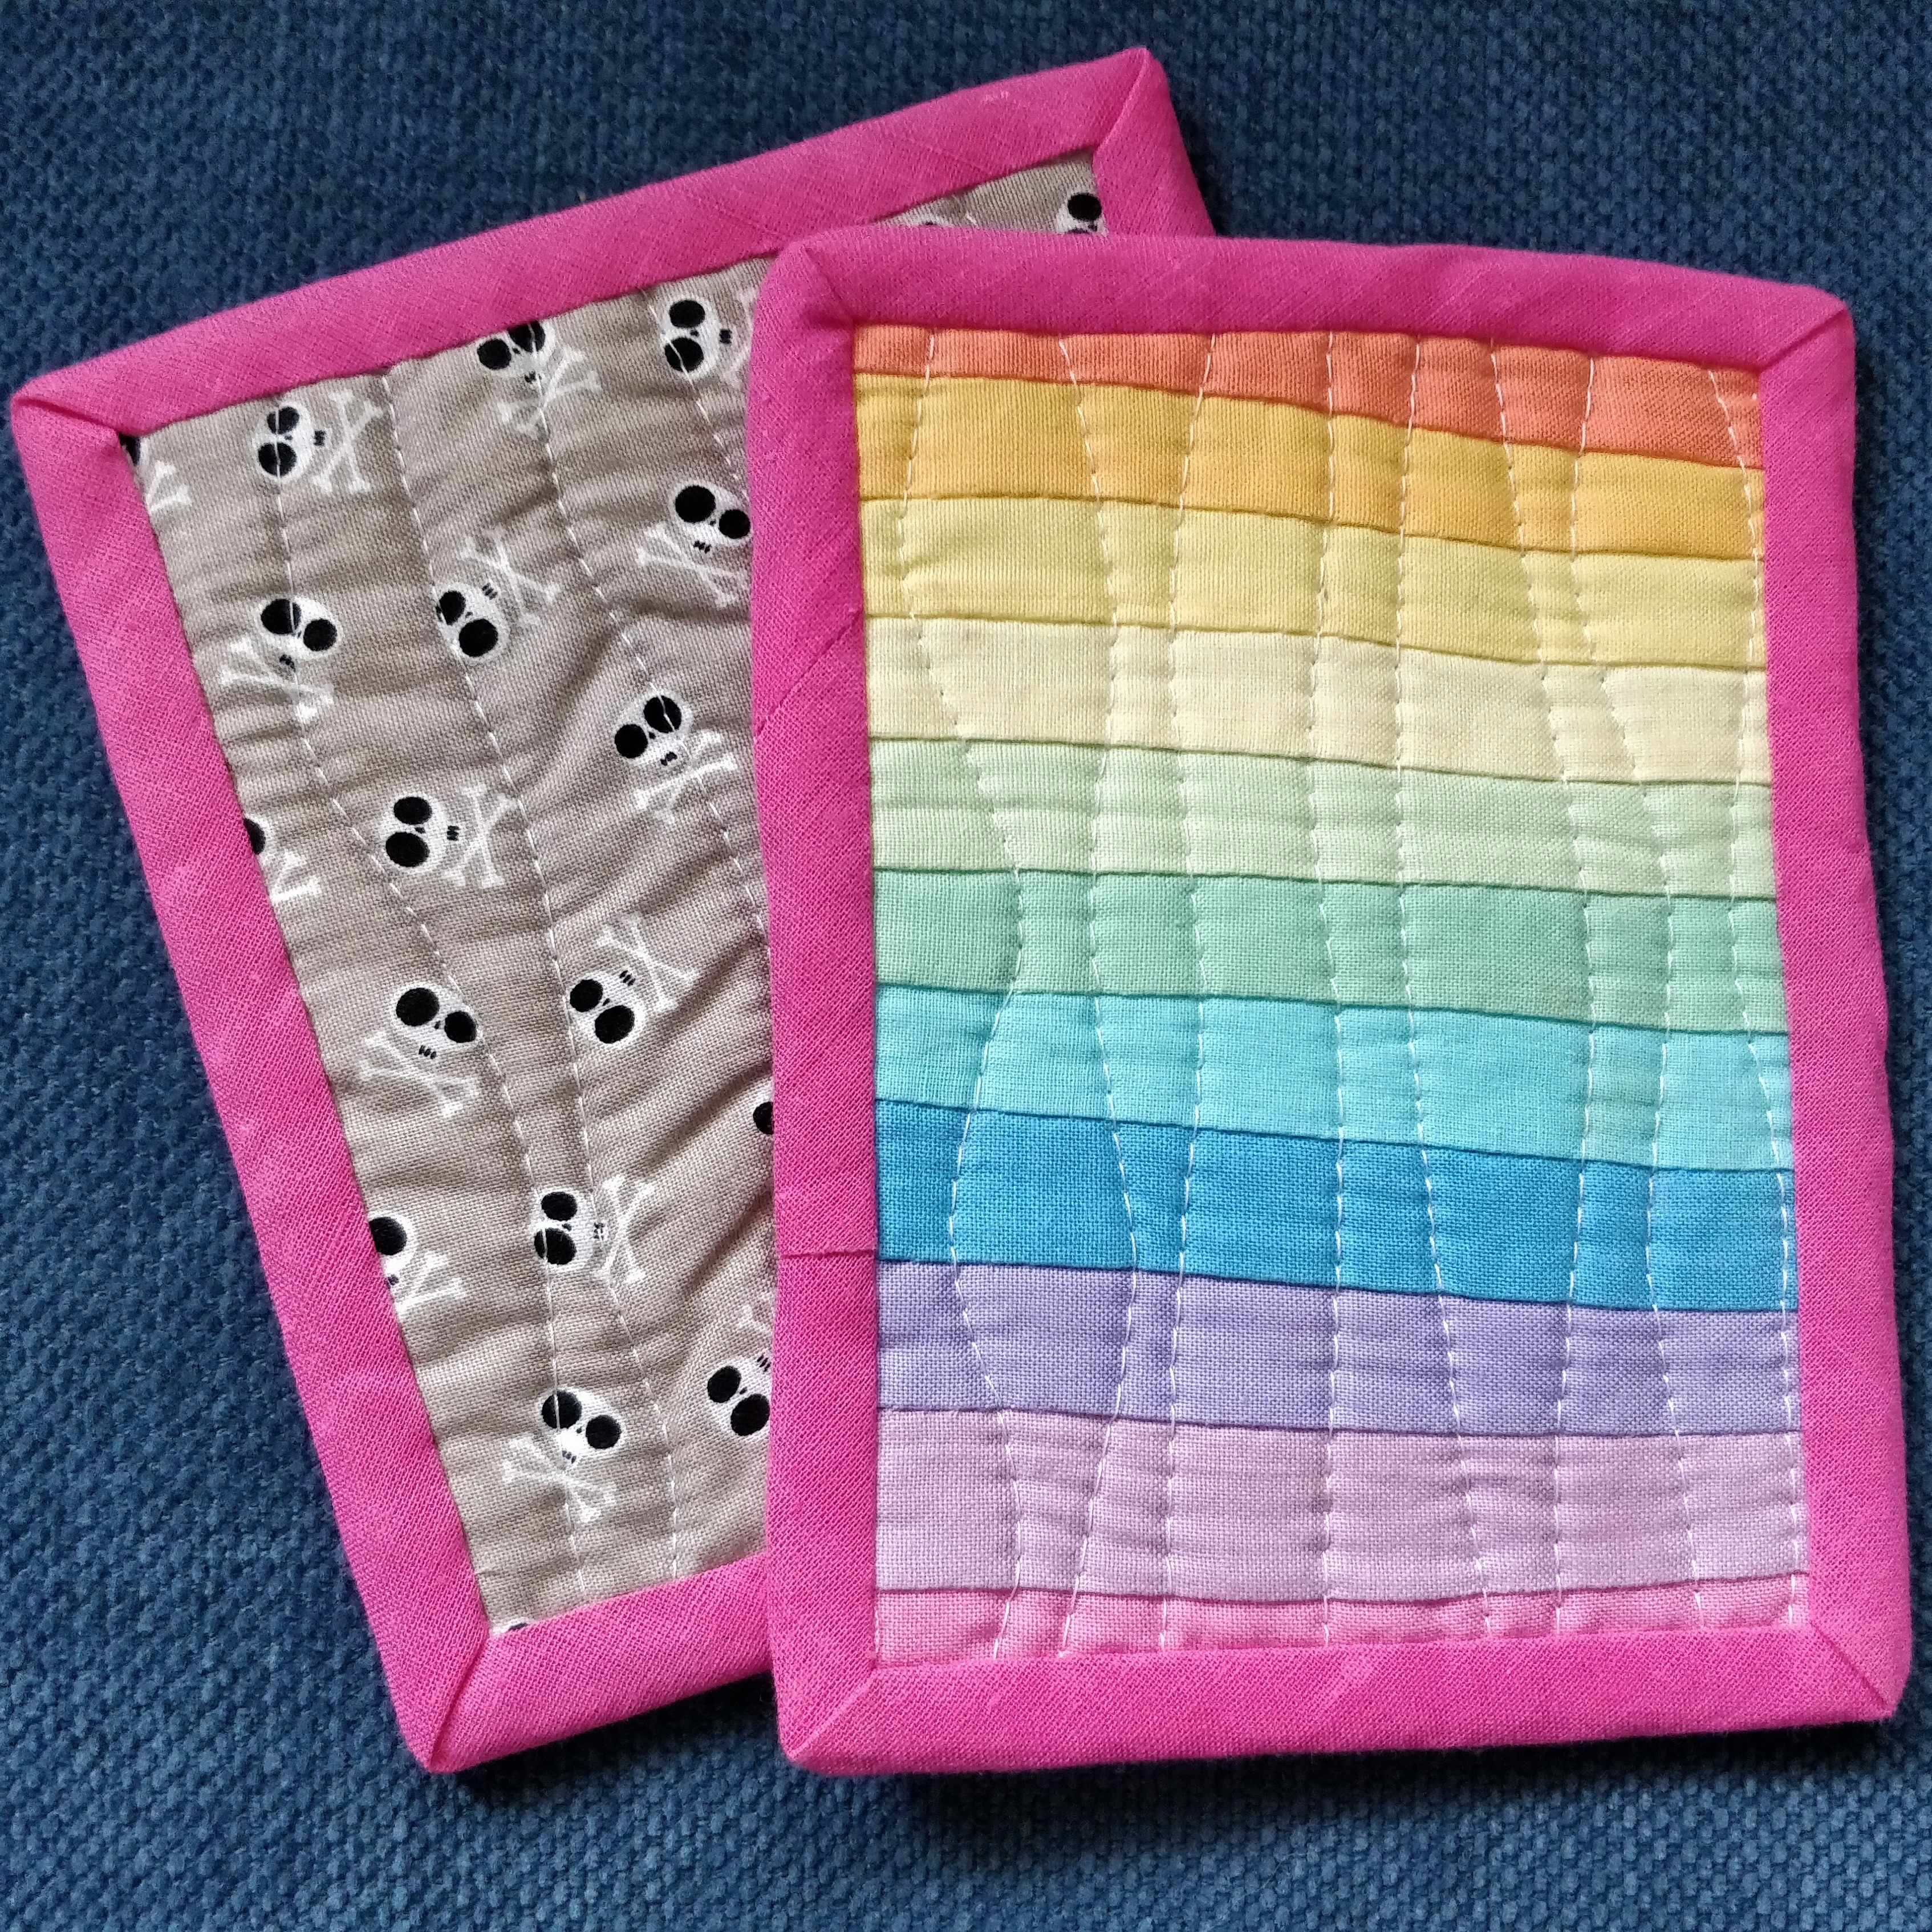
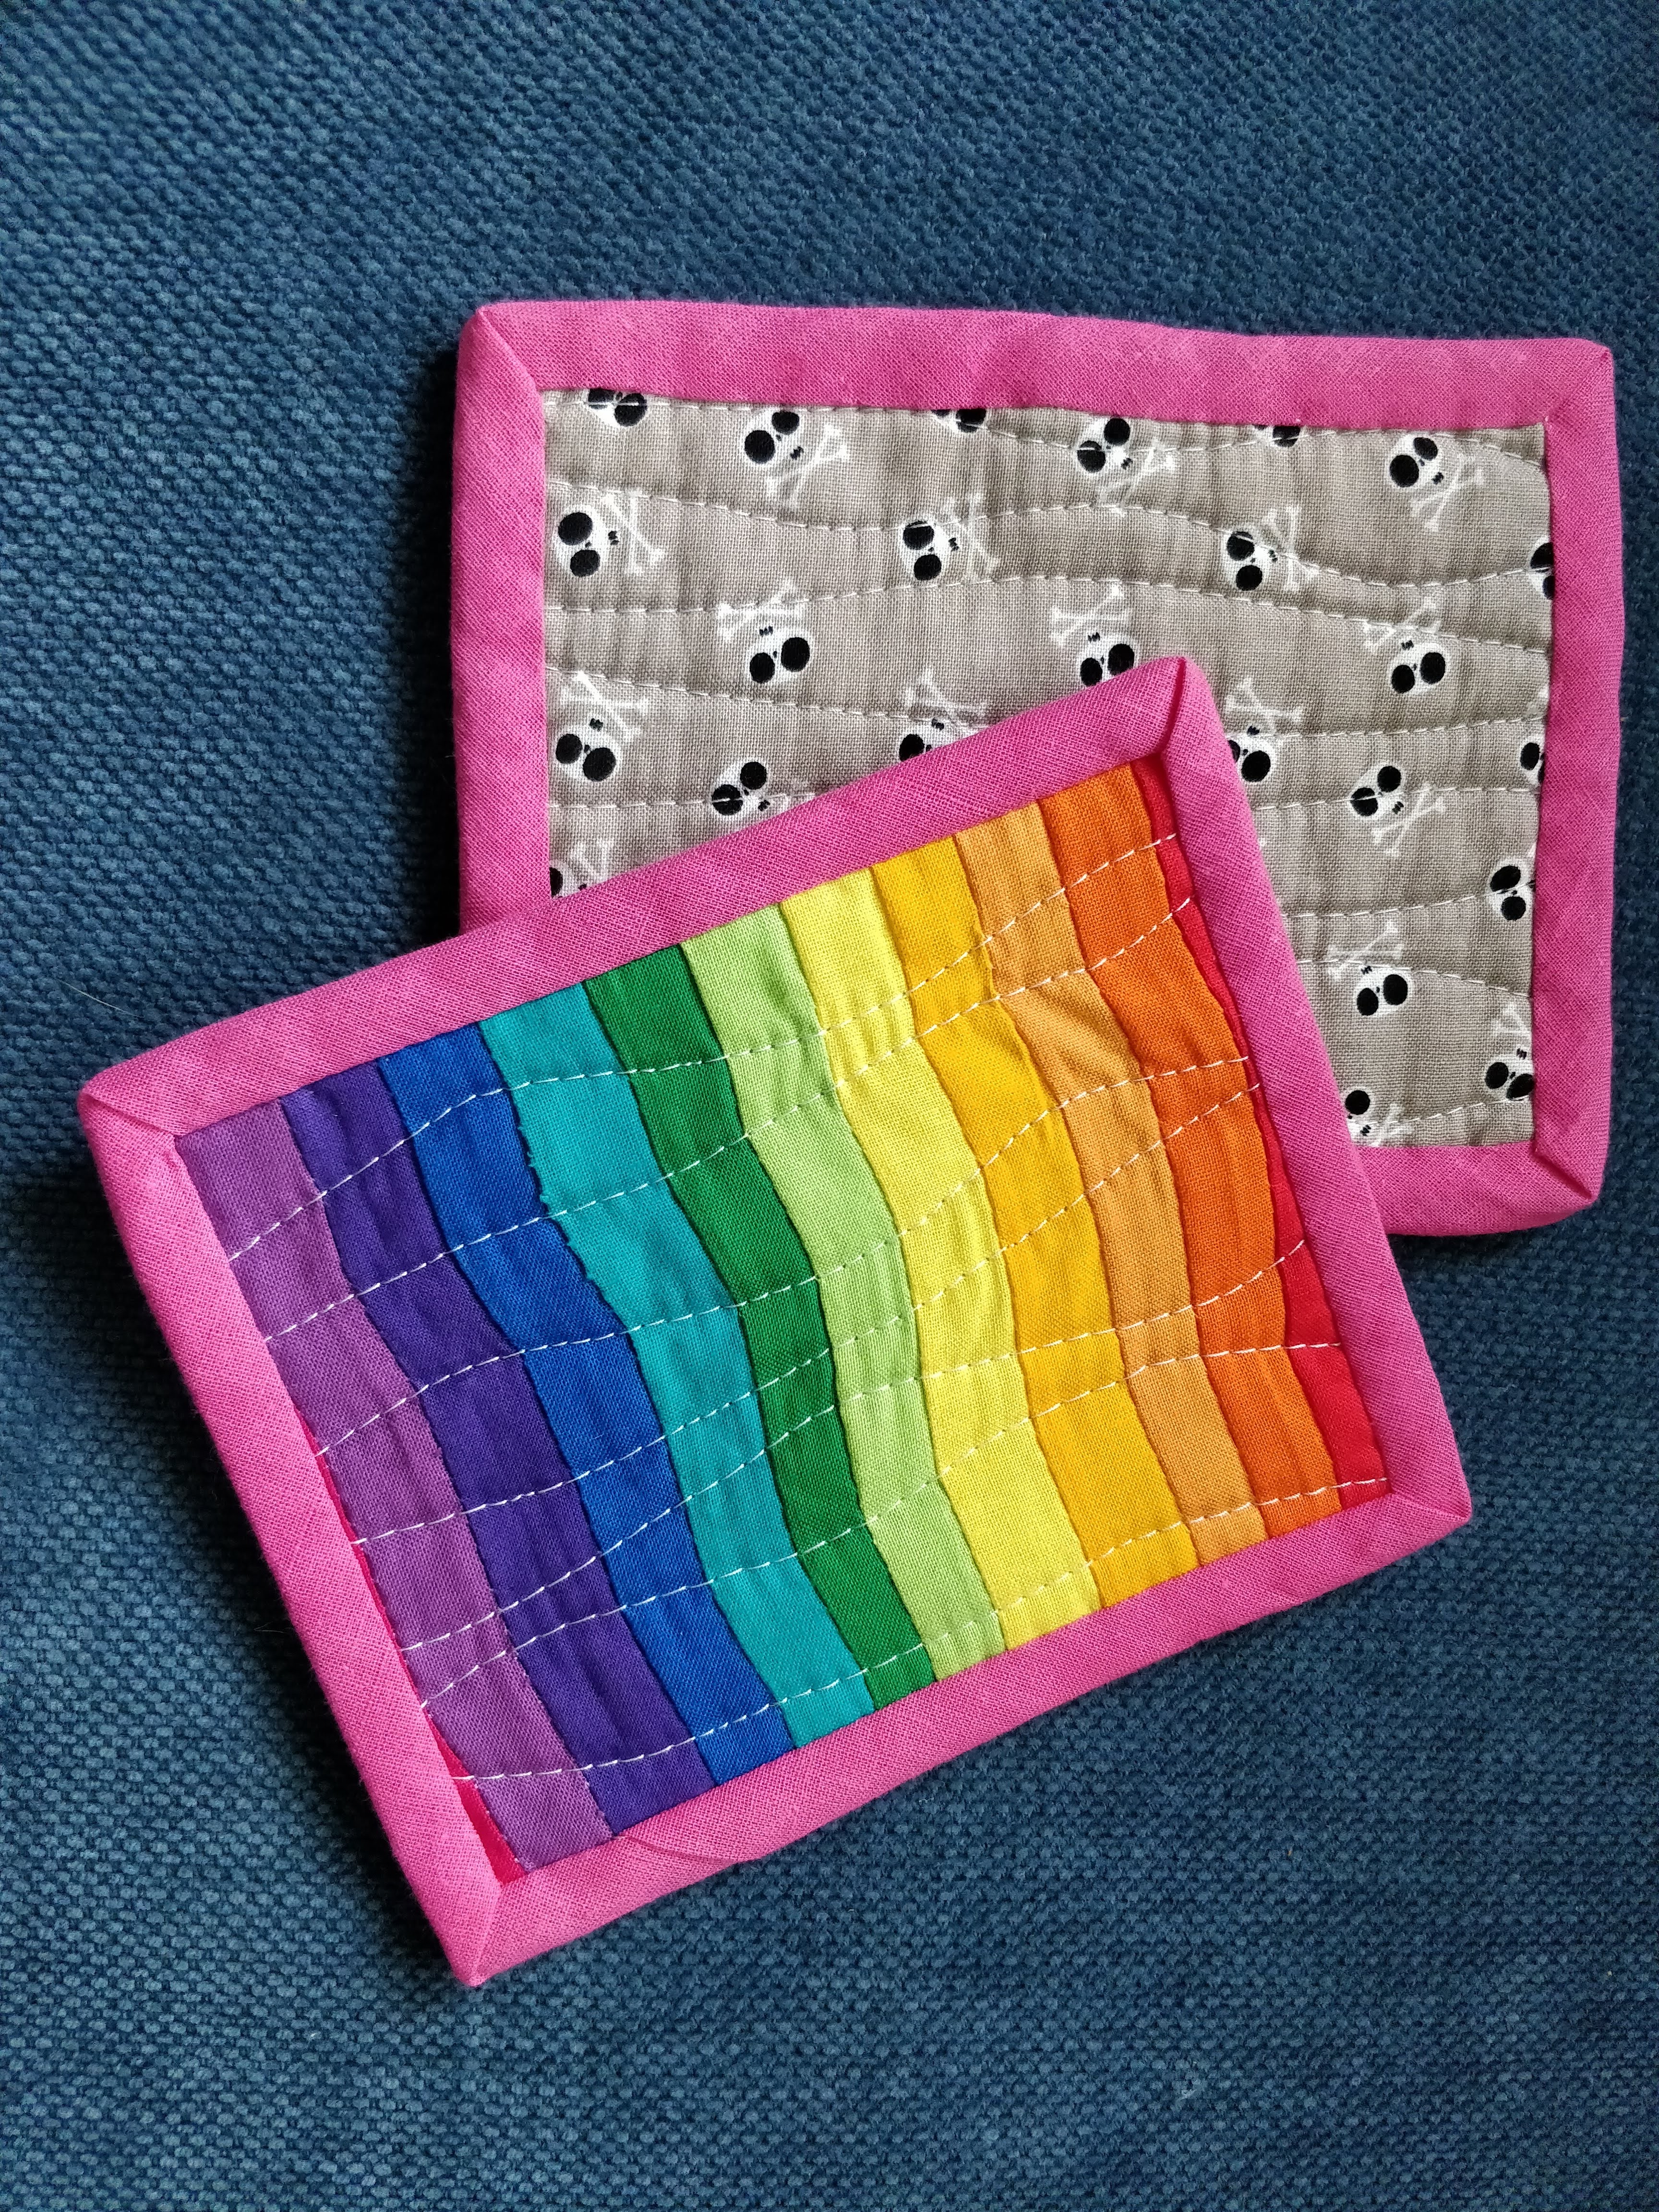
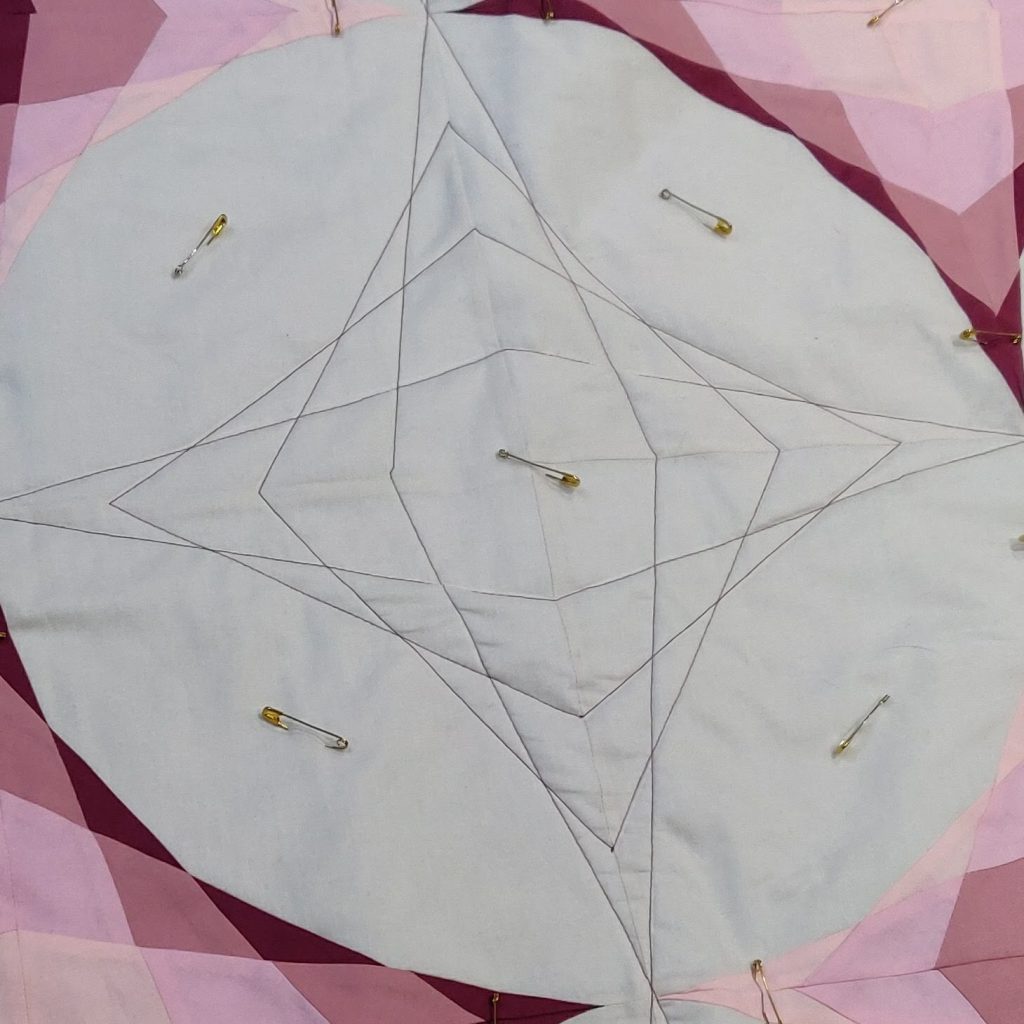
Once I was able to return to this embryo of an idea, I’d decided I would test the block trying a freezer paper technique – something I had wanted to try for a while but the pieces in my previous blocks were too small to be accurate.  I made a sample and gifted it to my mum as her birthday present.  I bought 4 FQ’s in a colour gradient I knew Mum would love and one metre of cream background fabric. 

Well, the birthday present turned into a Christmas present and was it was duly gifted.  It looked great and I had really enjoyed experimenting with freezer paper (though the very acute points had been difficult to maintain) and with some different straight-line quilting. 

First Test Quilt made for my Mum in her colours

Quilting lines mirror the block line in the central space

Before New Year I did some proper planning and had scheduled my year with Saturation being my first quilt pattern to be released…  then everything changed again! I had to home school for 3 months and after that I need to recuperate! After re-energising, sewing other people’s designs and projects (posts to follow), I cracked on writing the saturation pattern up, finding some testers and decided to release in mid-July. 

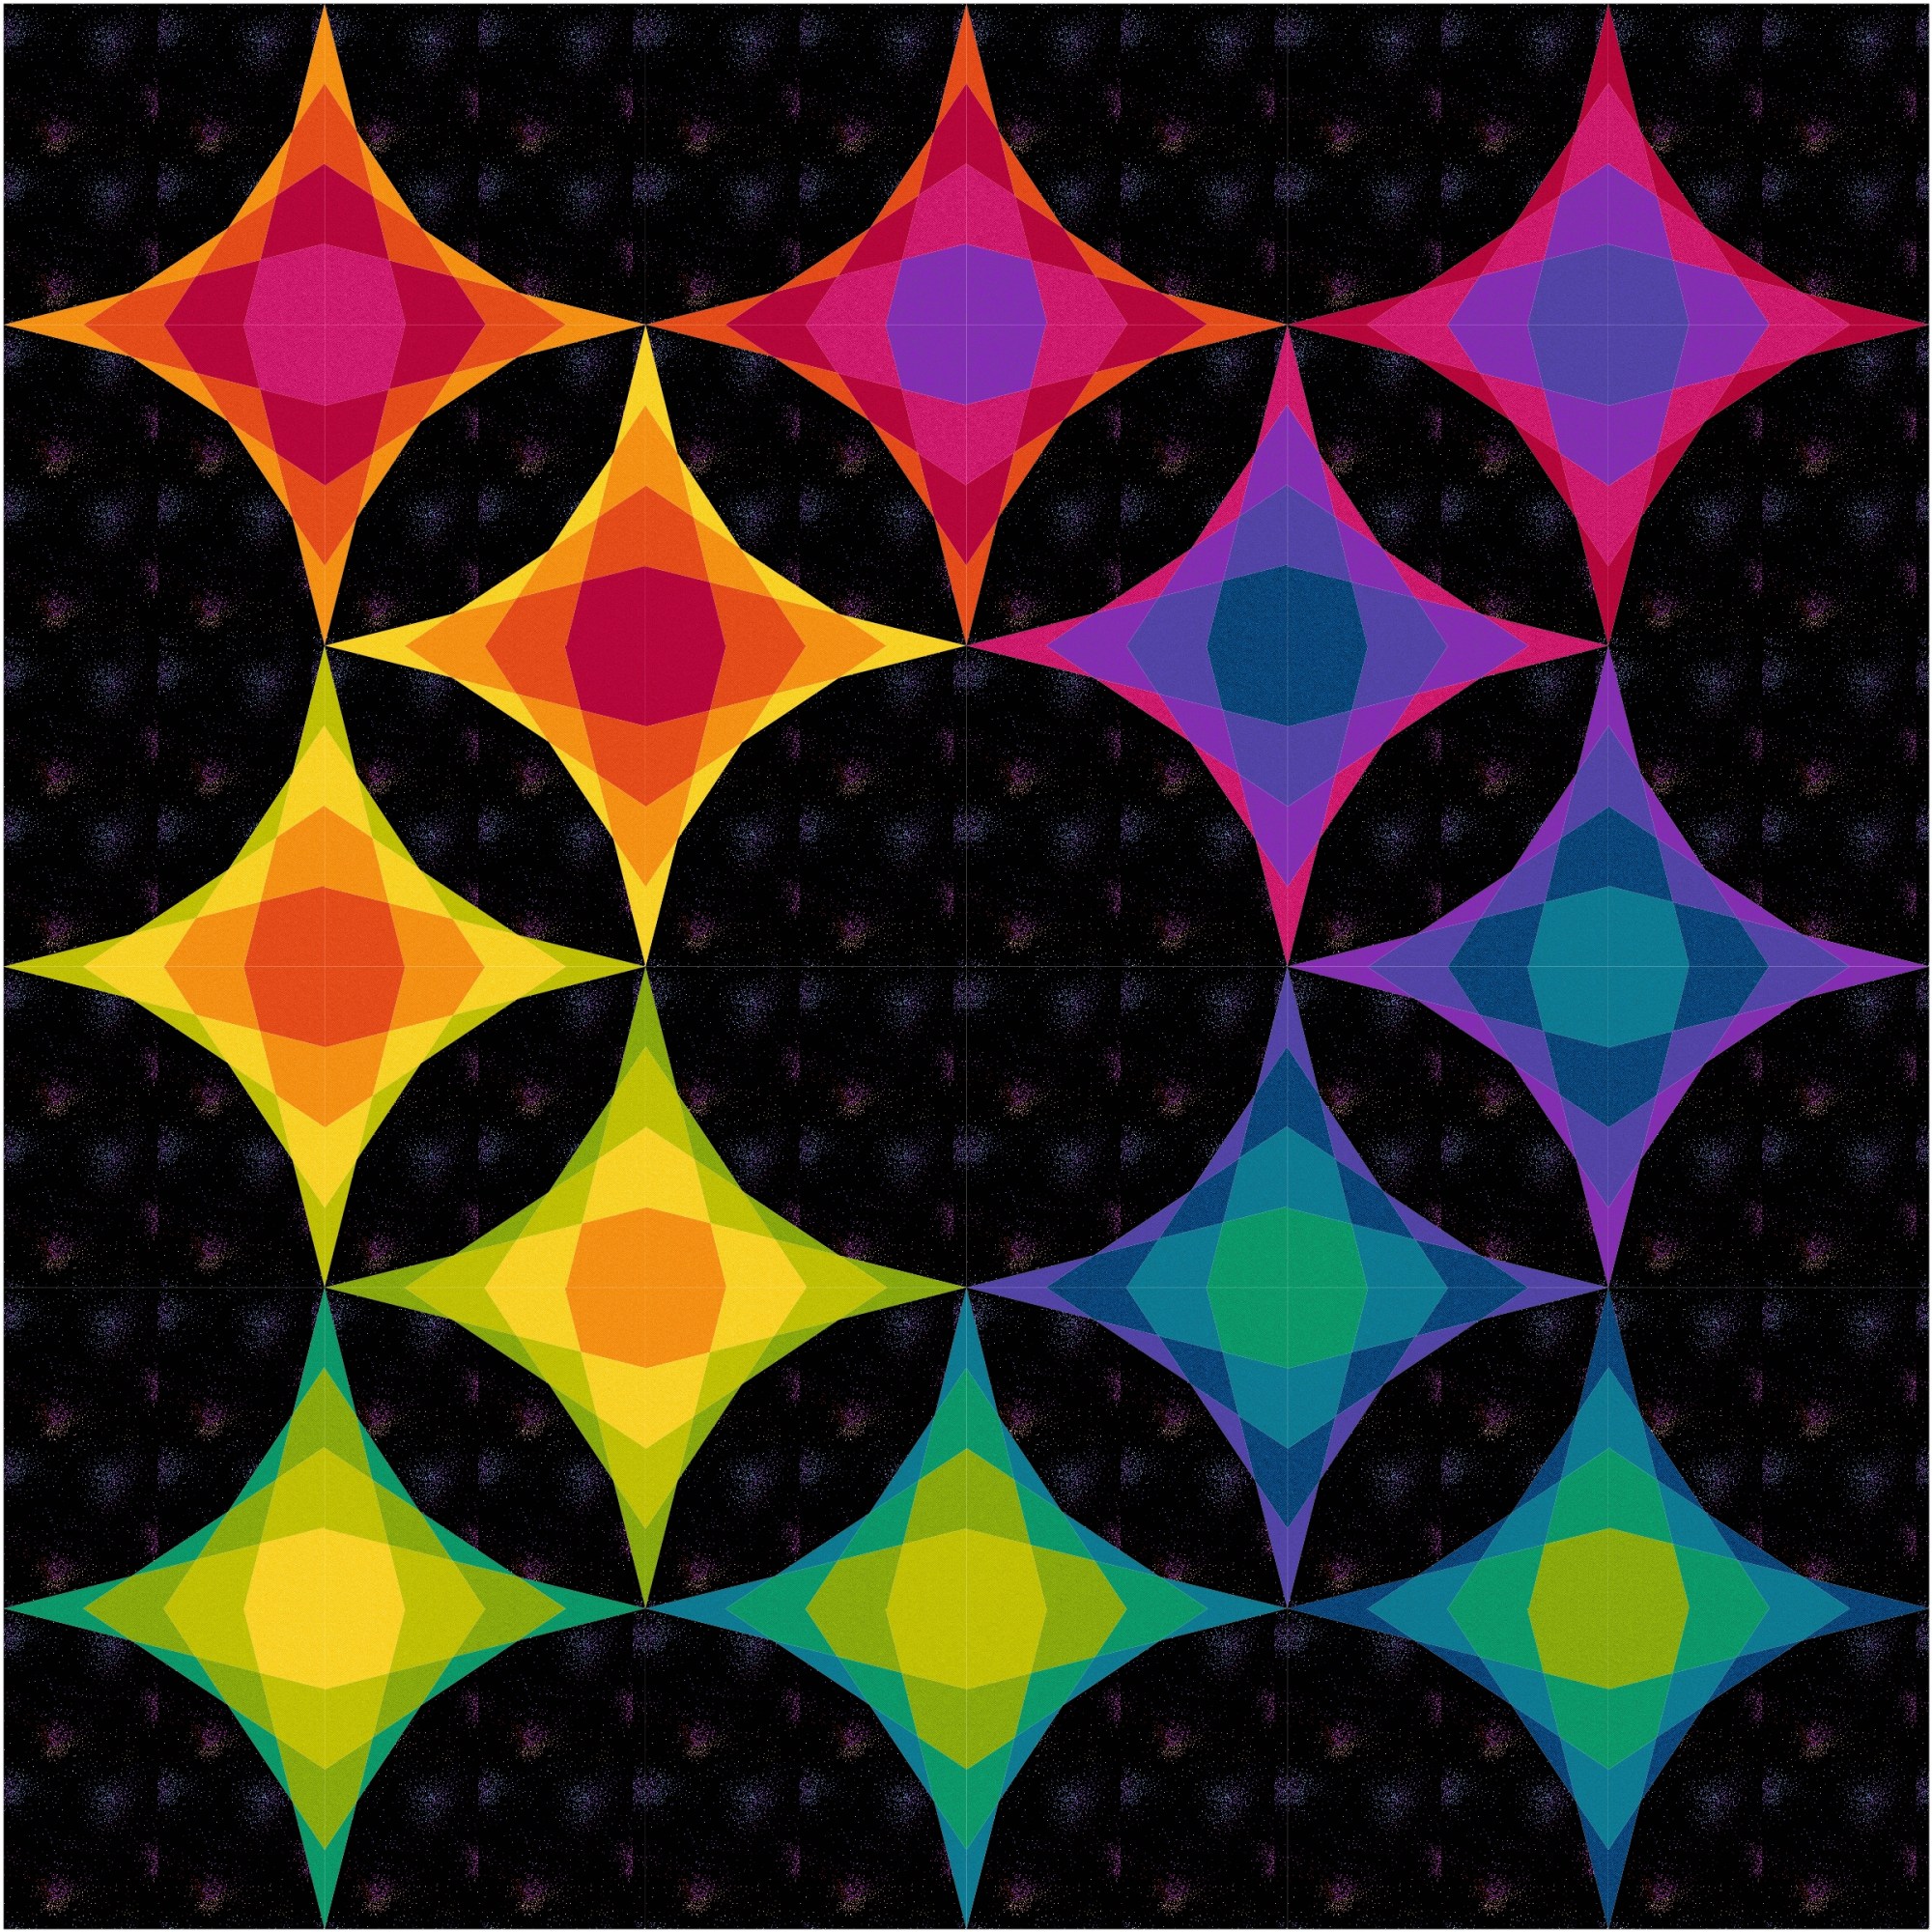
Now with EQ8 software at my fingertips I created mock-up after mock-up and realised how incredibly versatile the pattern would be.  Knowing there are loads of amazing creatives out there I got more and more excited about the pattern’s potential. 

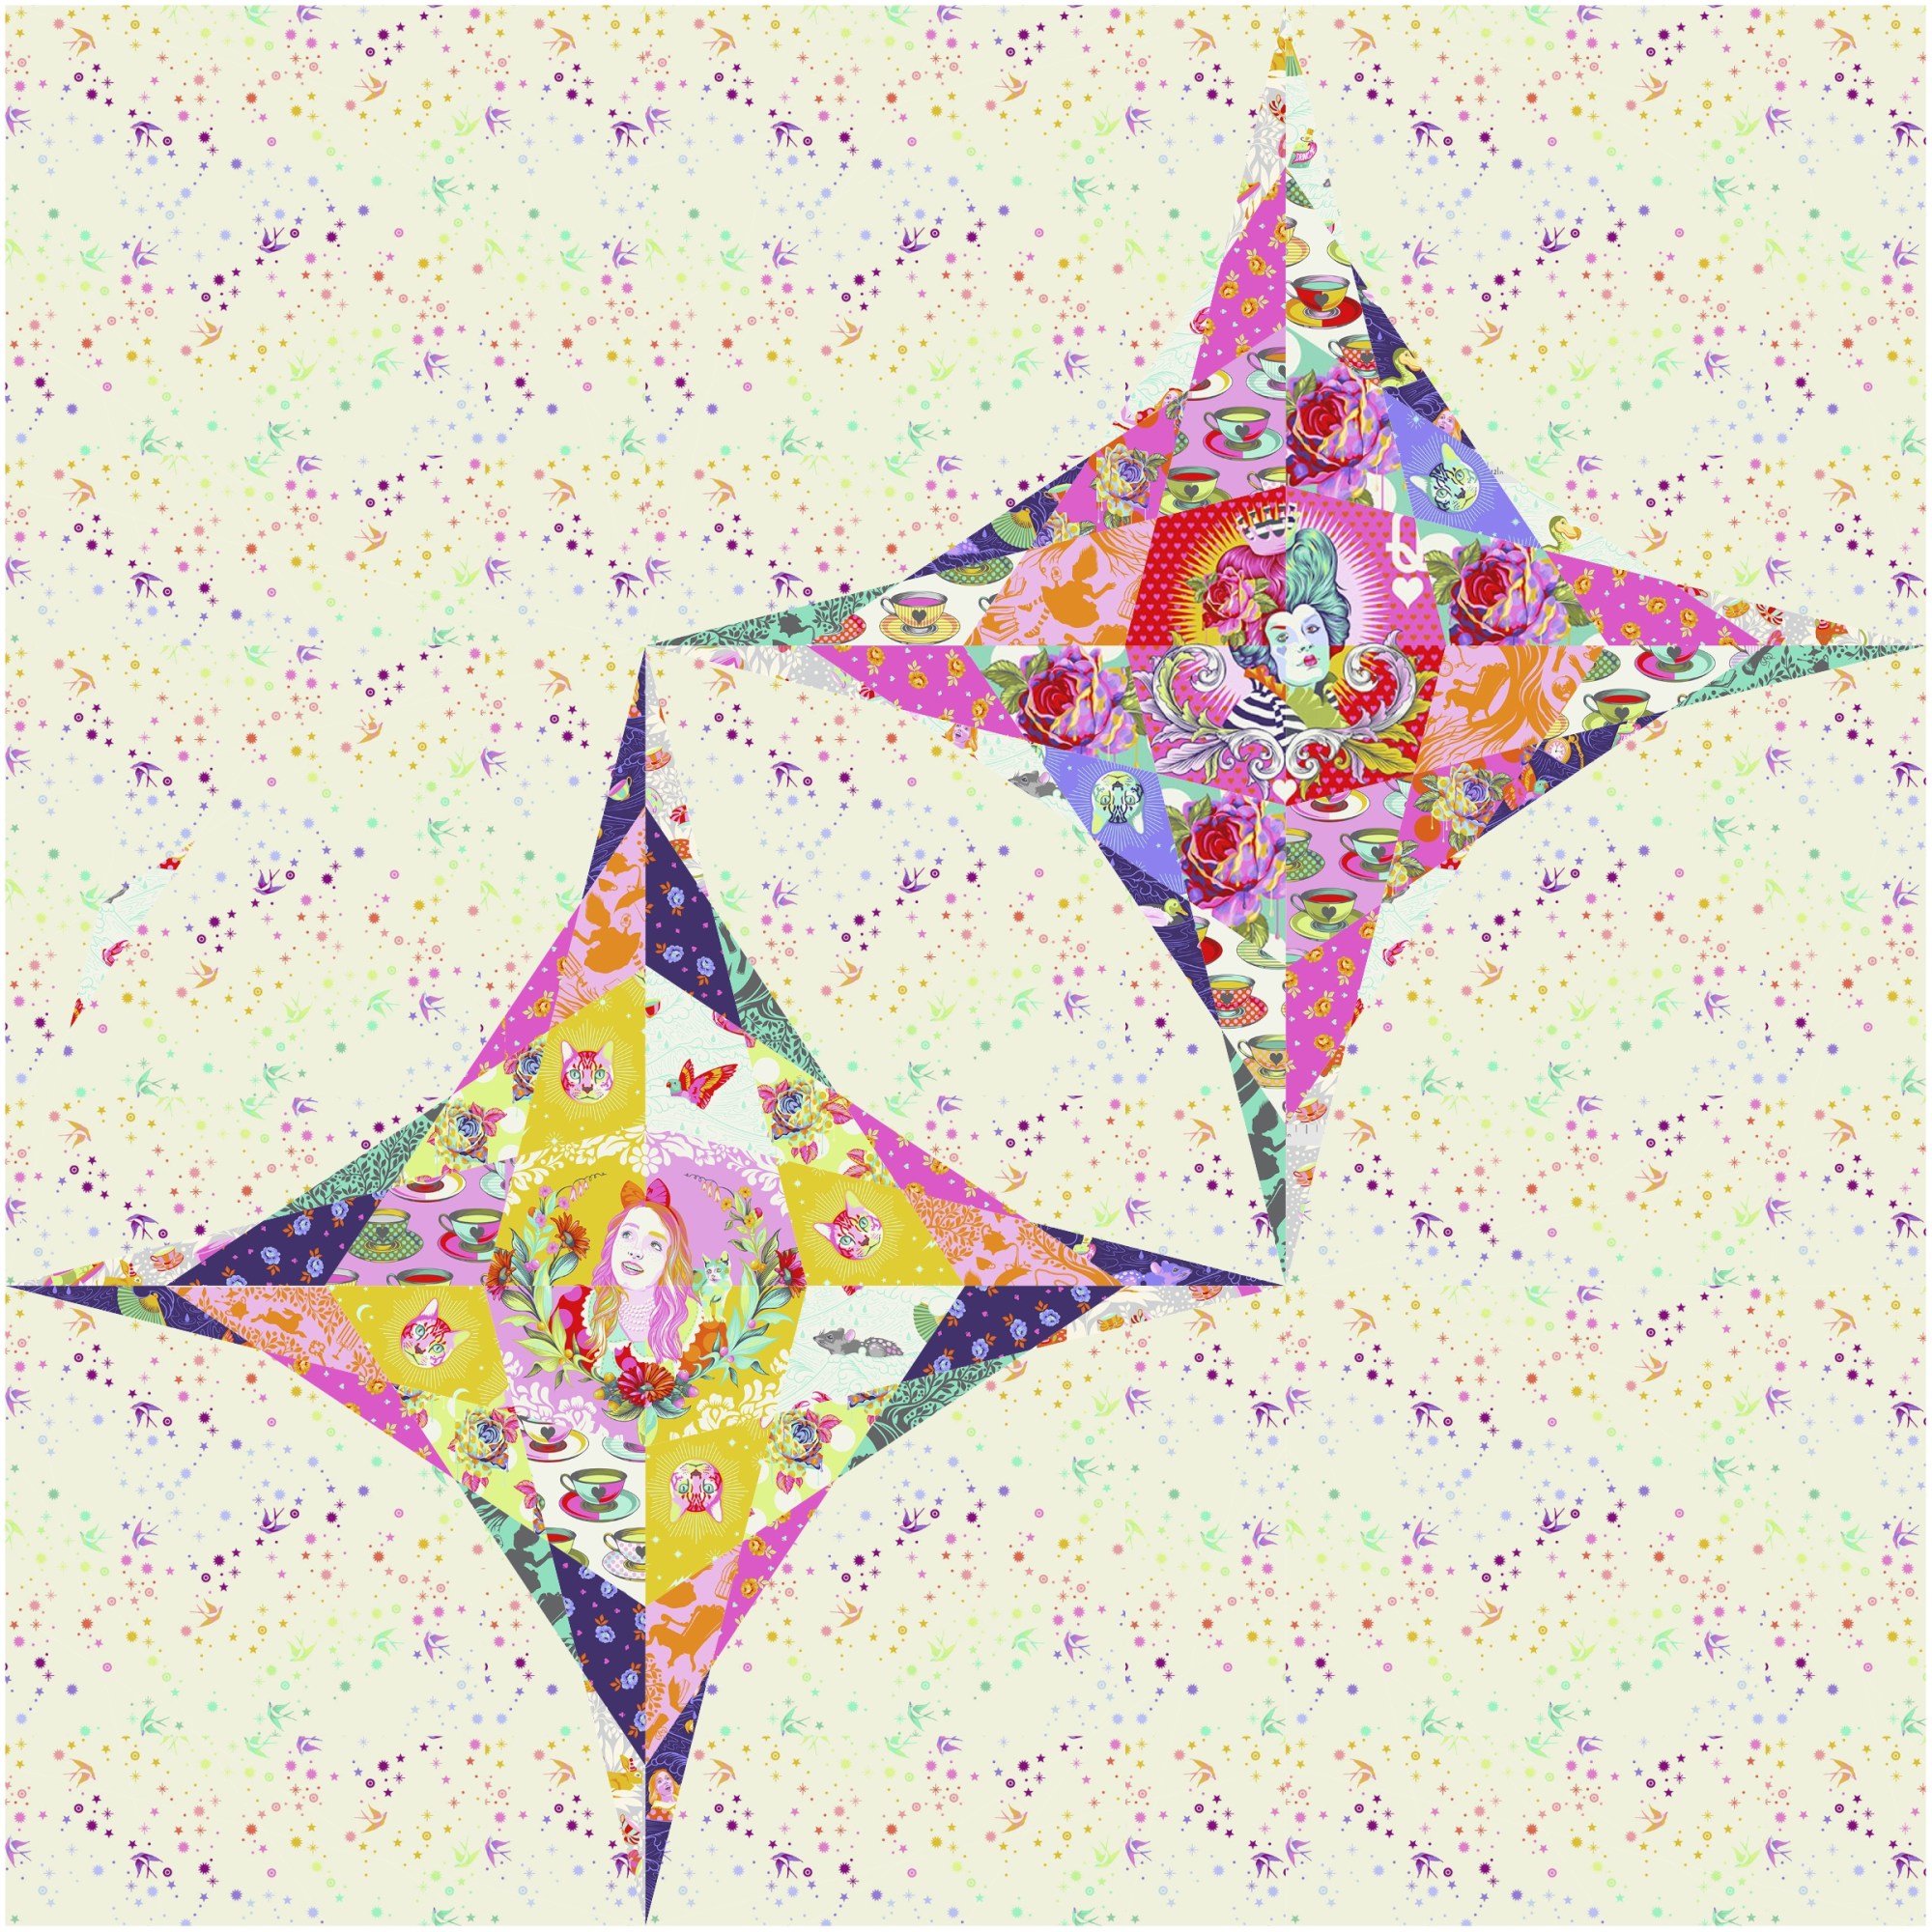
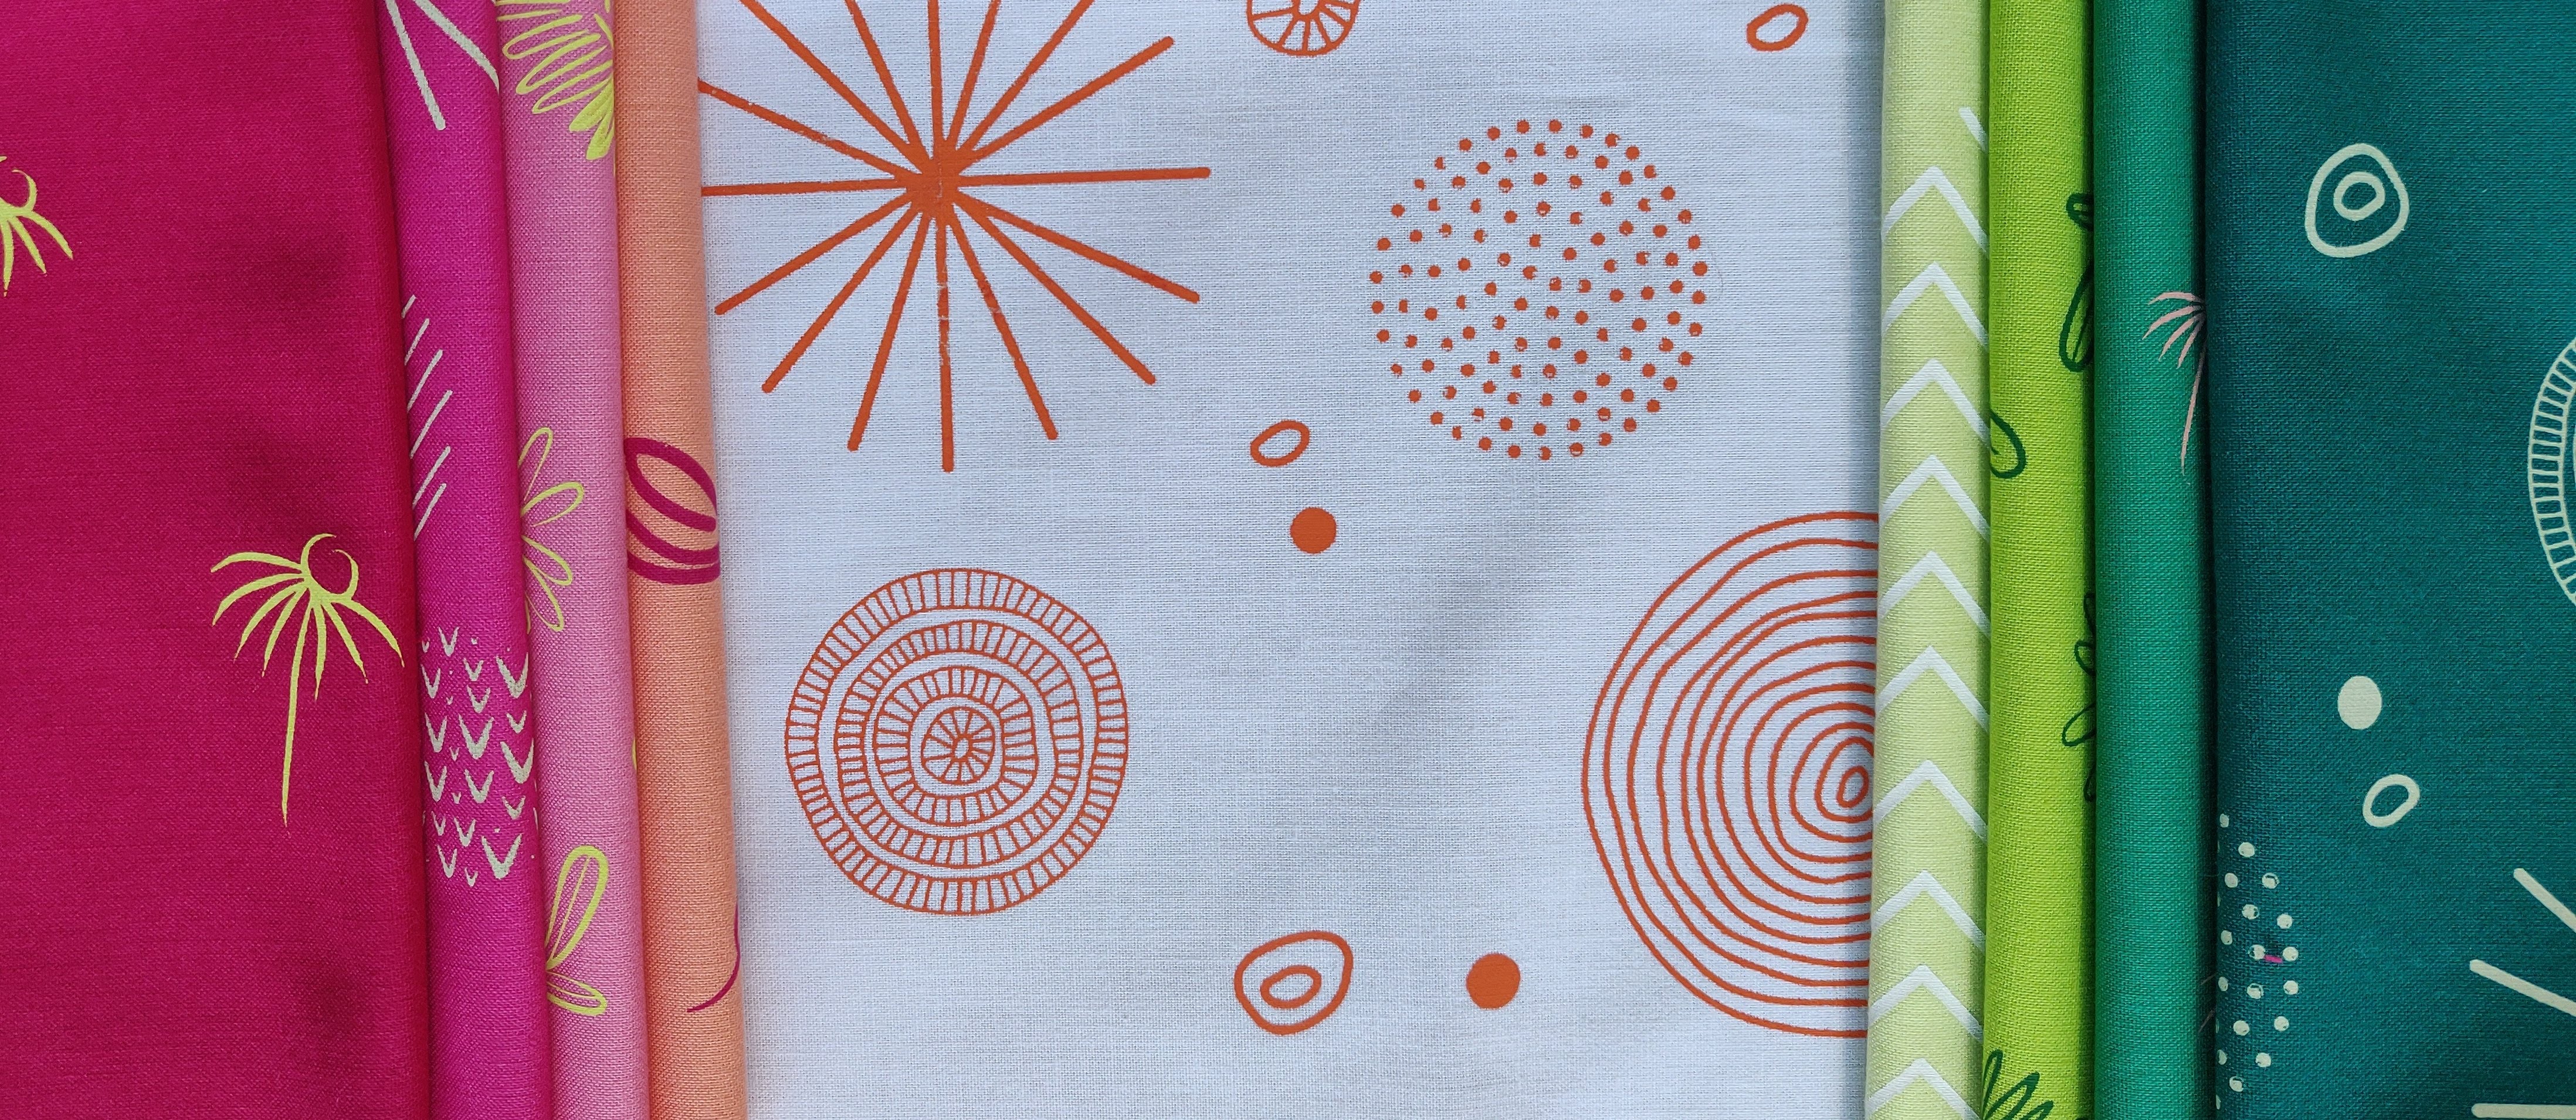
I wanted to support my friend Helen Steele , who screen prints her own fabric, with the launch of her first ever co-ordinated bundle – Lush collection.  I suggested a collaboration and for me to make a saturation quilt in her fabrics which she could take to Festival of Quilts for her first ever stand there. 

Mock-up of 48″ Saturation quilt in Helen Steele’s Summer Lush Bundle colours

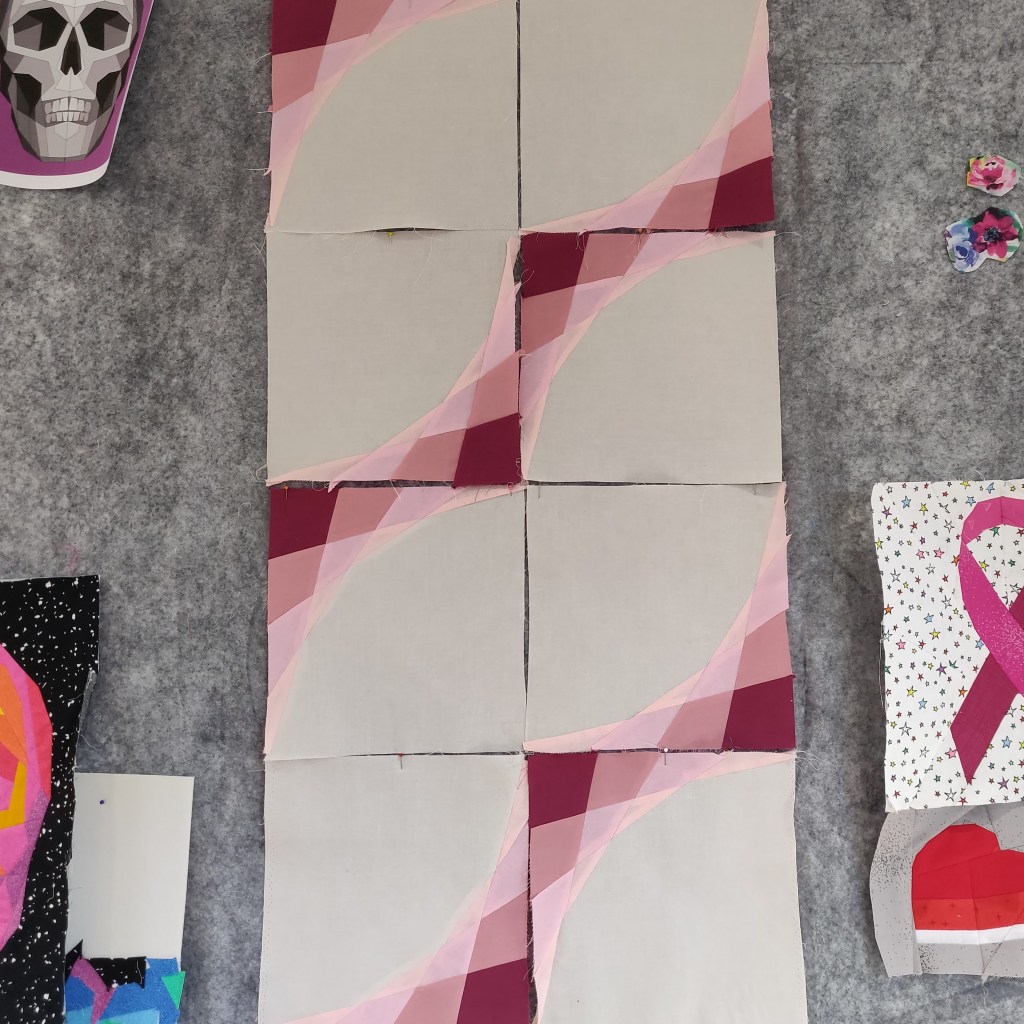
After seeing a mock-up of how the quilt could look Helen and myself adjusted the bundle and settled on these beautiful prints. 

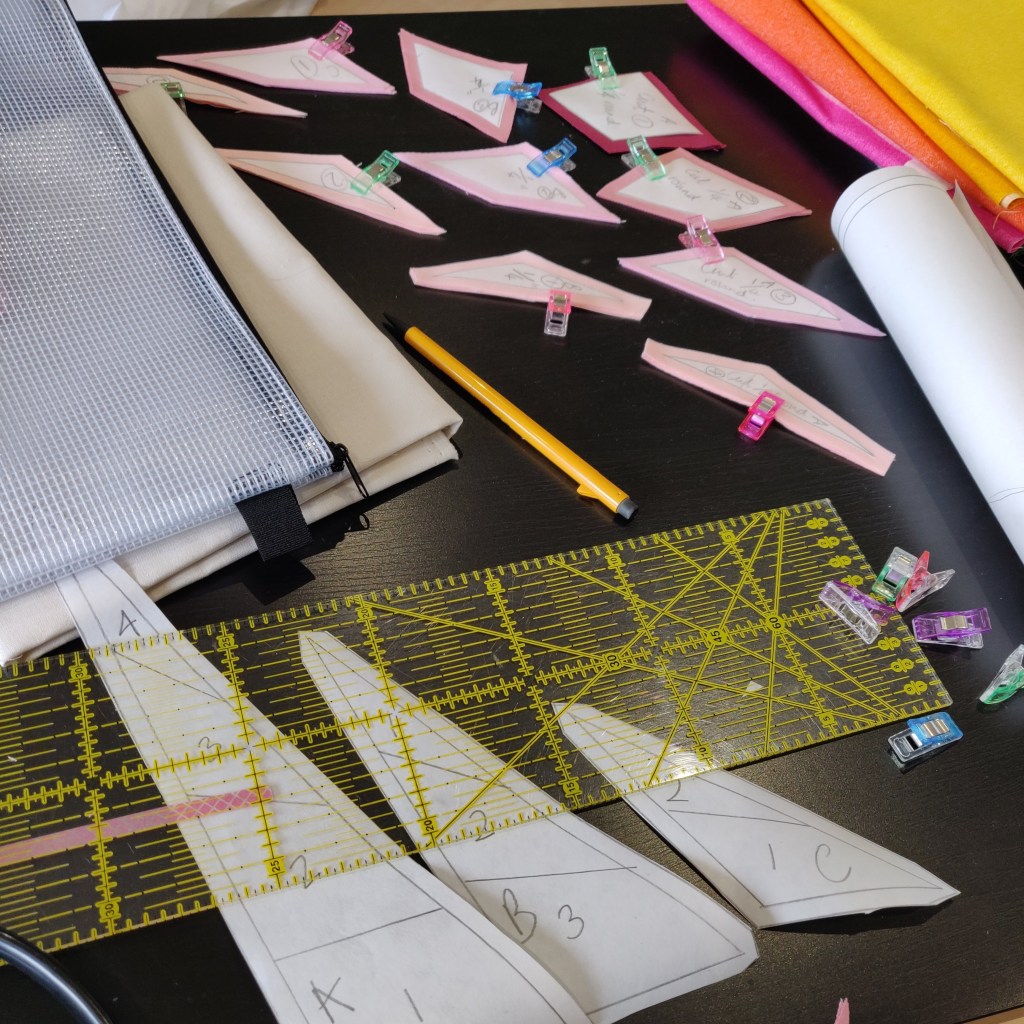
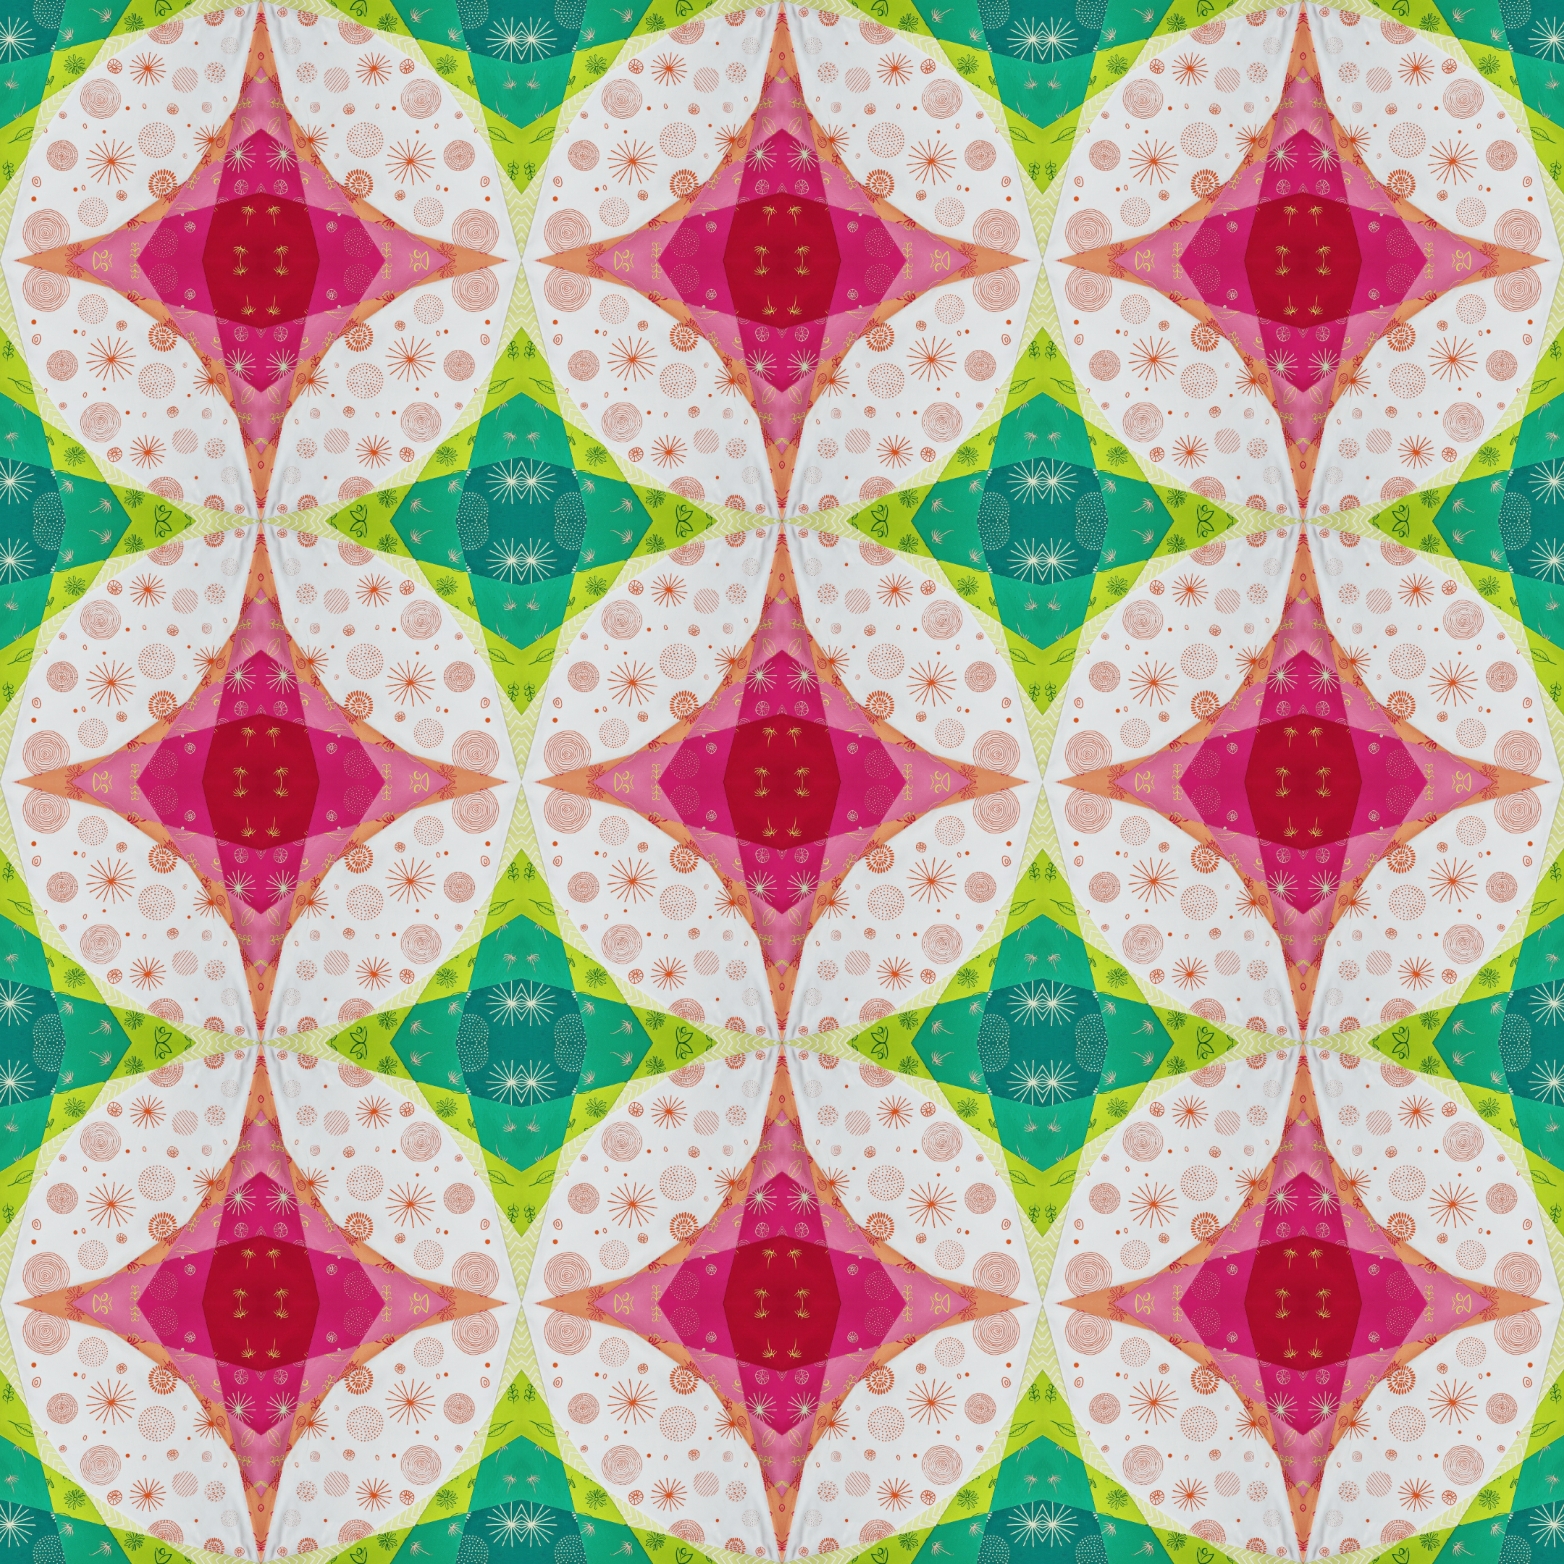
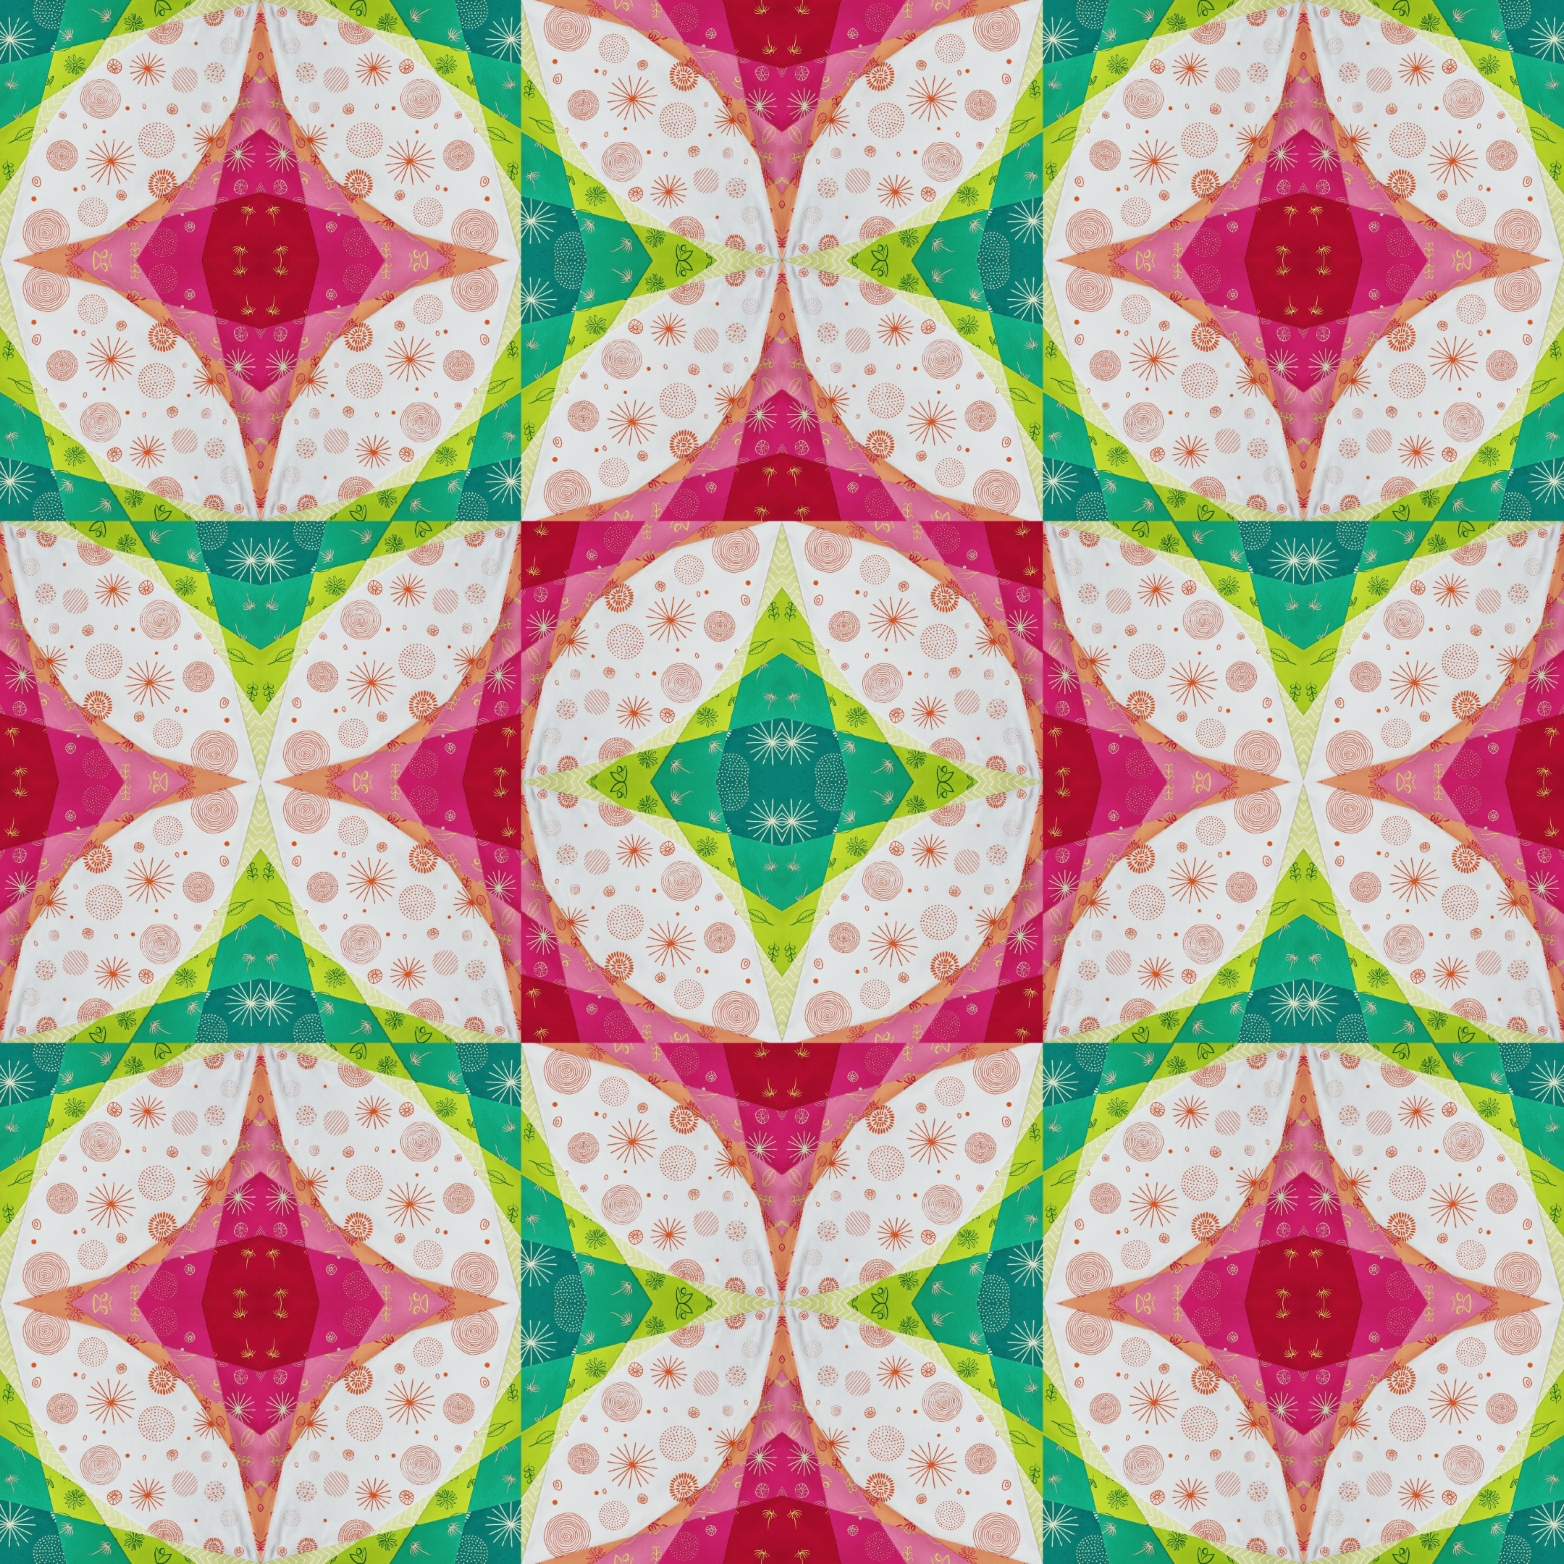
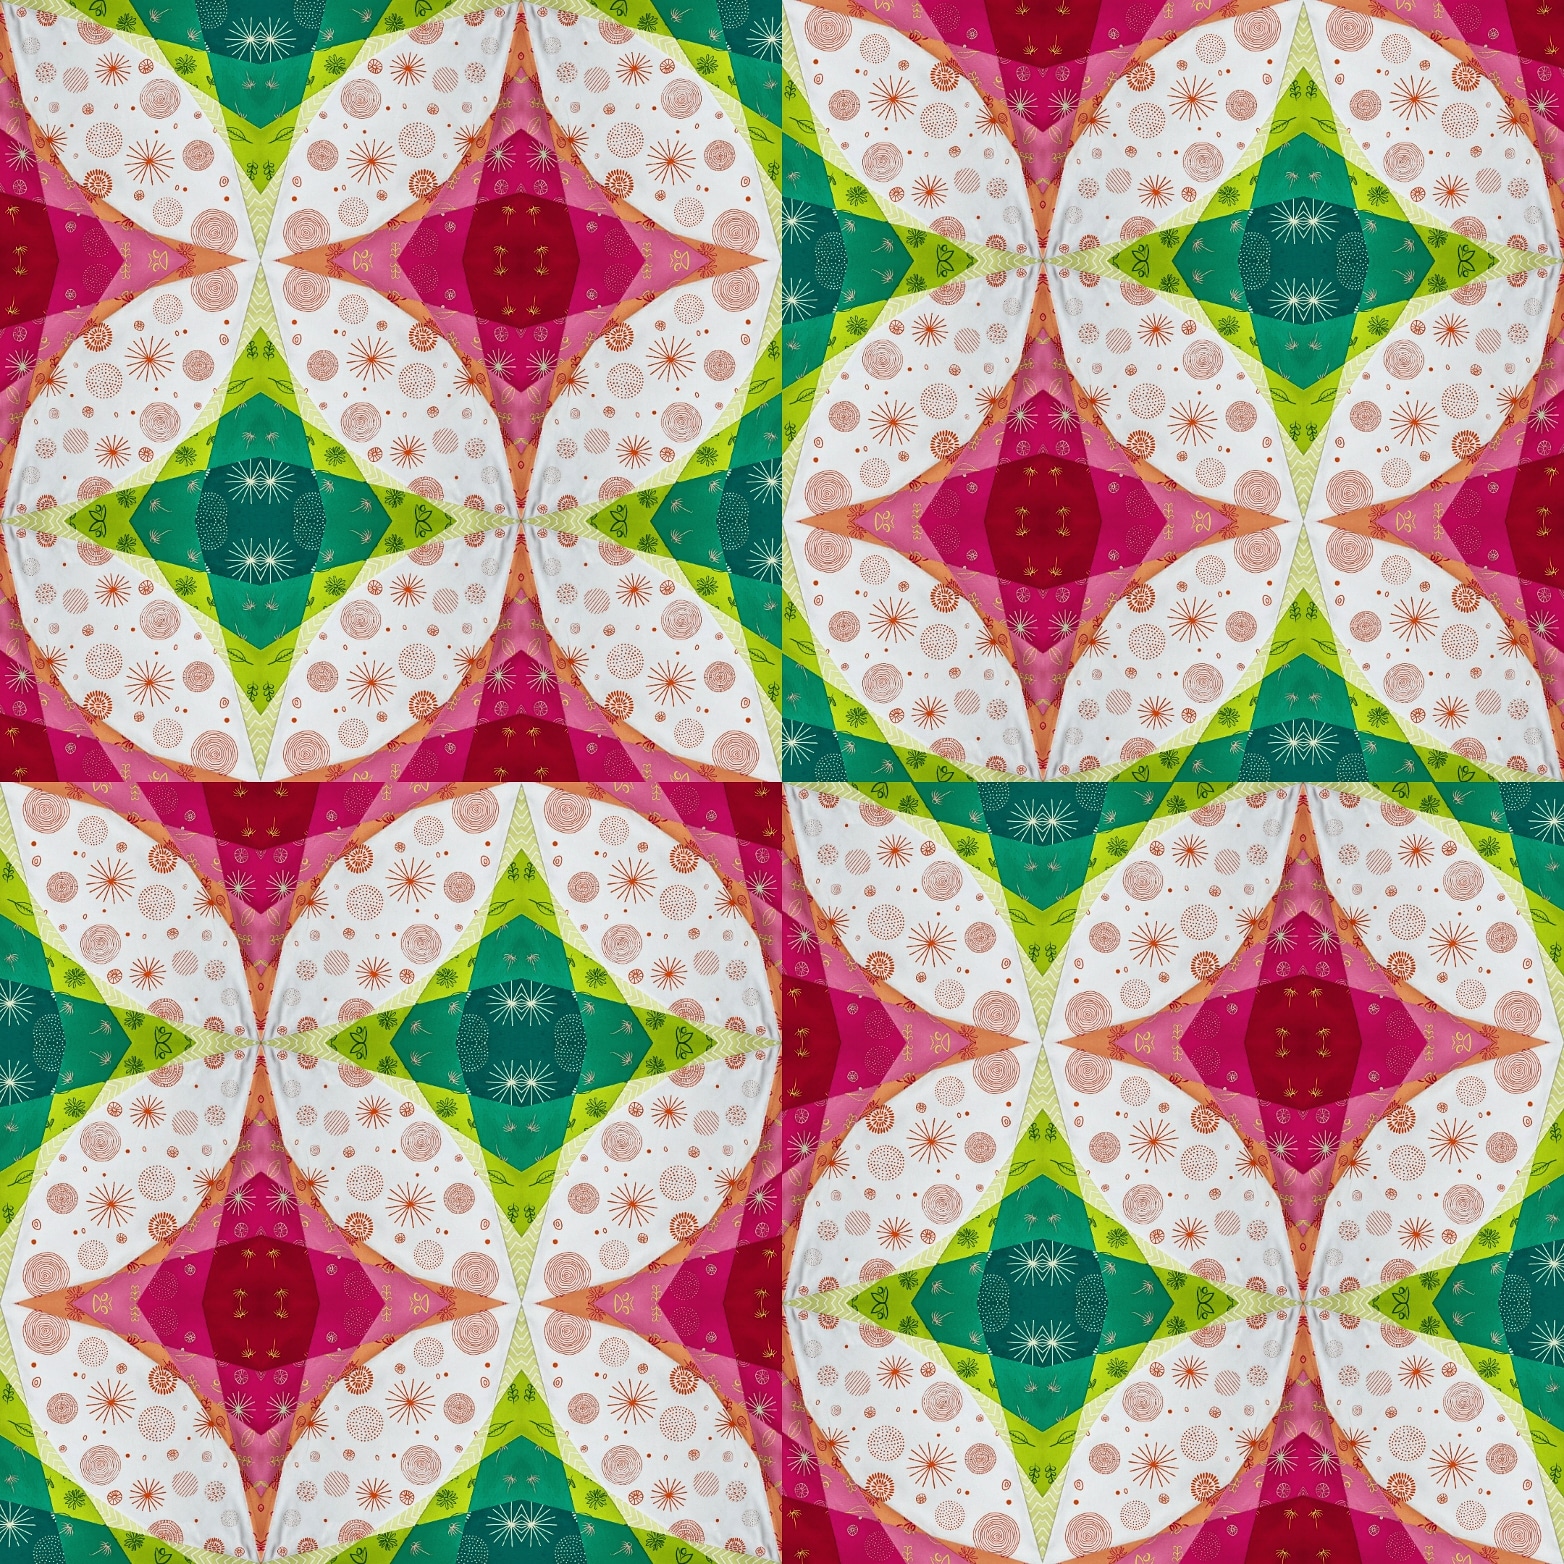
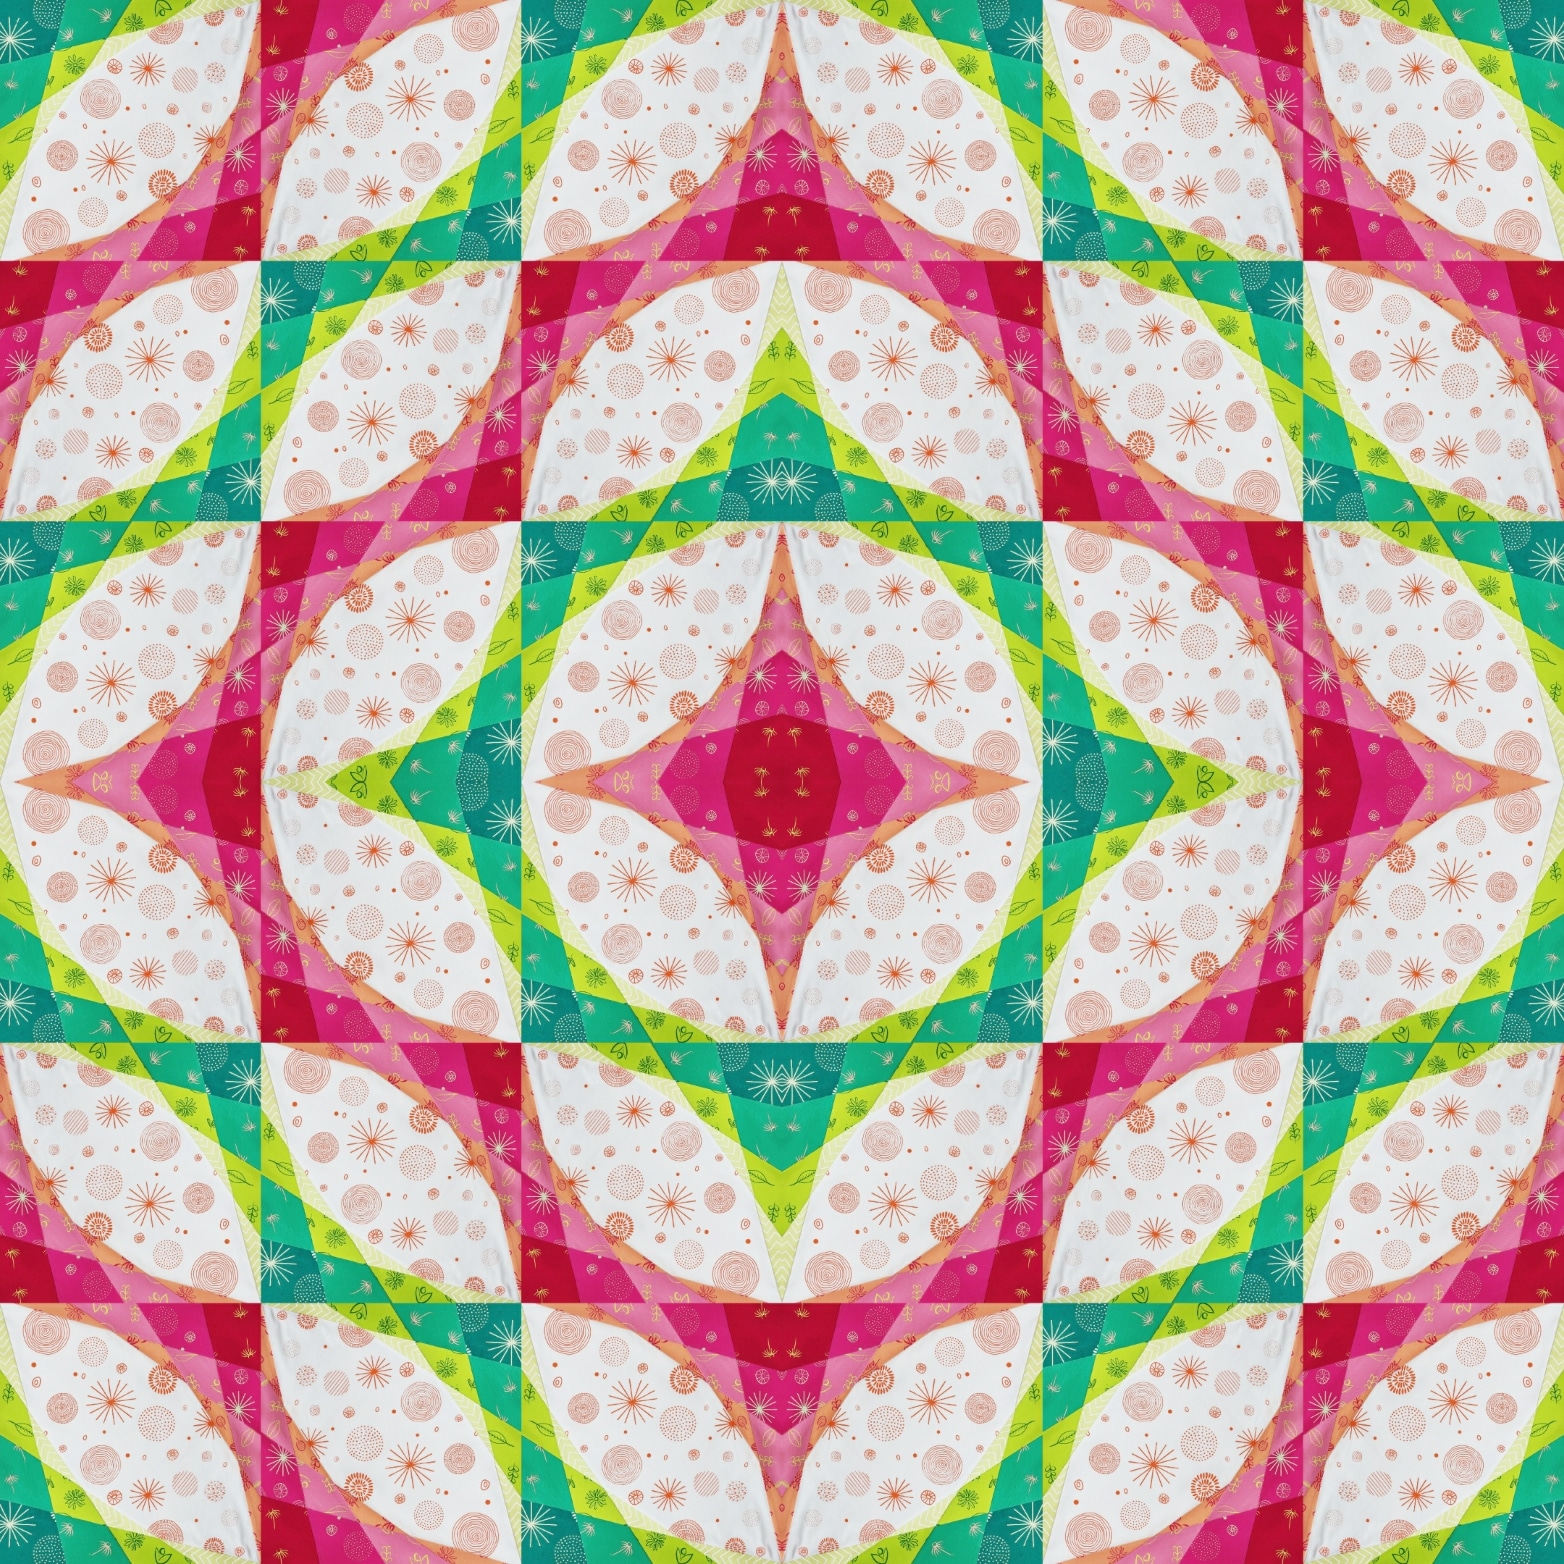
I couldn’t wait to start sewing and pre-cut all the sections as soon as I got my hands on the fabric.  While Helen printed some more of the background fabric I used the photo of the double curved block already made to play and generated these layout options which were popular on Instagram. Opinion was split between the 2nd and 4th from the left.

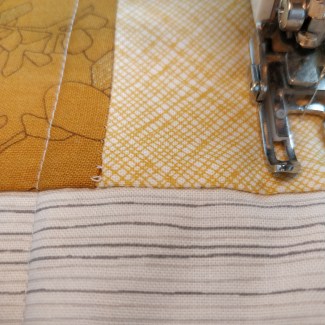
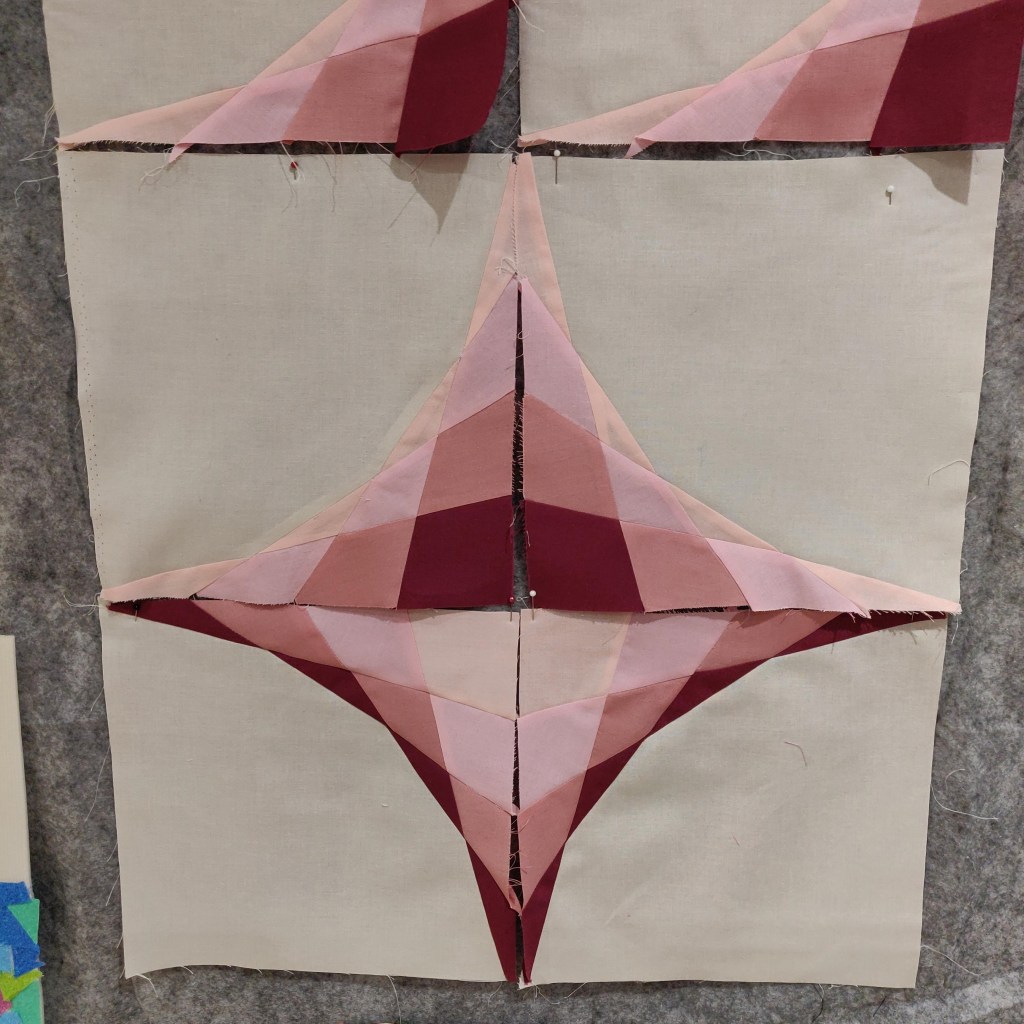
In the pattern I recommend using freezer paper for at least the A sections of each block type to significantly reduce the amount of printing and cutting and sticking you do. All sections can be done in freezer paper but I found reusing the smaller acute angled triangles lost some of the accuracy as they lost their stickiness. Being accurate with this pattern really pays off as the matching points really made the design. Don’t worry about getting the points spot on, it is not difficult and I recommend if not experienced with freezer paper piecing to use standard or specialist foundation paper for all sections other than A. Below is a video where I show you how to use the freezer paper for this pattern.

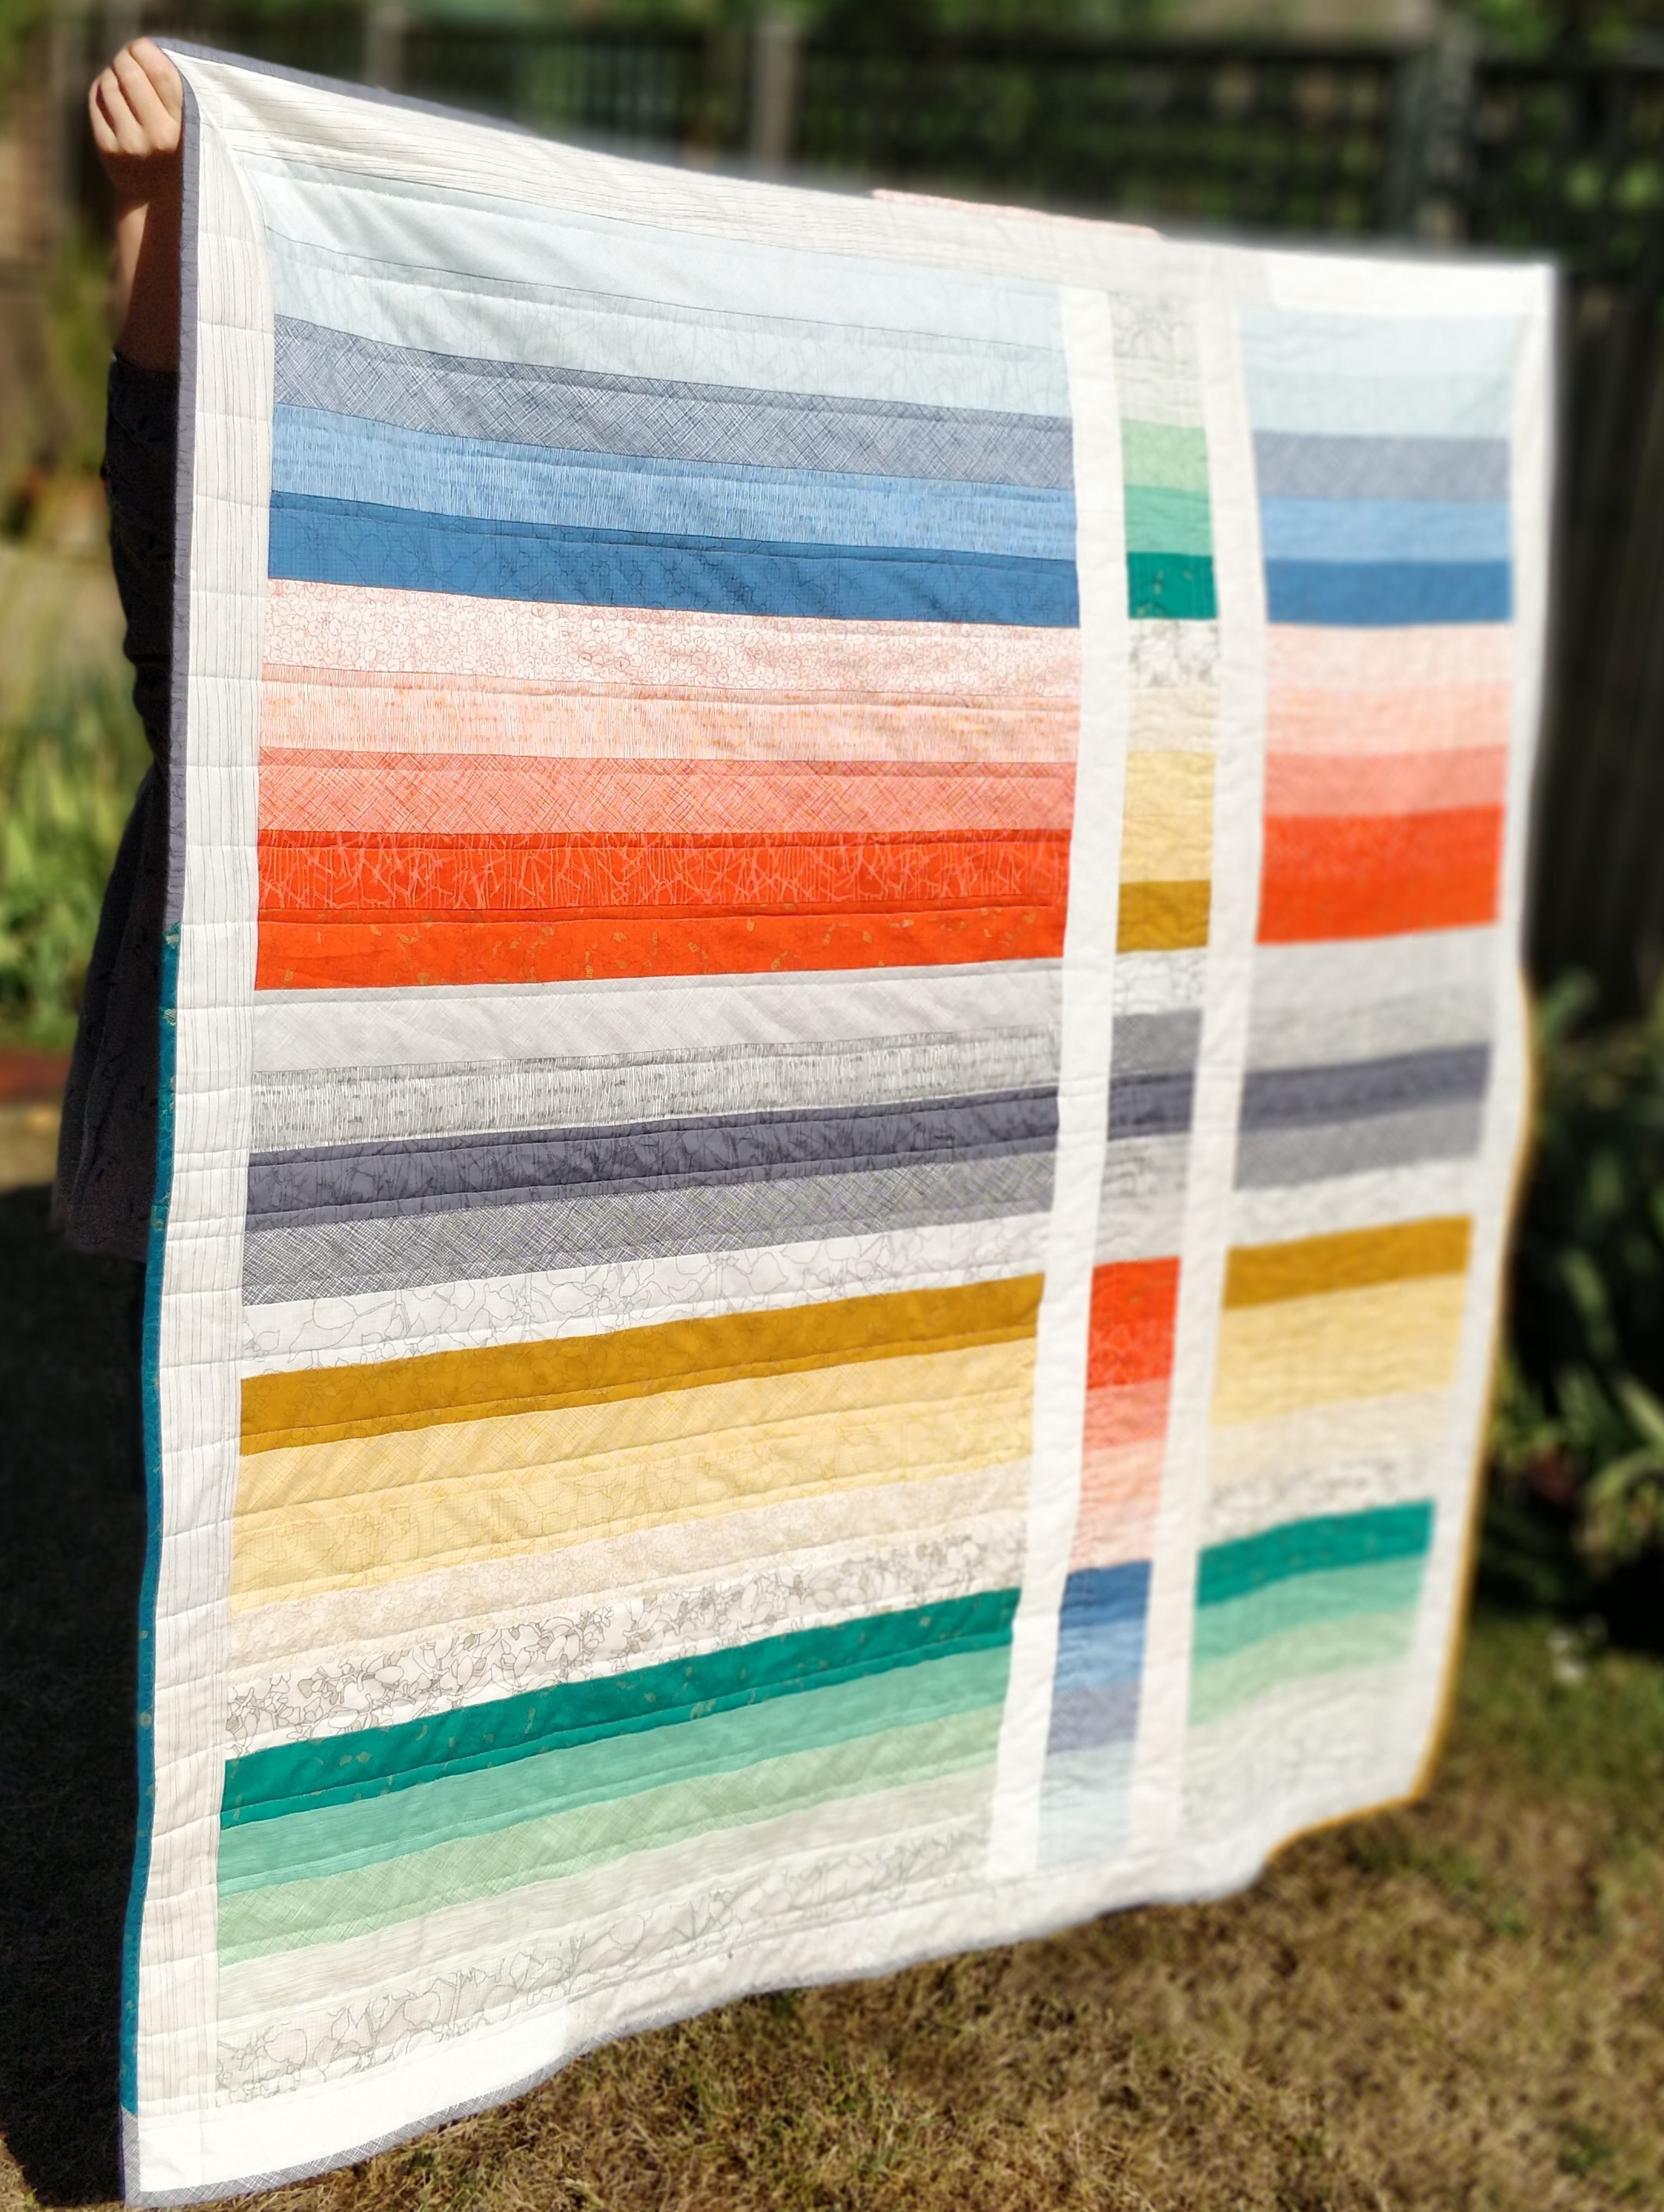
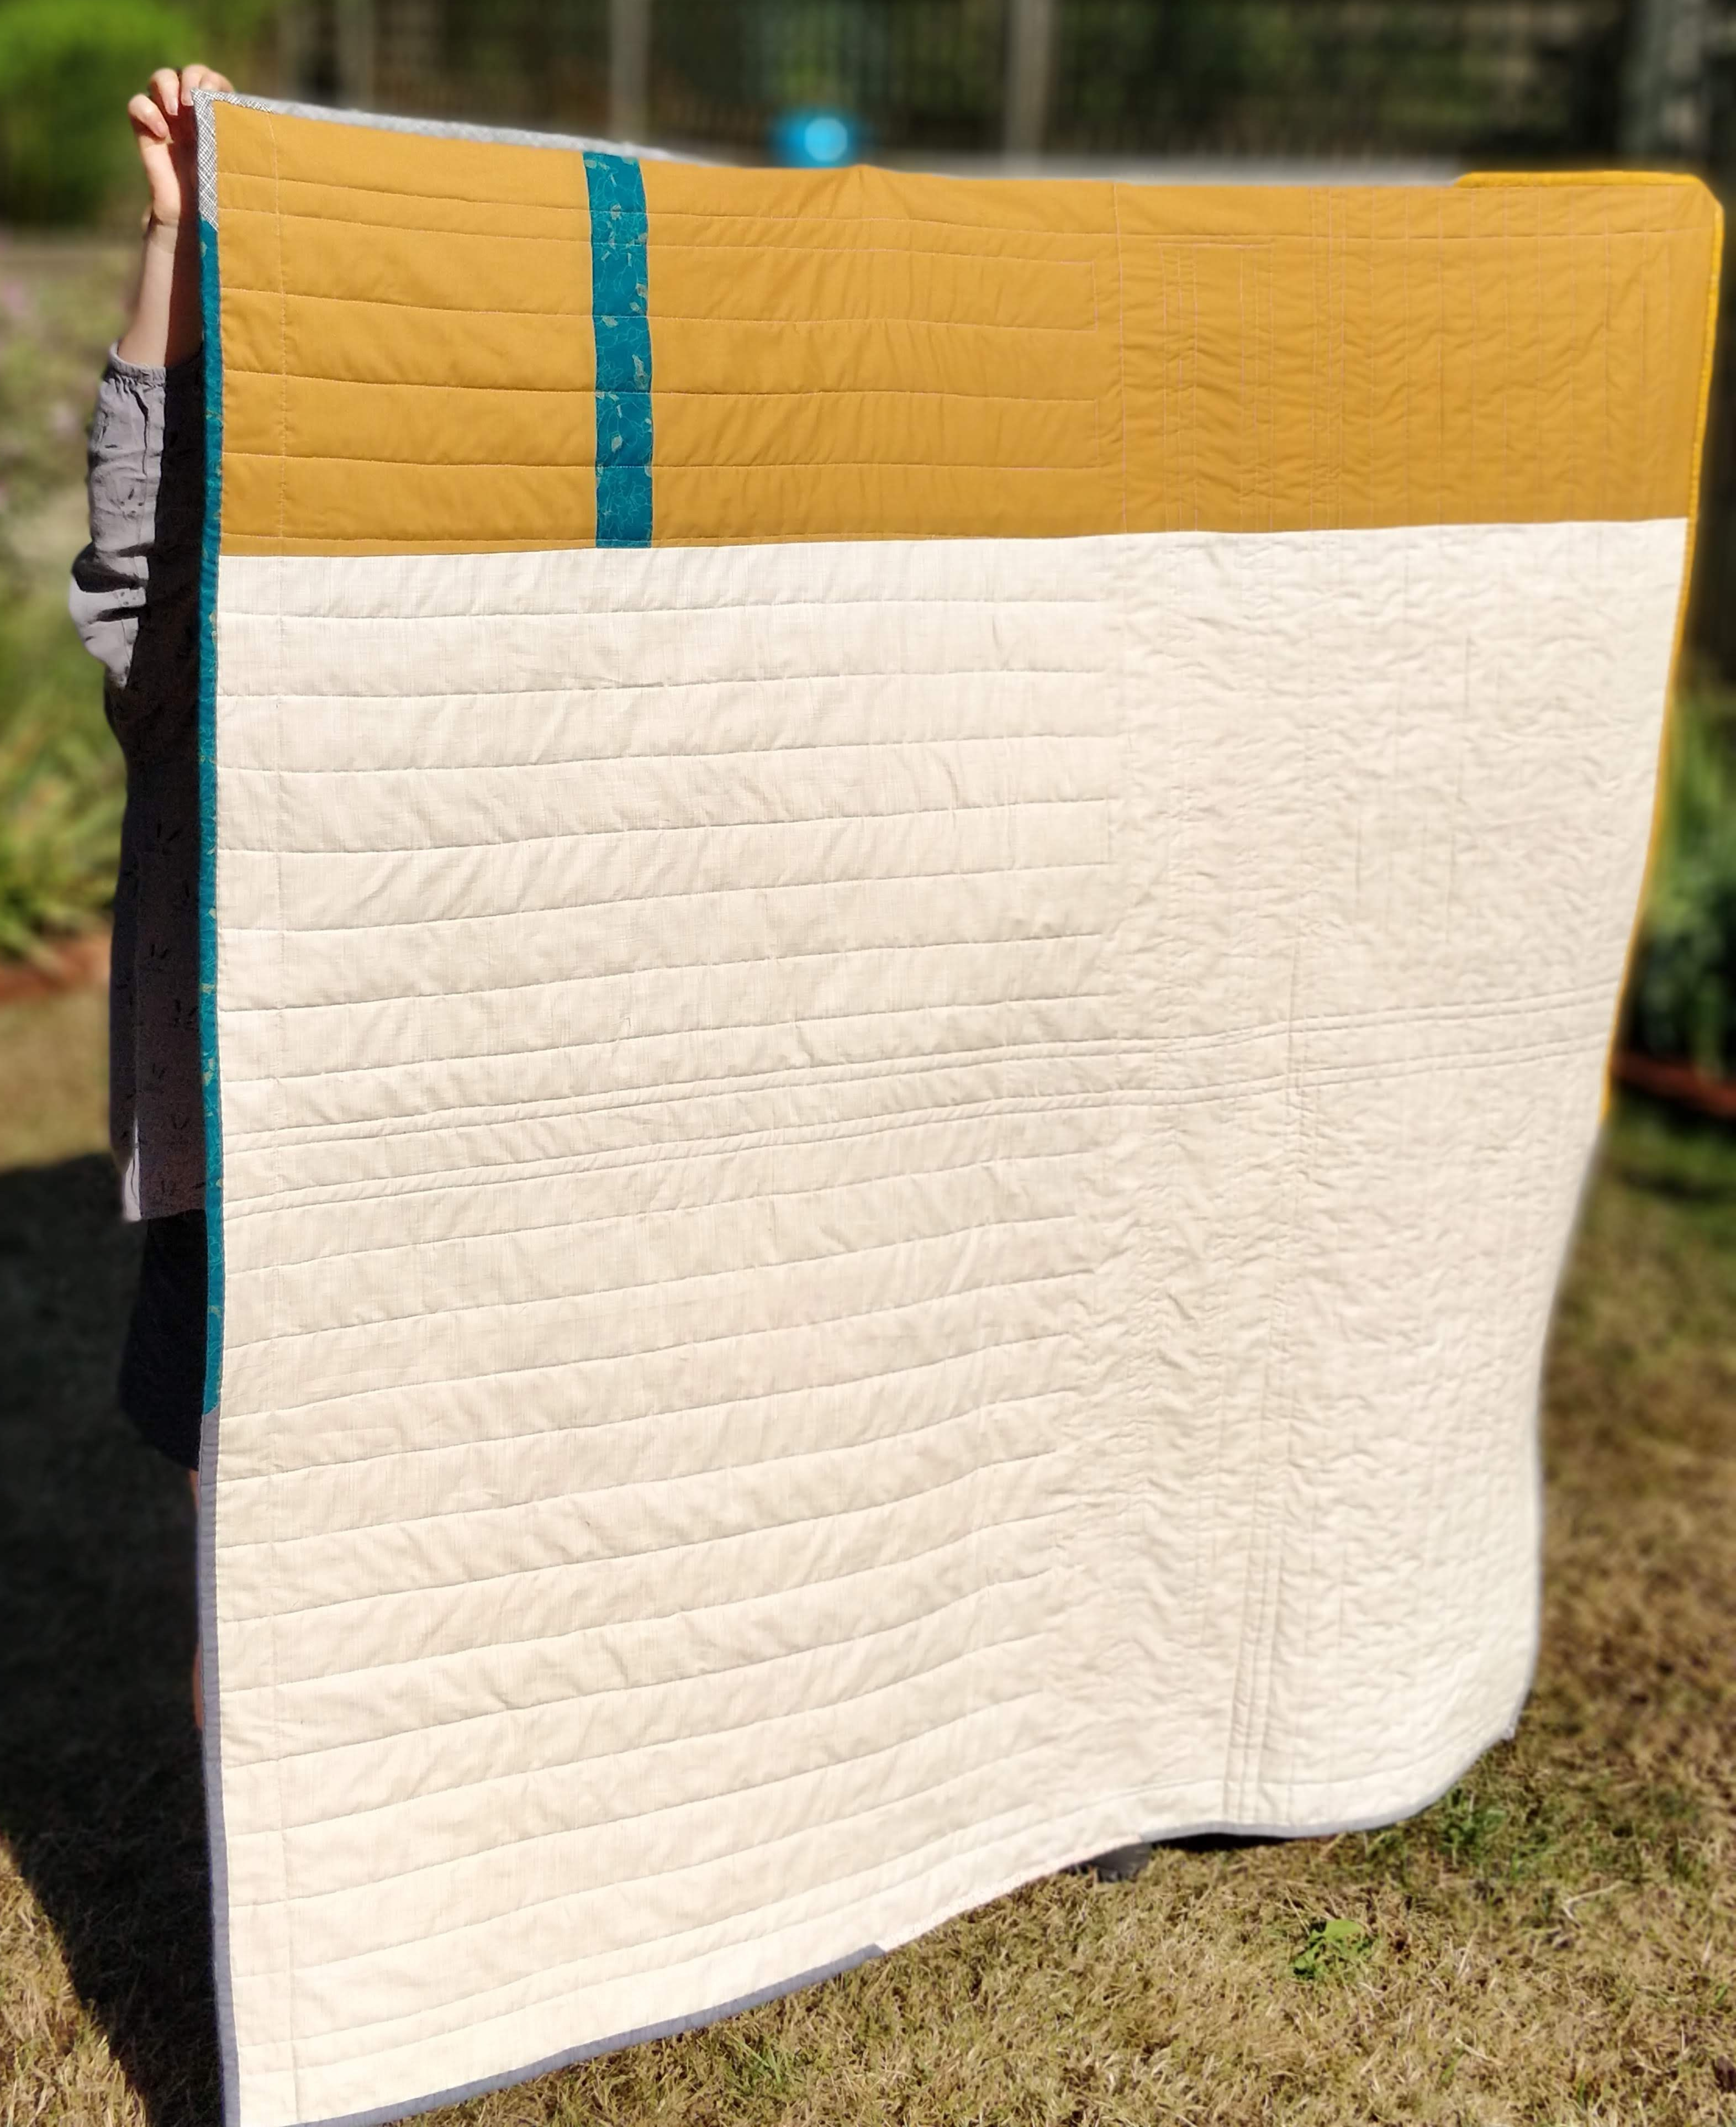
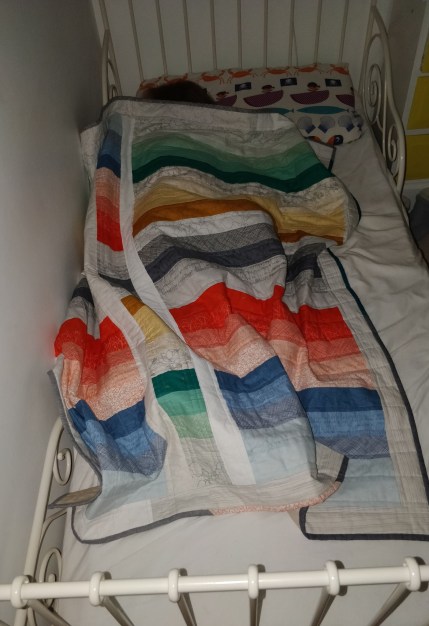
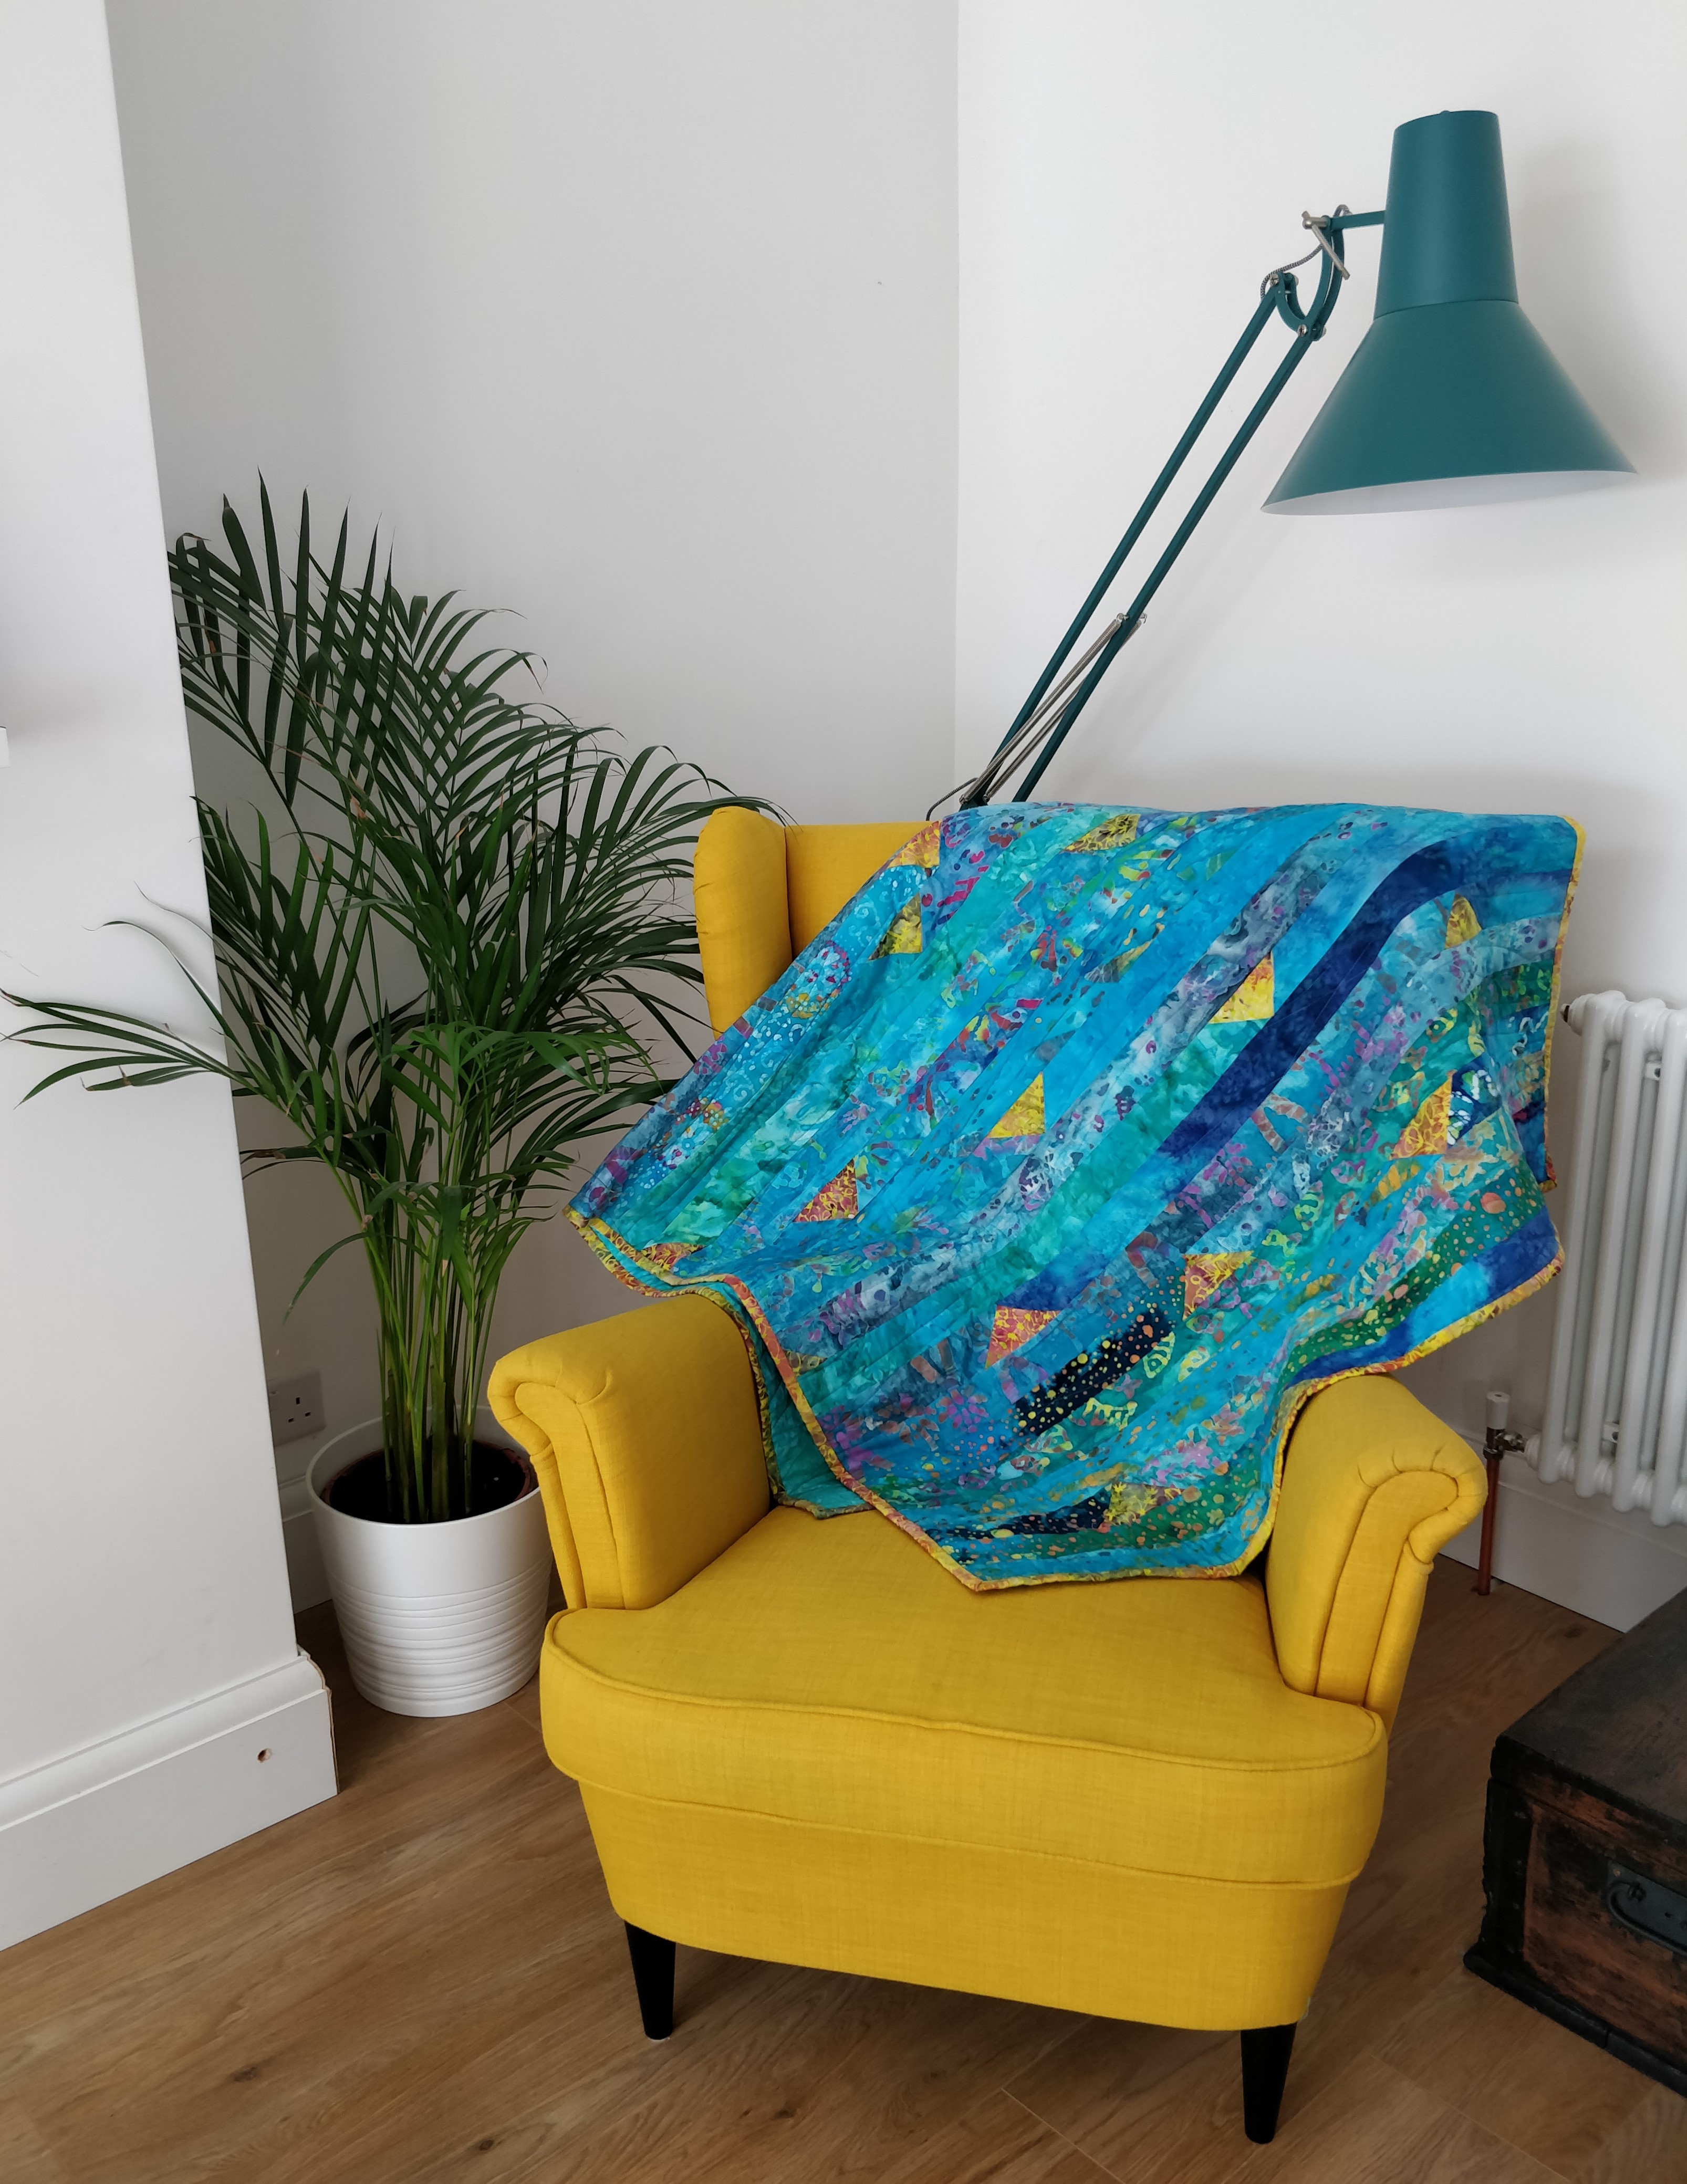
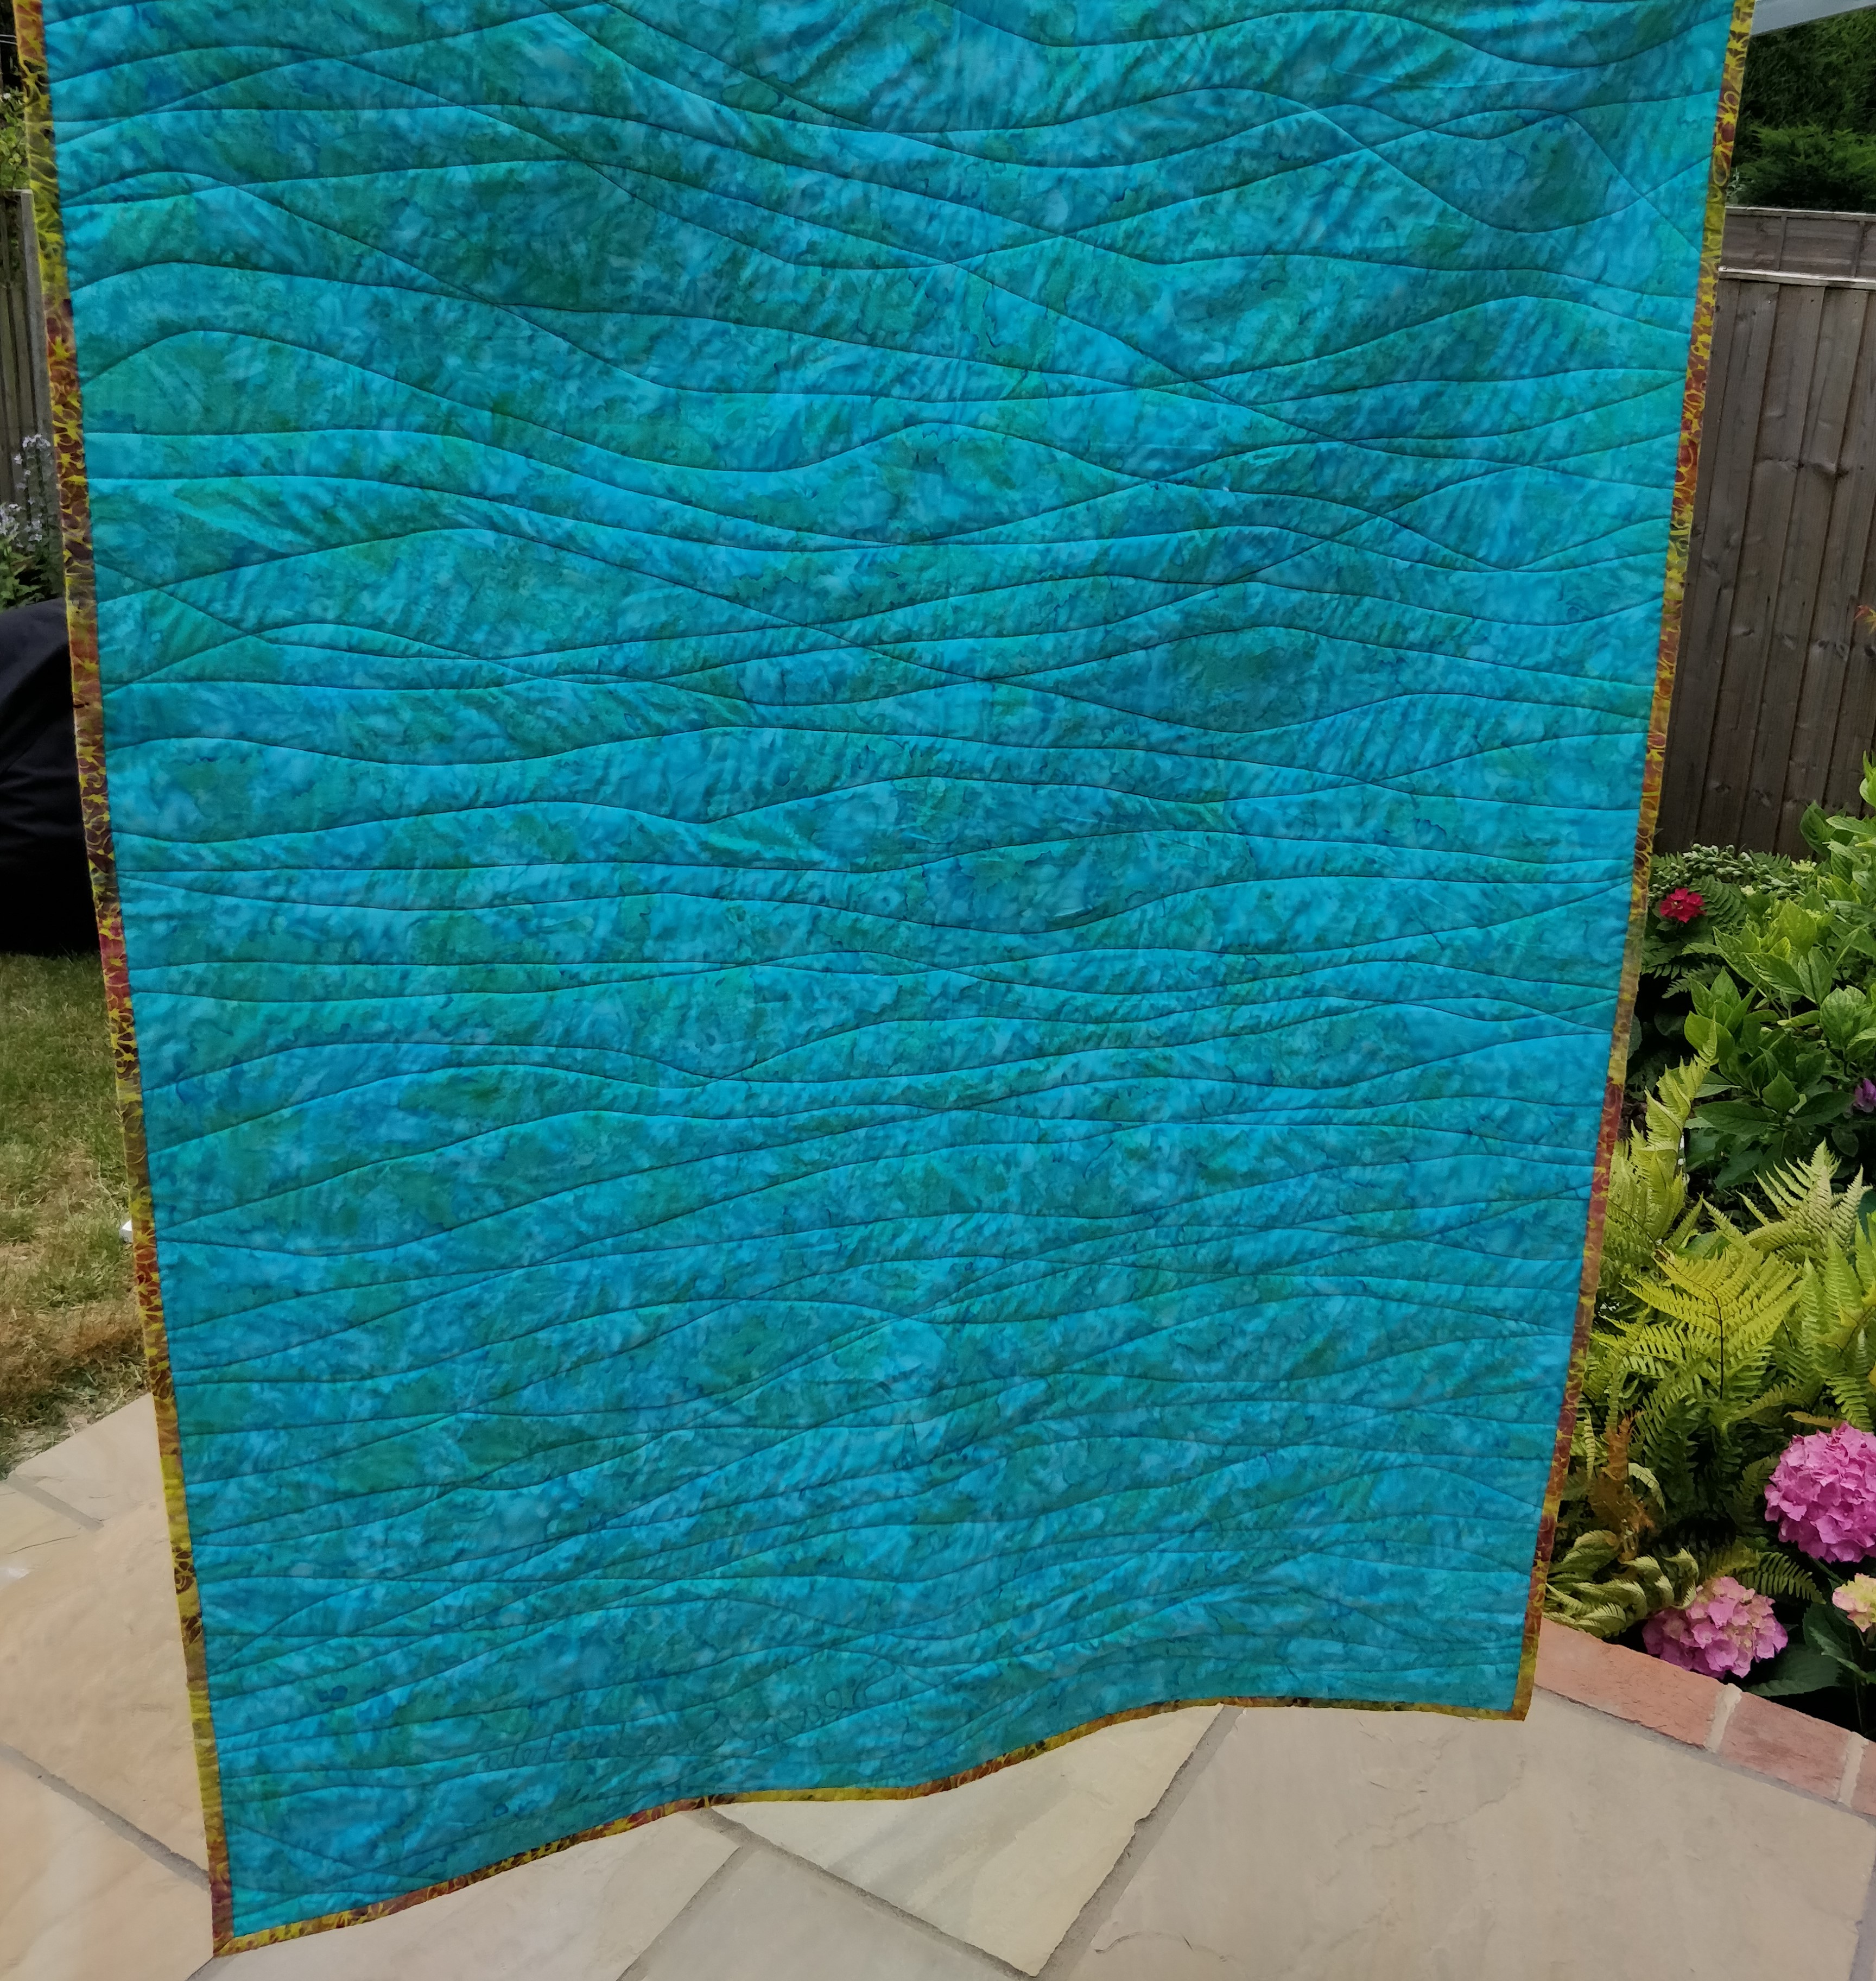
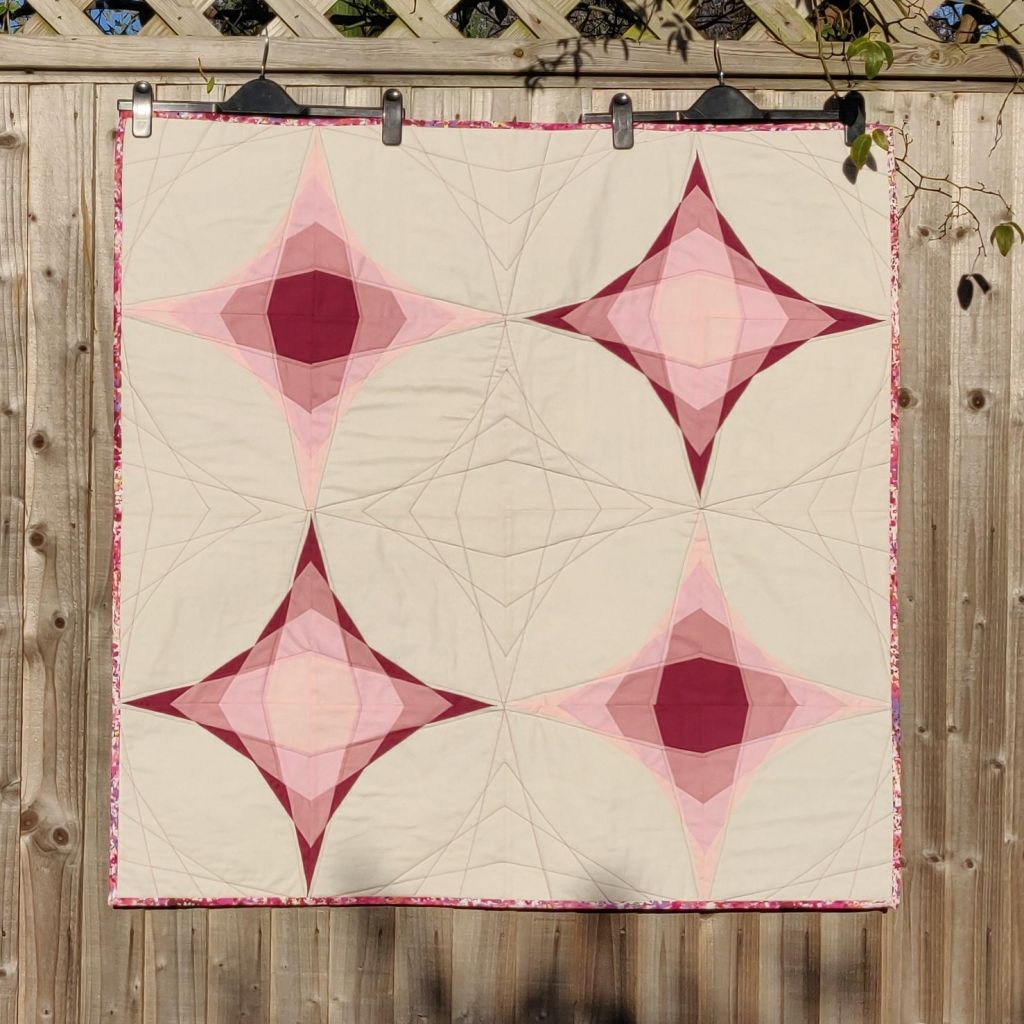
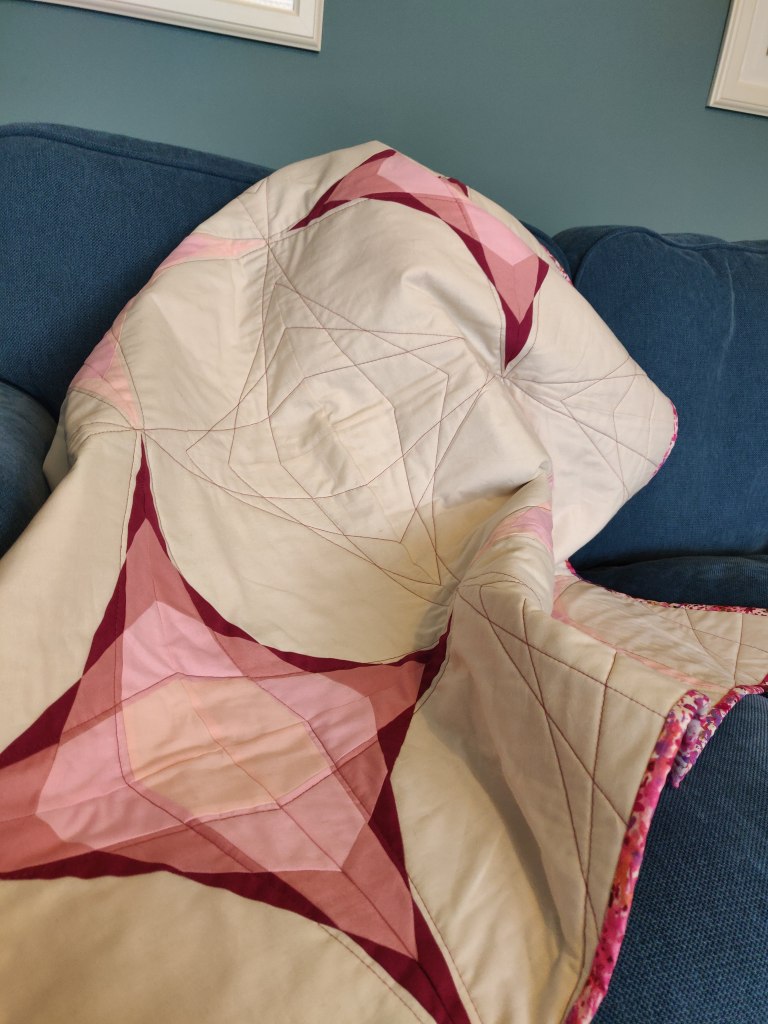
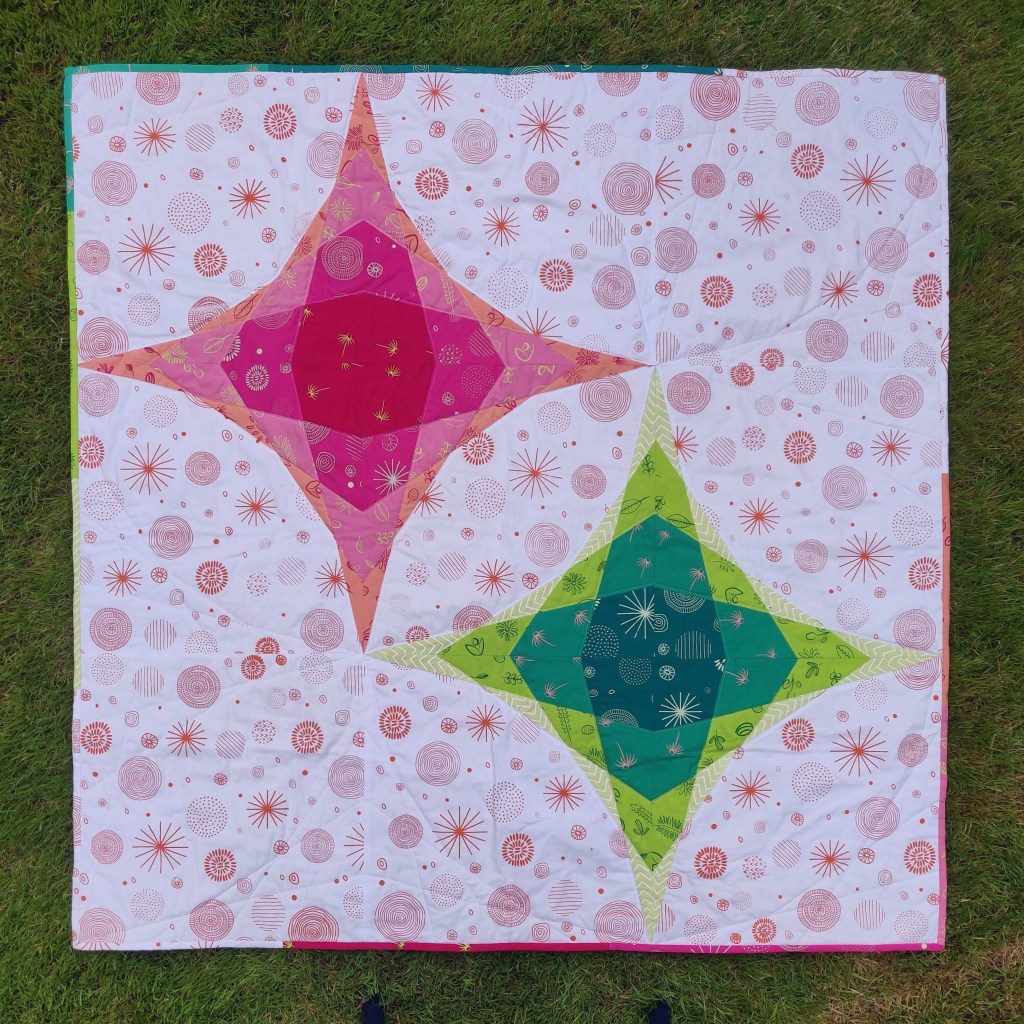
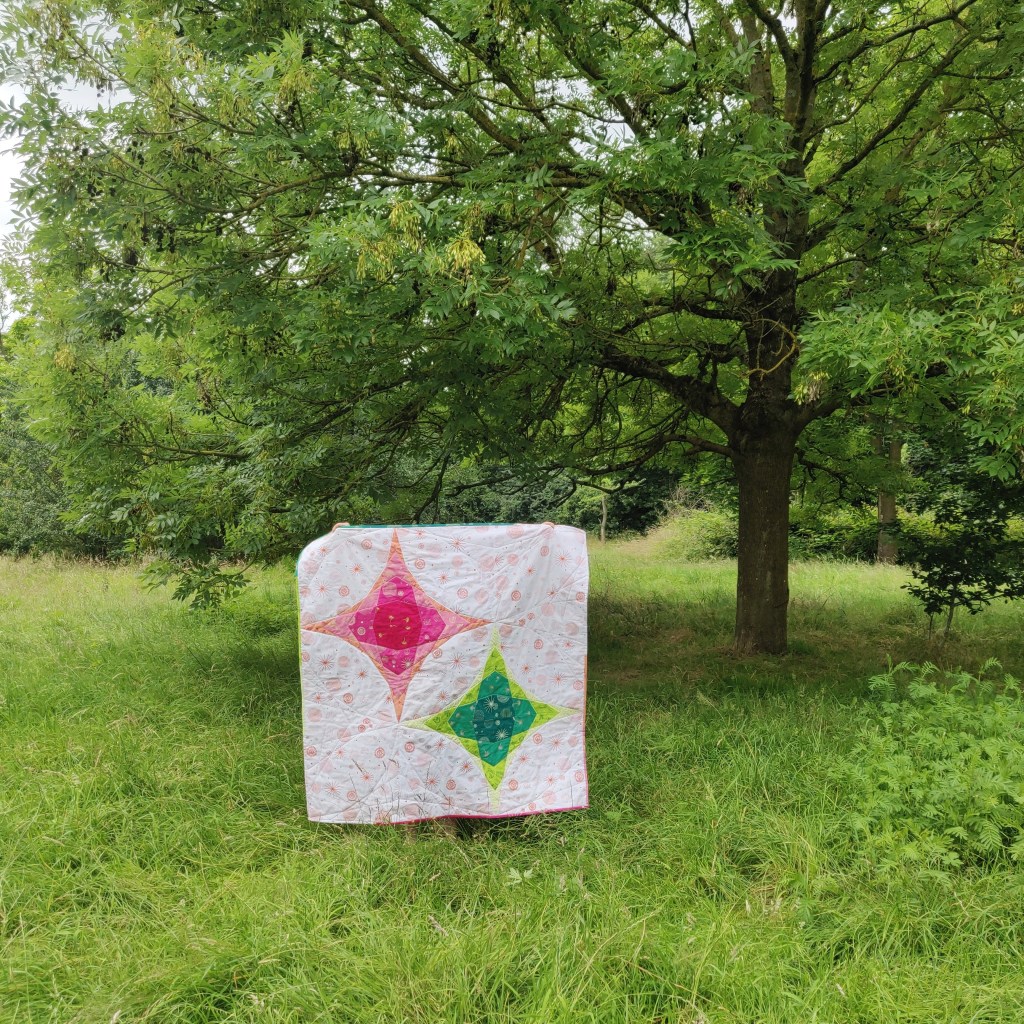
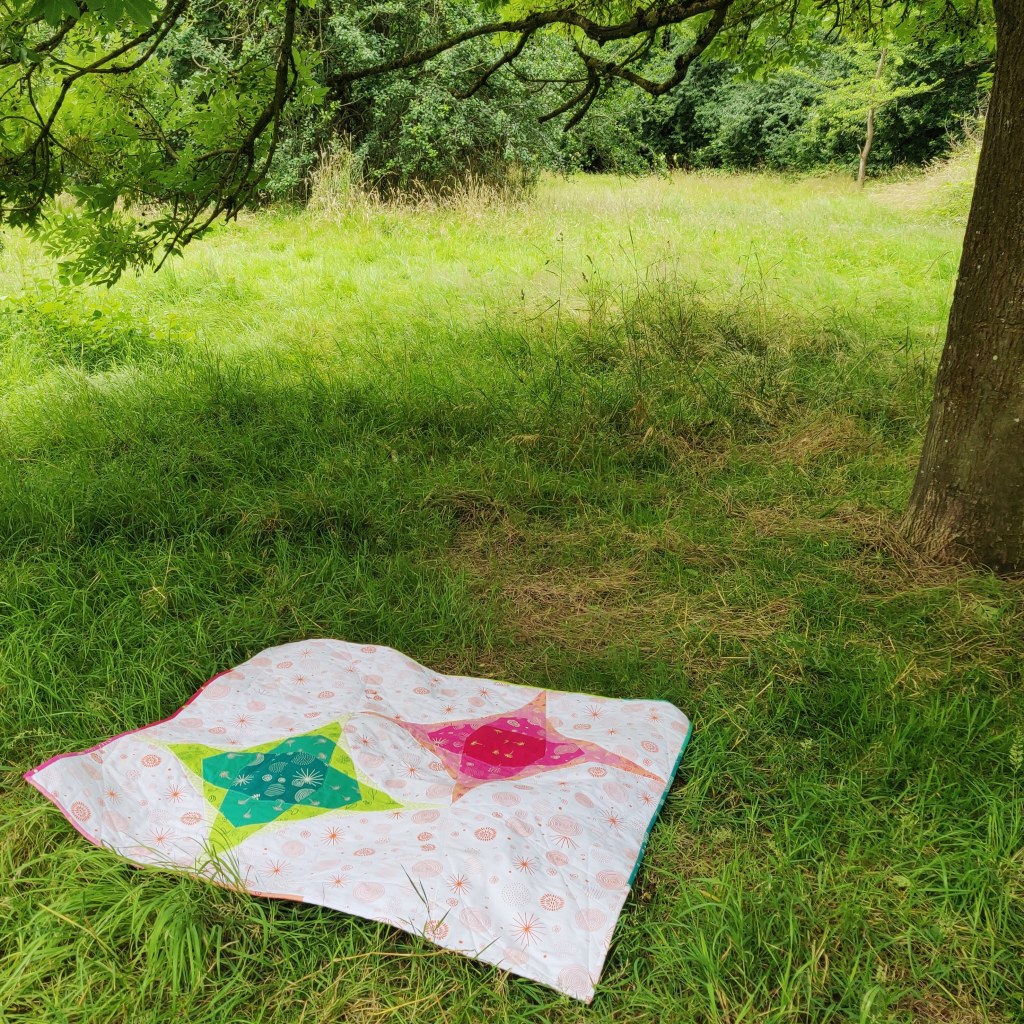
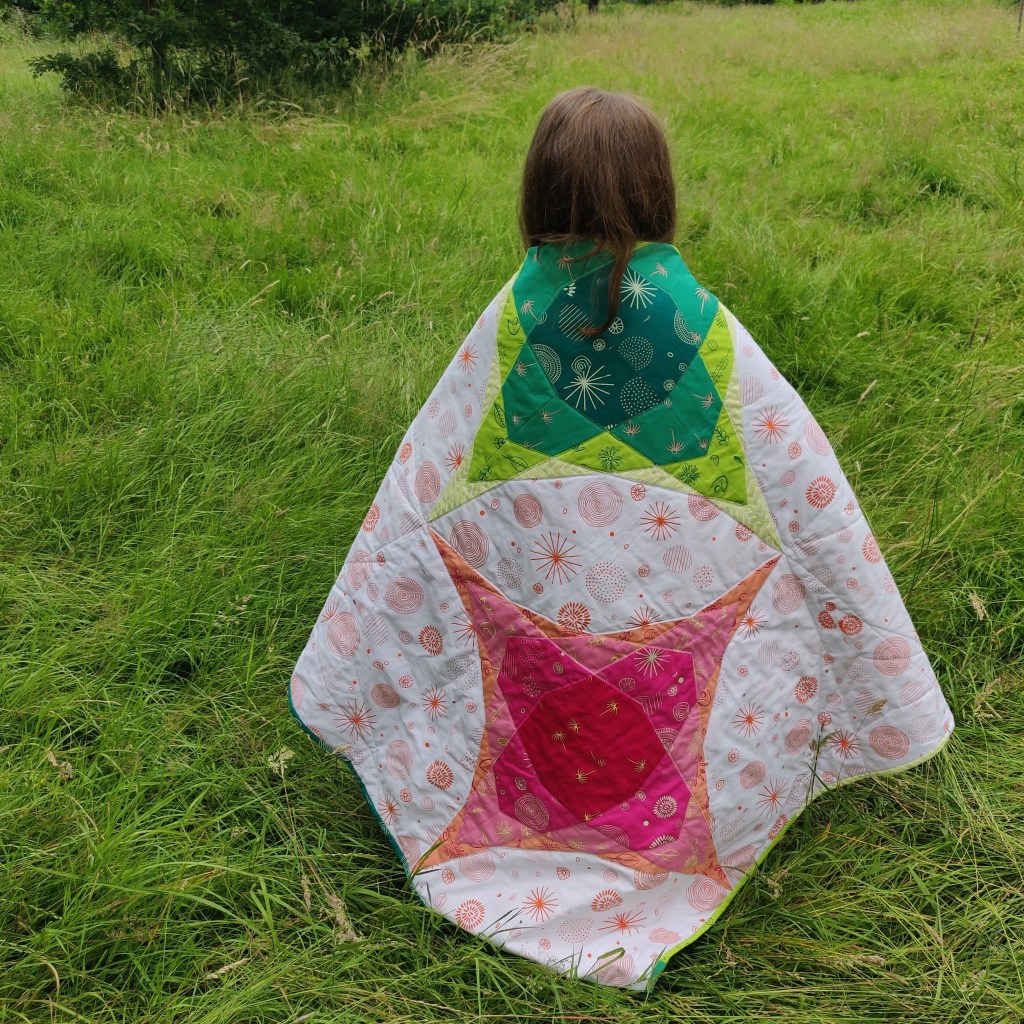
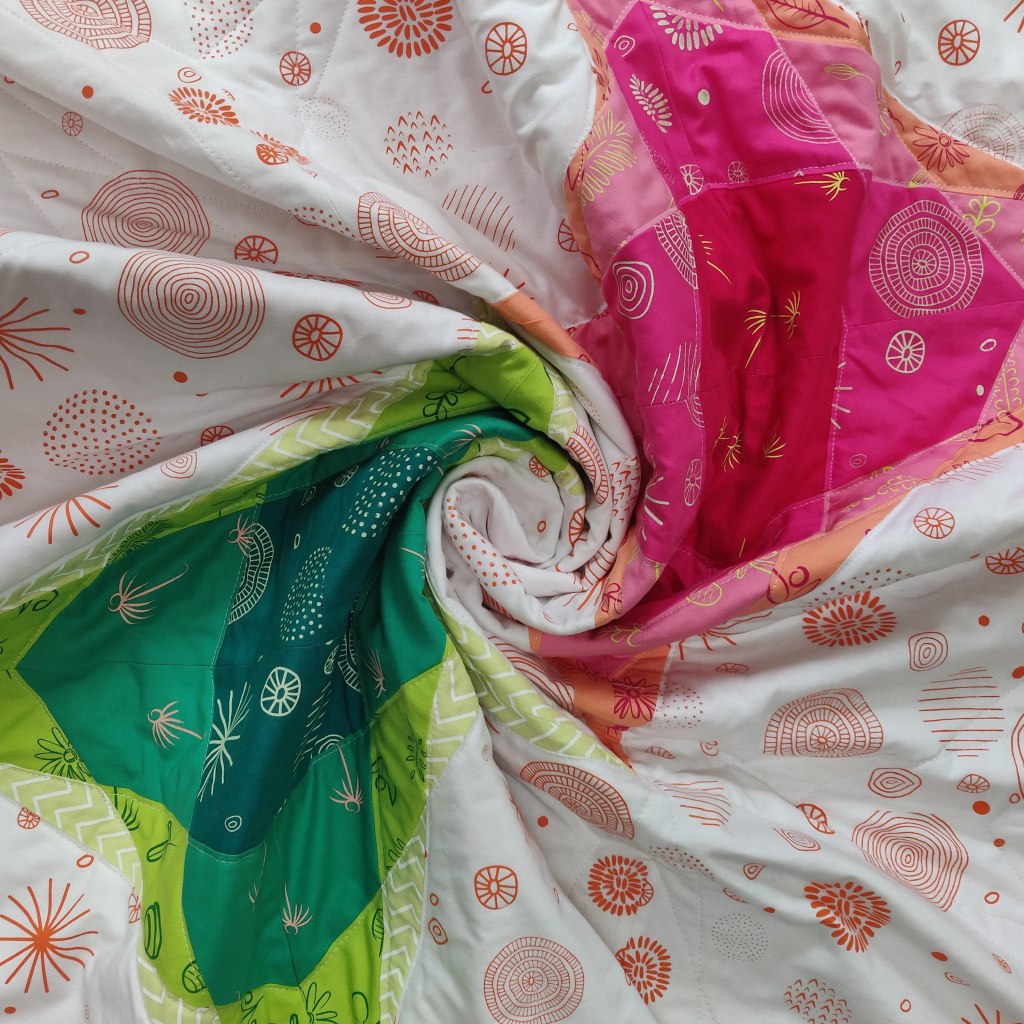
Here is the finished quilt! I quilted it similarly to the one for my mum but with white thread so it didn’t standout. I bound it using strips cut from the … For the eight single curved blocks, Helen specially printed me pieces slightly larger than her normal panel size and I only needed one panel of each of the other colours.

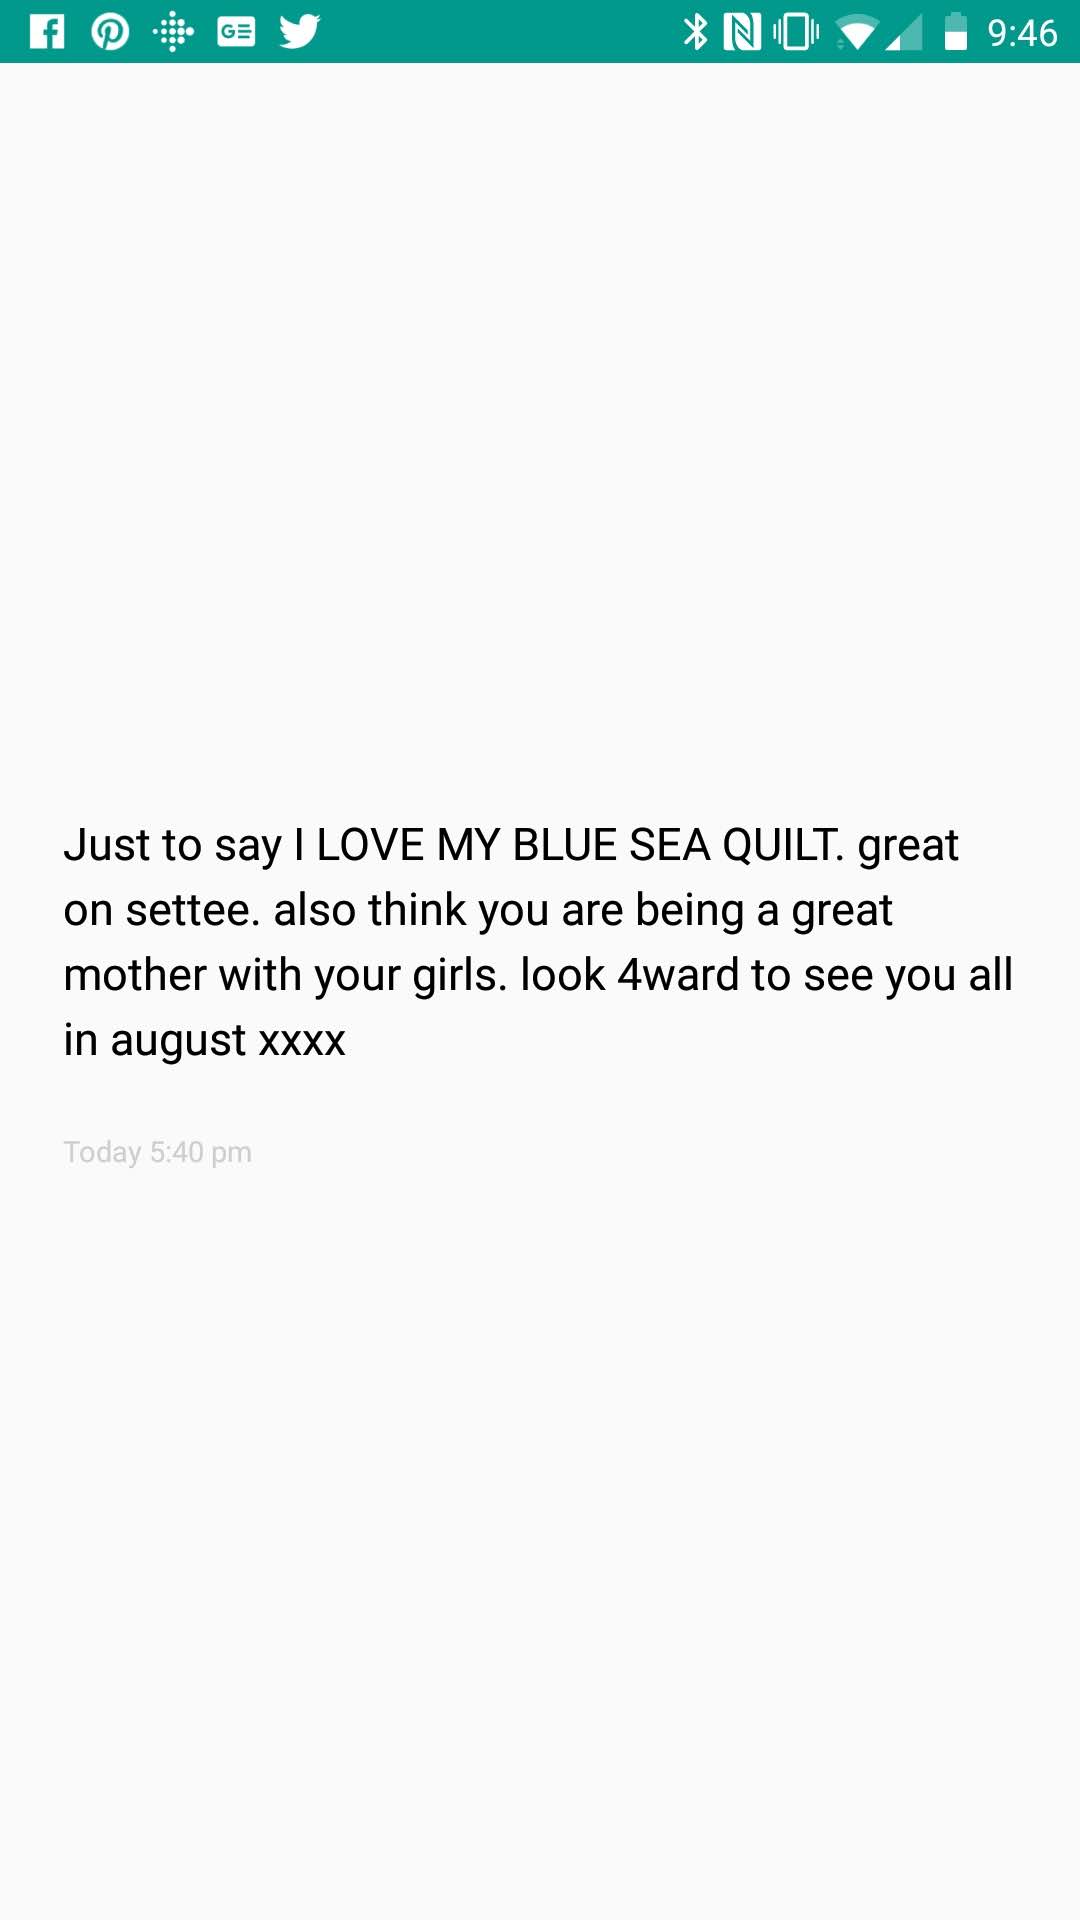
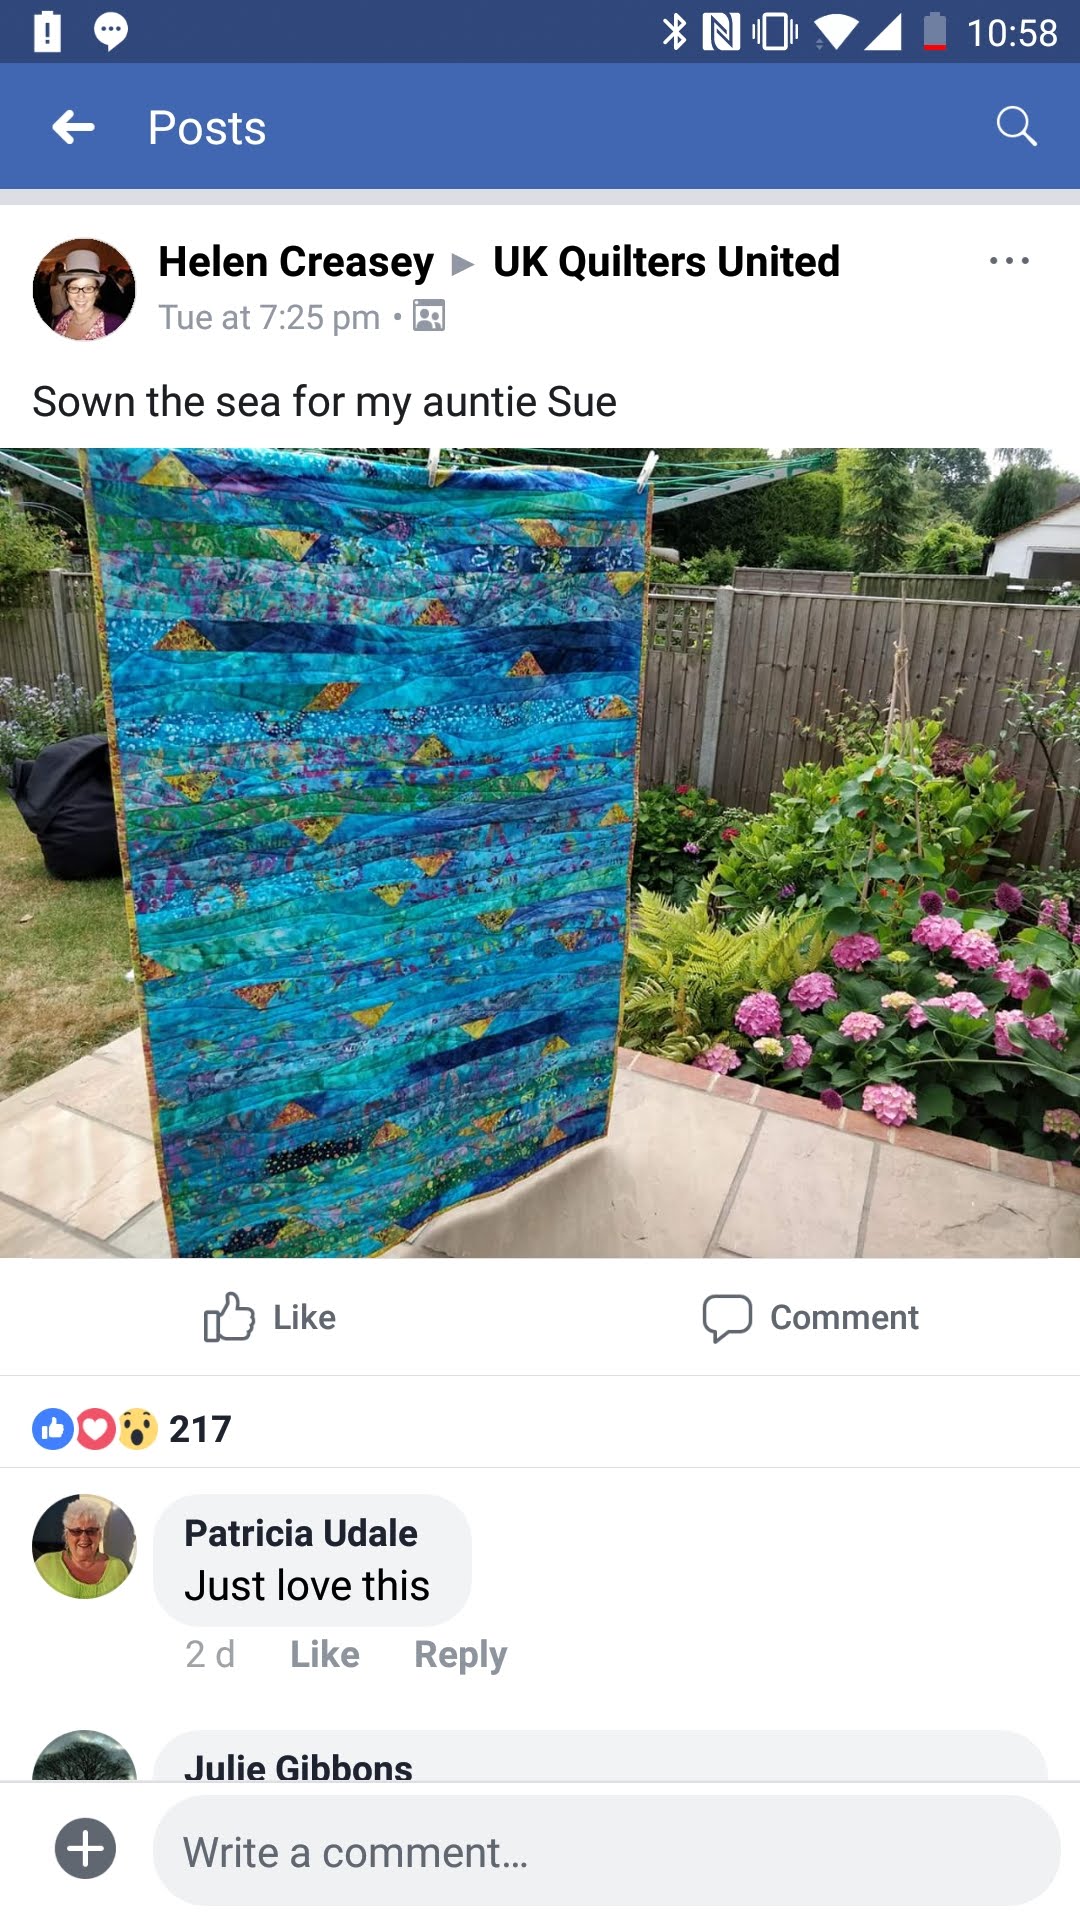
I’ve been really pleased with the response to Saturation and had some great reviews. Any creative will tell you we are in it for these kind of comments and not the money.  Your makes and words really do mean the world!

Review from @natalies_needles on Etsy

As Natalie mentions, the Saturation pattern has 6 pages of alternative layouts with a basic breakdown of how to make them and fabric requirements to help those less experienced quilters and illustrate the versality of the pattern. 

I’m taking a few paper copies of the pattern to festival of Quilts at Birmingham NEC next weekend and will be on stand G56 with Helen Steele for the majority of the show.

I have a bed size version I want to make so I am planning a sew along at some point – maybe starting in November 2021 as the fabric I want to use is not yet out and I might have something I need to work on for Halloween. 

… Another finished quilt..

Finished Makes

img_20180810_163031.jpg

This I started last summer while pregnant and building work was going on.. as you do when you have no energy and loads to do.

The fabric is a Robert Kaufman range by Carolyn Friedlander – Botanics.  I bought the jelly roll at Sandown when big girl was the age baby is now so – 4 years ago.  The fabrics attracted me because of there slightly architectural look and had a colour gradient!  Diving straight in making up as I went along, I played with mixing the fabrics with unsatisfactory results.  I subsequently grouped the colours in rows of 5 to a gradient.  The grey gradient didn’t really work so I did some un-picking and made the central strip dark and gradient out.  The grey group then evolved into the central section and 2 colour types splitting either side.  Then I decided to add another level and make it a stack/ stitch/ slice and flip quilt with some of the light fabrics from the jelly rolls as sashing.  Left overs from the rolls was mixed bold and light to make the binding.

I managed to finished the top before Christmas and then basted it while 8.5 months pregnant with 2 other projects – It was a good time to be crawling around on the floor!!.  A couple of weeks ago I dragged it out to work on while I struggled with what to do with my big girls quilt.

img_20180810_162739_bokeh.jpg

I made up how I was going to straight line quilt it as I went along.  Echoing the seams and doing double rows to high light the flipped section and central dark grey horizontally.  The husband liked the larger gaps you see but I think I should possibly have gone for denser quilting.   I also need to work on consistency with the spacing between rows.

img_20180810_162859_bokeh.jpg

The attention to detail I paid when pecicing has paid off as it was all pretty square so an improvement there.  While quilting a couple of the seams on the top started to come loose which is annoying but possibly down to trimming or maybe I need to lock the stitches at the end of each row.

img_20180805_100812.jpg

Press ganged my twin nieces into holding the quilt so I could photograph it! I think I’m going to have to make them quilts at some point soon based on there reaction! Only problem is I know there will want harry potter and not something timeless!

Best thing about quilting is the appreciation and praise I get! Especially from this one who has adopted this quilt pending completion of her own!

img_20180812_230342.jpg


… Throwback Thursday #4

Finished Makes, Throwback Thursday

img_20180809_1522042

Mug Rugs!!! I love them,  so much better than a boring coaster and they also soak up any spills or condensation.  These rainbow strips I got as samples from a long shut down website/ shop – Strawberry Fayre.  I had to do something with these strip how ever small. I was not precious so just sewed them together really quick (had to be a colour gradient) not even fussing about even rows and then grab batting, backing and bias binding from the stash of leftovers.  In total about an hour was spent on the two and it got me back into sewing and a mental break after the baby.

img_20180809_1521502.jpg


…UPDATE…Sea for Sue quilt

Finished Makes

Well I gifted it! I was way more excited about giving it than finishing it.  It went down well and I got this amazing message which means so much.

screenshot_20180721-214614

After I gifted it I also posted a picture on the UK Quilters United and I couldn’t stop smiling when I got 217 likes and loads of lovely comments! Made my Month!! And for something I had pretty much dismissed as just a Jelly Roll!

screenshot_20180719-225844


…Sown a Sea for Sue

Finished Makes

IMG_20180705_103721

The seed for this quilt was a bargain-ous £10 blue batik jelly roll bought second hand from another quilter.  After it arrived in the post it sat in the kitchen and on the table for quite a while.  I couldn’t face putting it in my studio and not doing something with it soon…  I didn’t feel so precious about this jelly role as it didn’t cost what some of my others did so I didn’t have the fear of wasting the fabric if I ended up not liking the quilt.  With the strips being a similar blue I decided that, having never having done a jelly roll race, I wanted to try one.  I didn’t want it to be too simple so I decided to get some contrasting yellow batik to go between each strip.

I wanted to alternate the triangles pointing up and down and add a few diamonds in too.  I really like how they are dispersed about the quilt but alternating the triangles pointing up and down is not really viable in the finished quilt.  Something to remember if I do another.

I’m not sure when I had decided that this was going to be for my Aunt Sue but I think it was early on.  She lives by the sea and has a kaftan in a similar colour.  I think likes quite strong colours and has several batik items… I really hope I have not got this wrong.  She like me has afternoon naps while possible so a smallish quilt she can keep warm under will be used.  Also I’m hoping the sunny colours will prove cheerful in the winter months when its most used.

IMG_20180705_111903

The quilt top really did come together very quickly once it was a long strip.  And boy was it long! Trying to pack it away out of cat and kiddy paws was a hassle…..I should be using my studio but I want to watch TV or be near the hubby when he is home in the evening.  After carefully trying to separate strips of the same fabric (though as its batik not too similar) I discovered that in about 3 or 4 places strips of the same fabric ended up next to each other.

I do like the unknown result of a jelly roll race.  So often you already know what its going to look like before you finish and I think that is why I can become bored with projects and don’t finish them.  If only I could make use of this ability to visualise for profit!!

IMG_20180705_112113

I opened up my walking foot to quilt as I decided I wanted to do some simple waves for the quilting.  I didn’t want to detract from the fabric and the simple piecing I felt meant it needed simple quilting.  I did randomly decide I wouldn’t quilt on the yellow.  I think because I didn’t want to dilute their colour at all.  Not having used a walking foot before I was disappointed it didn’t produce an even stitch as I had hoped.  It was better once i raised the feed dogs a little so it gripped the fabric better.  I think maybe the main reason for this also was the weight of the fabric which was not on the table surface stopping the fabric being pulled through! Now I understand why quilters rave about their table extensions and put their machine on a large table!!

IMG_20180705_111937

I wanted to do a label of dedication but for it to be subtle.  Turns out it might be a little too subtle.  I wrote free motion ‘Sea for Sue love Helen’ but you can hardly see it and the practice was much better.  I think it was the size of quilt on a small table pulling it and the fact that my machine doesn’t have a needle down position so occasionally jumps if I don’t ensure to wind the needle down before moving my hands.  It is my birthday soon so considering an upgrade or at least borrowing my mum’s machine for when I want to do an important project.  Also practice practice practice and yet again don’t just rush things!!!!!!!!

IMG_20180705_104024

Anyway let me know what you think of this quilt….. (photo not staged at all obviously! my house is always this tidy!!)