How to Foundation Paper Piece – Part 4

HOW TO FOUNDATION PAPER PIECE, Uncategorized

TOP TIPS

These are my top tips for foundation paper piecing some of them will be familiar if you have read the previous 3 parts of my “how to foundation paper piece” guide.   Read them here – Part 1, Part 2 and Part 3.

Everyone paper pieces differently; you get some really accurate piecers, and you also get some slightly more “It will be all right on the night style piecing”! I tend to land somewhere in the middle of these two styles. I really like to use every scrap of fabric and of course sometimes I get things wrong and fudge them and that’s ok in my eyes!   

1 – Make notes on the paper. Some patterns are confusing and it can be tricky to remember which fabrics go where.  To make the process quicker either write a word or mark a colour on the pattern to help you sew the right fabric next. 

2 – If you are using more than 3 fabrics or colours are similar make a reference page with swatches stuck or sewn on and labelled to refer back to and check scraps against.

3 – As a beginner and for complex blocks pin the sections to a board or design wall to see how they will eventually be sewn together.  This helps you to keep an overview of how they will go together and I like to see my progress.   

4 – Glue basting first and last fabrics.  When I learnt about this it was a game changer. I was not stabbing myself with pins or warping seams when unbasted fabric shifted while sewing.   I use a super cheap kids Pritt stick and I try to use as little as possible.

5 – Use fabric efficiently by folding over paper pattern backwards along seam to check you have enough fabric and you are not creating much waste.  This is difficult to explain in writing so I have done a video.

Alternatively, I’ve broken it down into little steps to help you understand.     

  • Fold the paper pattern back on itself along the seam line so the printed sides are touching. 
  • Select a scrap or section of fabric you think will be big enough.
  • Hold the fabric finished side to finished side against the block.
  • Line-up the new fabric to the seam allowance.
  • Holding fabric and block with both thumbs and first fingers I flip backwards and forwards to check the fabric covers the whole area. 
  • If the pattern it is large or I’m struggling to see through the copy paper I make sure I have folded the pattern where the next seam will be and hold my fingers where the fabric needs to finish as I flip backwards and forwards

6 – Prep and piece multiple areas at a time either on one section or multiple sections.    This means you save a little time not going back and forth between the cutting mat and sewing machine.  I suggest only doing this once you are confident and when areas on the same section are not next to each other. 

7 – Fray Check – I occasionally screw up a little and don’t allow quite enough fabric.  The area I want is covered but after use the fabric might give on the seam.  Obviously try to avoid this but sometimes you only notice once it’s too late or don’t have enough fabric to redo … shhhh… don’t tell anyone.  A small section of lightweight iron-on interfacing can also help after the paper has been removed. 

8 – When joining sections, line up the important/obvious fabric intersections first and not corners.  If the corners are slightly out it doesn’t matter much as long as you take any difference into account when sewing a perpendicular seam to the one which is out.    

9 – Don’t be afraid of Y-seams! To be honest I have never had a problem with Y-seams but I think it’s because I didn’t know they were scary and didn’t mind un-picking and do a lot of pinning/ clipping and taking it slow! I have done a video showing the making of my nice iced ring back block which you can see here if you want to know more.  Happy Sew Lucky also has a good video here. https://www.youtube.com/watch?v=4pyDBxy6bFk

10 – A victory lap round the block when you finish helps to ensure seams stay flat around the edge and do not pull apart.   If I’m not going to be quilting much over the panel, I also like to iron a lightweight interfacing on once I have removed the papers.  I do also love to starch from the back (before interfacing) to make my block nice and crisp!

11 – Scrap bin for each project.  If I’m working on multiple projects at once, I like to have a scrap bin for each where I store any offcuts (unless smaller than ½” or 1.5cm) in case I have a purpose for them.  I then also don’t have to hunt through too many scraps.  Then when I have finished the project I can easy sort those scraps into my main scrap storage. 

12 – The seam ripper is your friend – don’t be afraid you use it!  It’s ok to get things wrong. If you’re not happy with a block, take a section apart or just part of a seam. I have done “surgery” on my blocks many times as you will have seen on my Instagram stories if you follow me!

How To Foundation Paper Piece – Part 3

Uncategorized

JOINING SECTIONS

This is the 3rd part in my 4-part series called ‘How to Foundation Paper Piece’.   Please read the previous part one here and part two here if you have not already. 

Joining sections together accurately is really important in FPP.  The visual effectiveness and impact of the image can be lost if key intersections are misaligned. 

I lay out sections with fabric facing up to help you visualise how it goes together. If you’re working on a larger project you might like to pin the layout to a cork board or your design wall if you have one. Remember they won’t line up exactly when flat like this as each section has a seam allowance round it!

Start with the shortest joins between sections.  This will be tight under the sewing machine but it means you can practice where a small amount of slippage doesn’t impact as much as it’s over a shorter length.   In my example this is sections C & D. 

Place the sections fabric sides facing and roughly line up the seam to be joined.  As these section don’t have any important intersections between the fabrics that must line up, I start in the corners.  Take a pin and push through exactly in the corner. Push through to the second section aiming to hit the corner exactly again. 

You may have to re-adjust and try a couple of times but take your time. Practice makes perfect. I almost always now push the pin through perfectly aligned 1st time.

Now push the pin all the way through up to the head.  This helps to keep the fabric from slipping down and the pin ending up at an angle through the 2 sections.  Do the same for the other corner.

Next use wonder clips or similar (I don’t like pinning together as I find it shifts the fabric) to hold the sections in place.  As it is a short seam (1-1.5” long) 2 positioning pins should be sufficient. 

Remove the pins (at 90 degrees) and just have the clips holding the seam in place.  

Sew on machine only on the line and not into the seam allowance.  This can be sewn at your normal straight stitch length but I tend to leave mine at a length of 1.5 to make tearing the paper easier without straining the thread. Remember to do a lock stitch at the beginning and end. Remove the clips as you sew the seam ensuring neither section shifts.

Remove any remaining clips and open up the seam to check you’re happy with the alignment.  If you’re not happy, unpick and try again with the same process as above.  Sometimes I find the alignment looks off but once I have pressed it open a bit it looks good so don’t rush for the seam ripper. 

Turn block over, open seam with fingers and press so it starts to stay open. 

Use the roller, pressing firmly over the open seam.  I do this both on the front and back.  This will now be known as section ‘CD’.  Other designers’ instructions will similarly combine letters when sections are joined. 

Lastly remove the paper only in the area of the seam allowance so it sits as flat as possible. 

For longer seams the process is similar, just with more pins and clips.  In my example I am joining sections CD and E.  Place the sections you are joining, fabric face together, along the seam you will sew. My pattern sections have * where important junctions of fabric need to line up.  These marked line intersections are where I will pin through first. 

Check on the fabric sides of the pattern when pushing the pin through, as sometimes the fabric has has shifted over the intersection line.  

Check the positioning of the fabric and paper as you go through the second section, (with the locating pin) so you go accurately through the line intersection again.   Push the pin all the way through.  

Do this for any important intersections (these may not be marked, unlike my patterns). 

Now clip to the side of the pins to hold the fabric together. 

Next use more pins to accurately locate the corners using the same method as before.  

Place more clips round the pins and remove any pins that are not at important intersections.  I leave these pins in until the last possible moment to try to prevent the fabric sliding.

If there are any seams longer than 2” that have not been lined up using a locator pin then check the alignment with a pin and replace with a clip to hold it in place.  I also clip open any perpendicular seams so they stay open when sewing and don’t cause bulk. 

Sew on machine along the seam line (only on the line and not into the seam allowance at either end).  This can be sewn at your normal straight stitch length but I tend to leave mine at a length of 1.5 to make tearing the paper easier and without straining the thread. Remember to do a lock stitch at the beginning and end. 

As before, open the seam up and check you are happy with the intersections between the fabric. 

The intersections of fabric should match closely – the smaller the block or more different the fabric is, the more important this is.  It really is worth getting right so don’t be afraid to use your unpicker.  You can unpick part of a seam to correct an error but don’t do this too many times or stretch the fabric to much as you may distort the block. 

Finger press seams open.

Roll to get as flat as possible

My example shows blocks C, D and E joined – don’t worry if it doesn’t look square at the moment you can trim it once the whole block is together and ironed. 

Repeat the above steps for the rest of the sections. 

Once I have sewn the whole block together, I iron it (without steam), trim it square, and stitch all the way round 1/8from the edge. 

Lastly, I remove the paper (much easier with the foundation paper from Pattern Trace) and as this crumples the block I iron it again with a little starch (or similar) and pin it to my design wall until I use it!  

Next up….. Part 4 – MY TOP TIPS

Thank you for reading and keep stitching!!

How To Foundation Paper Piece – Part 2

HOW TO FOUNDATION PAPER PIECE, Uncategorized

Basic Principles and Piecing a Section

This is the second in a 4-part series “How to Foundation Paper Piece”.  If you have not already please read my previous blog post Part 1 –“Introduction, Patterns & Tools”

Basic Principles

FPP can be daunting and tricky to get your head around at the start, but once it clicks you will wonder why you found it so difficult!

The most important things to remember are:

  • You are sewing the fabric onto the back of the paper so you are creating a mirror image of what is on the front of the paper.
  • Make sure the fabric you are sewing on is the right way round and big enough.
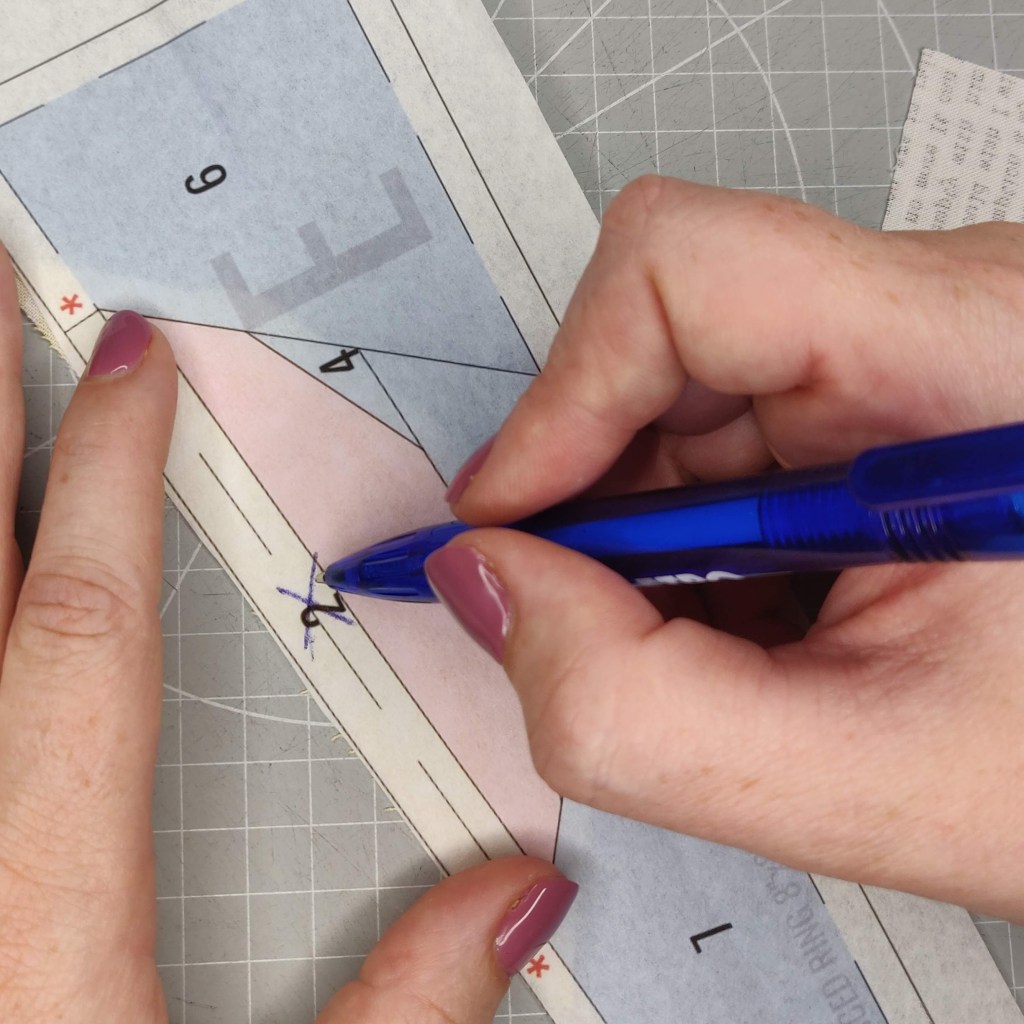
  • Don’t think of it as one big whole just think about one section at a time. You can make notes on the paper if it helps, as it will be removed.
  • Take your time and enjoy it!

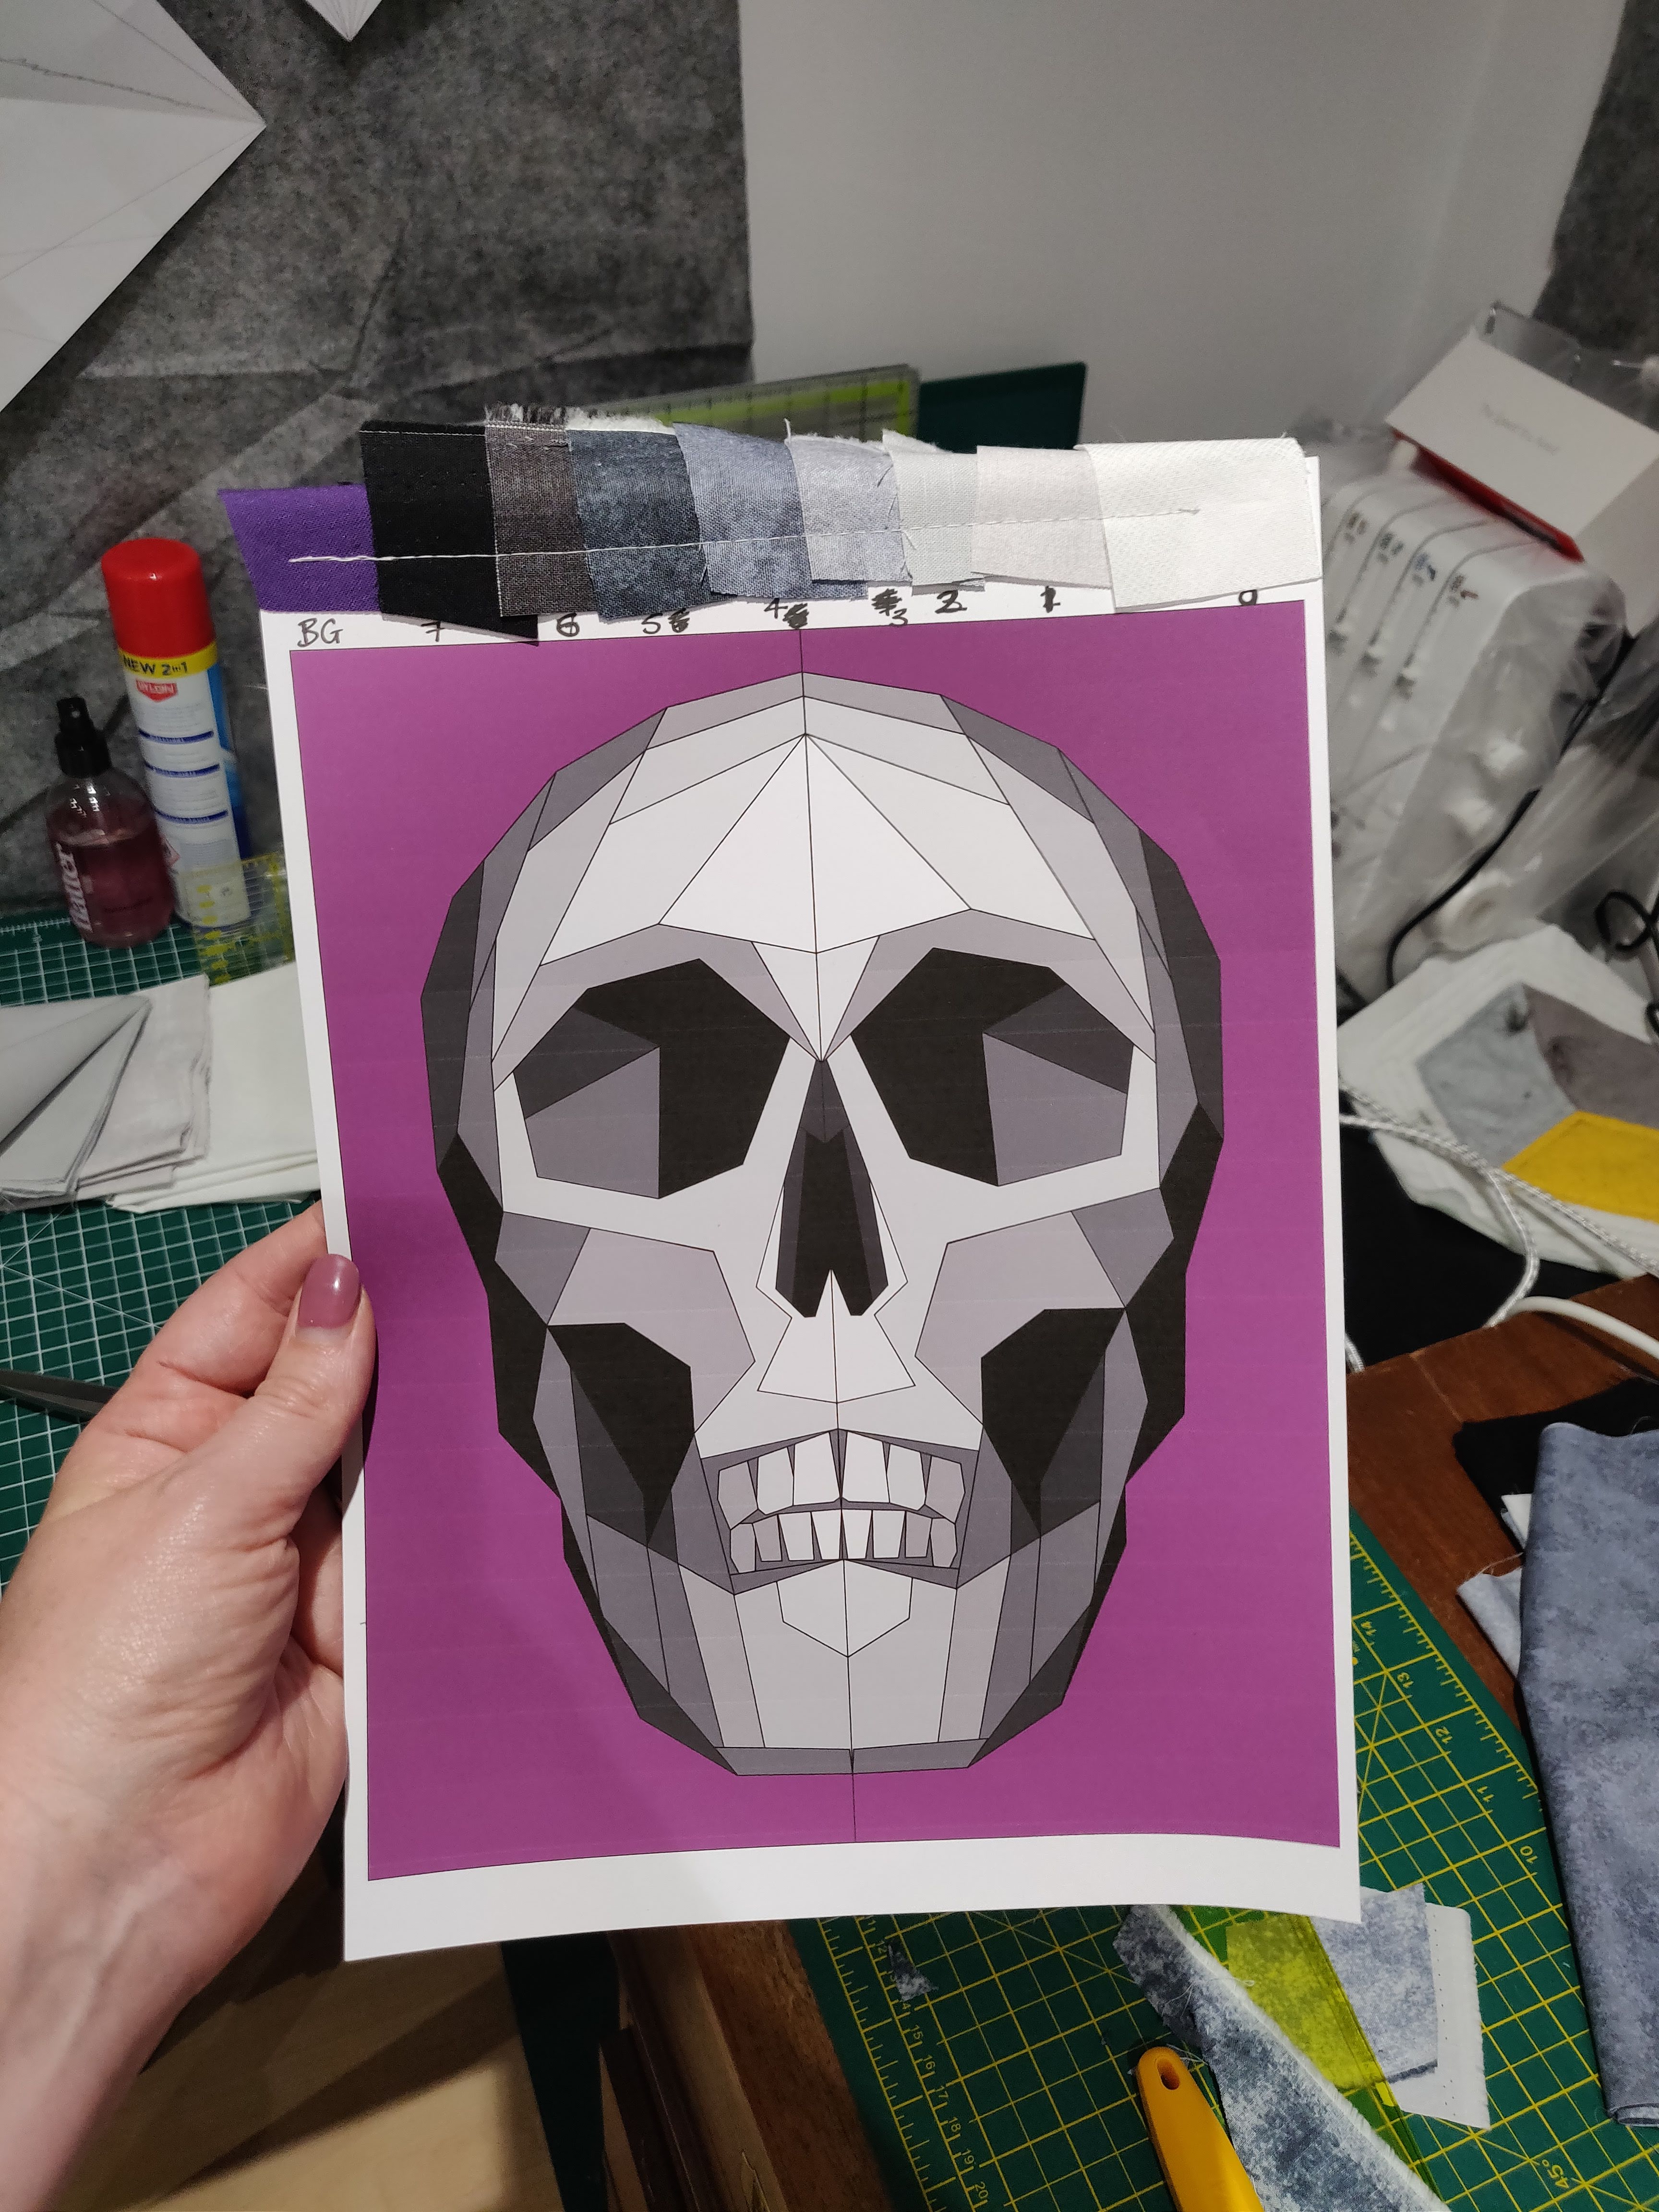
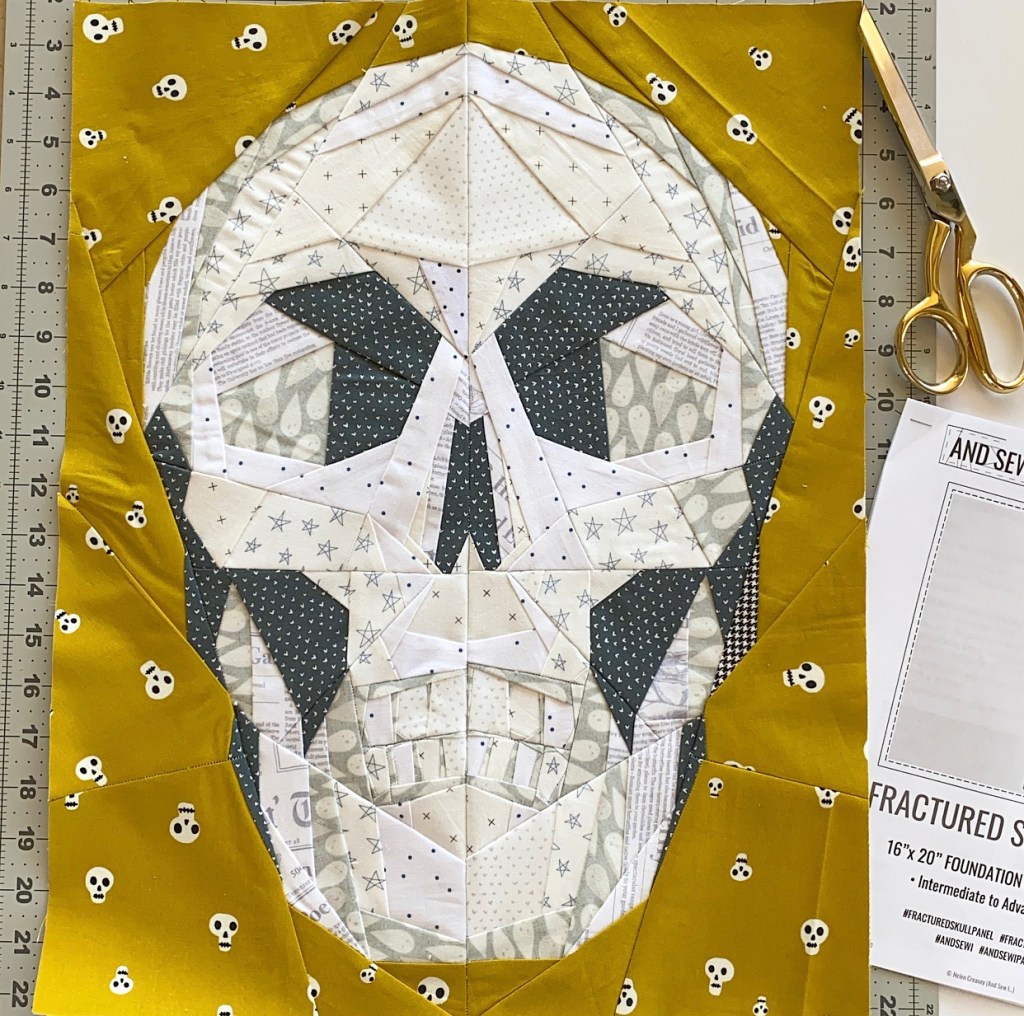
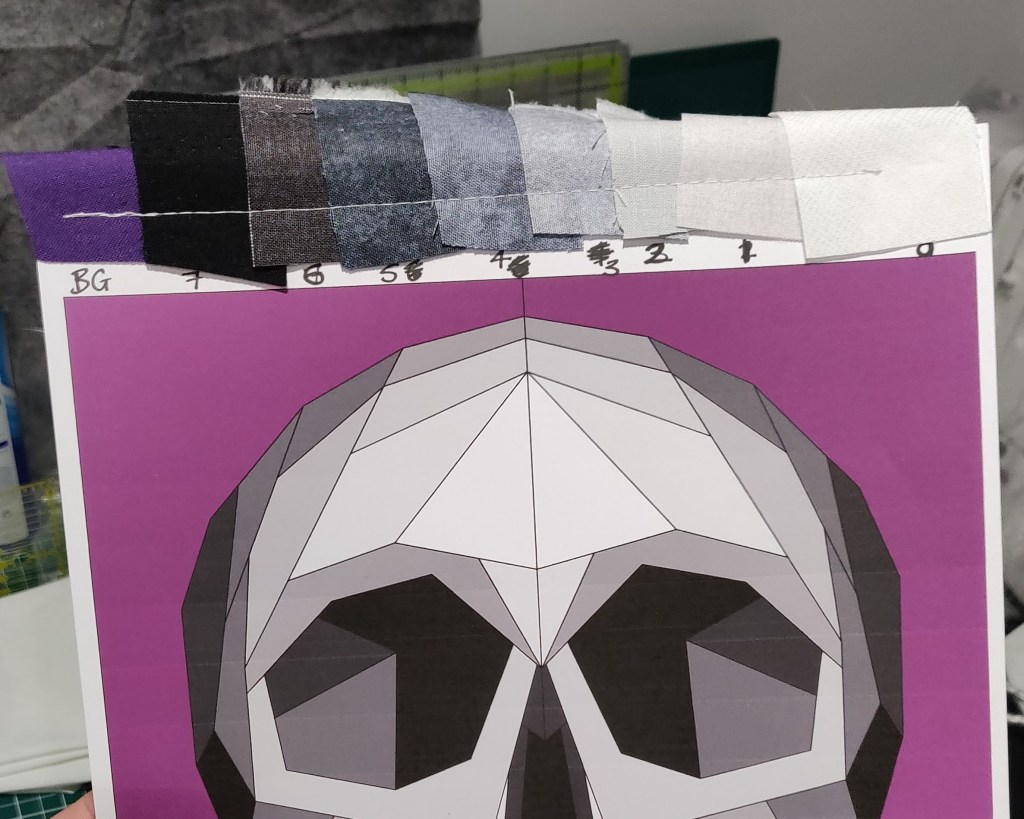
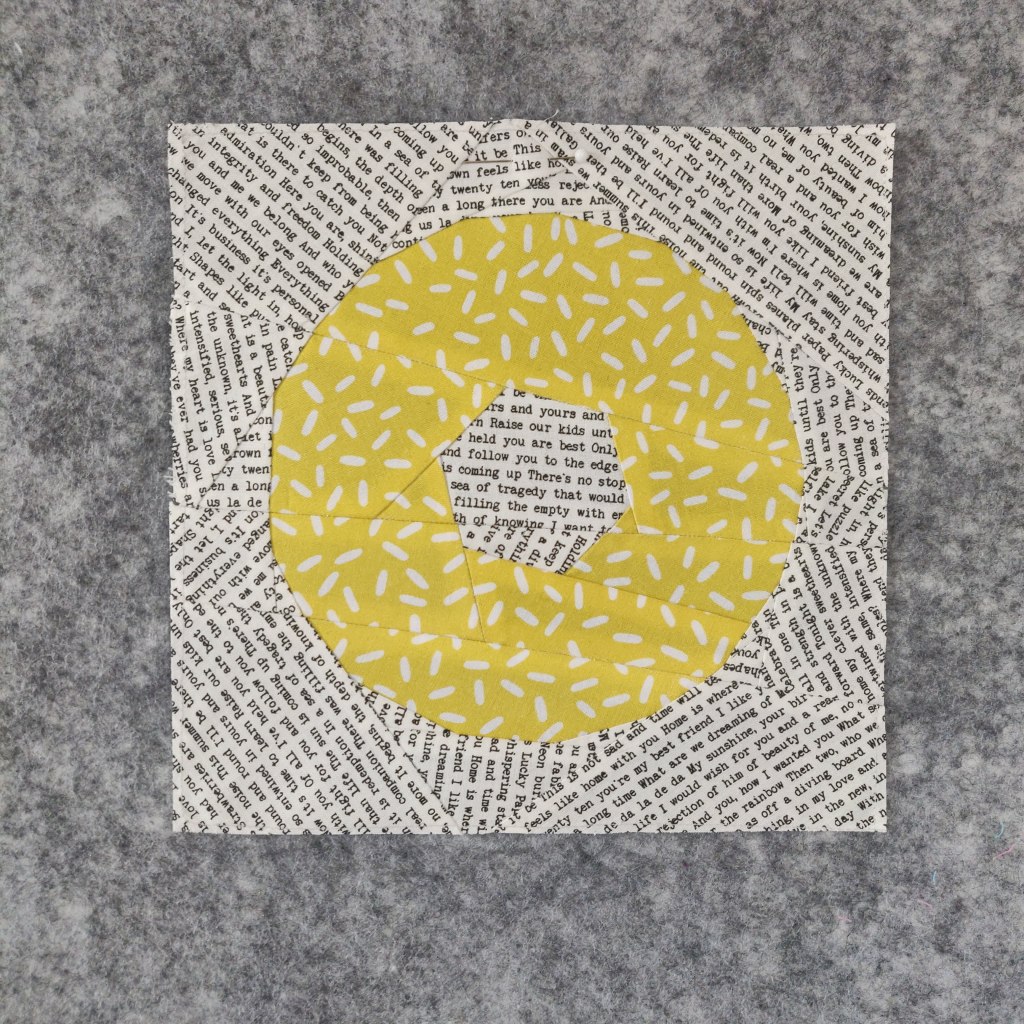
I am going to explain the process using my “Nice Iced Ring” Front Block Pattern.  You can find it here to purchase. I will try to explain in universal terms and then use photos and references of me doing my pattern.

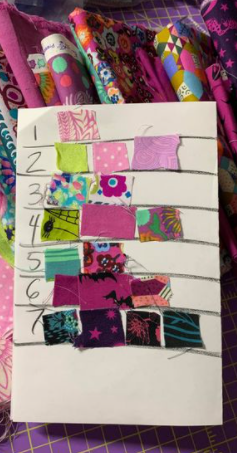
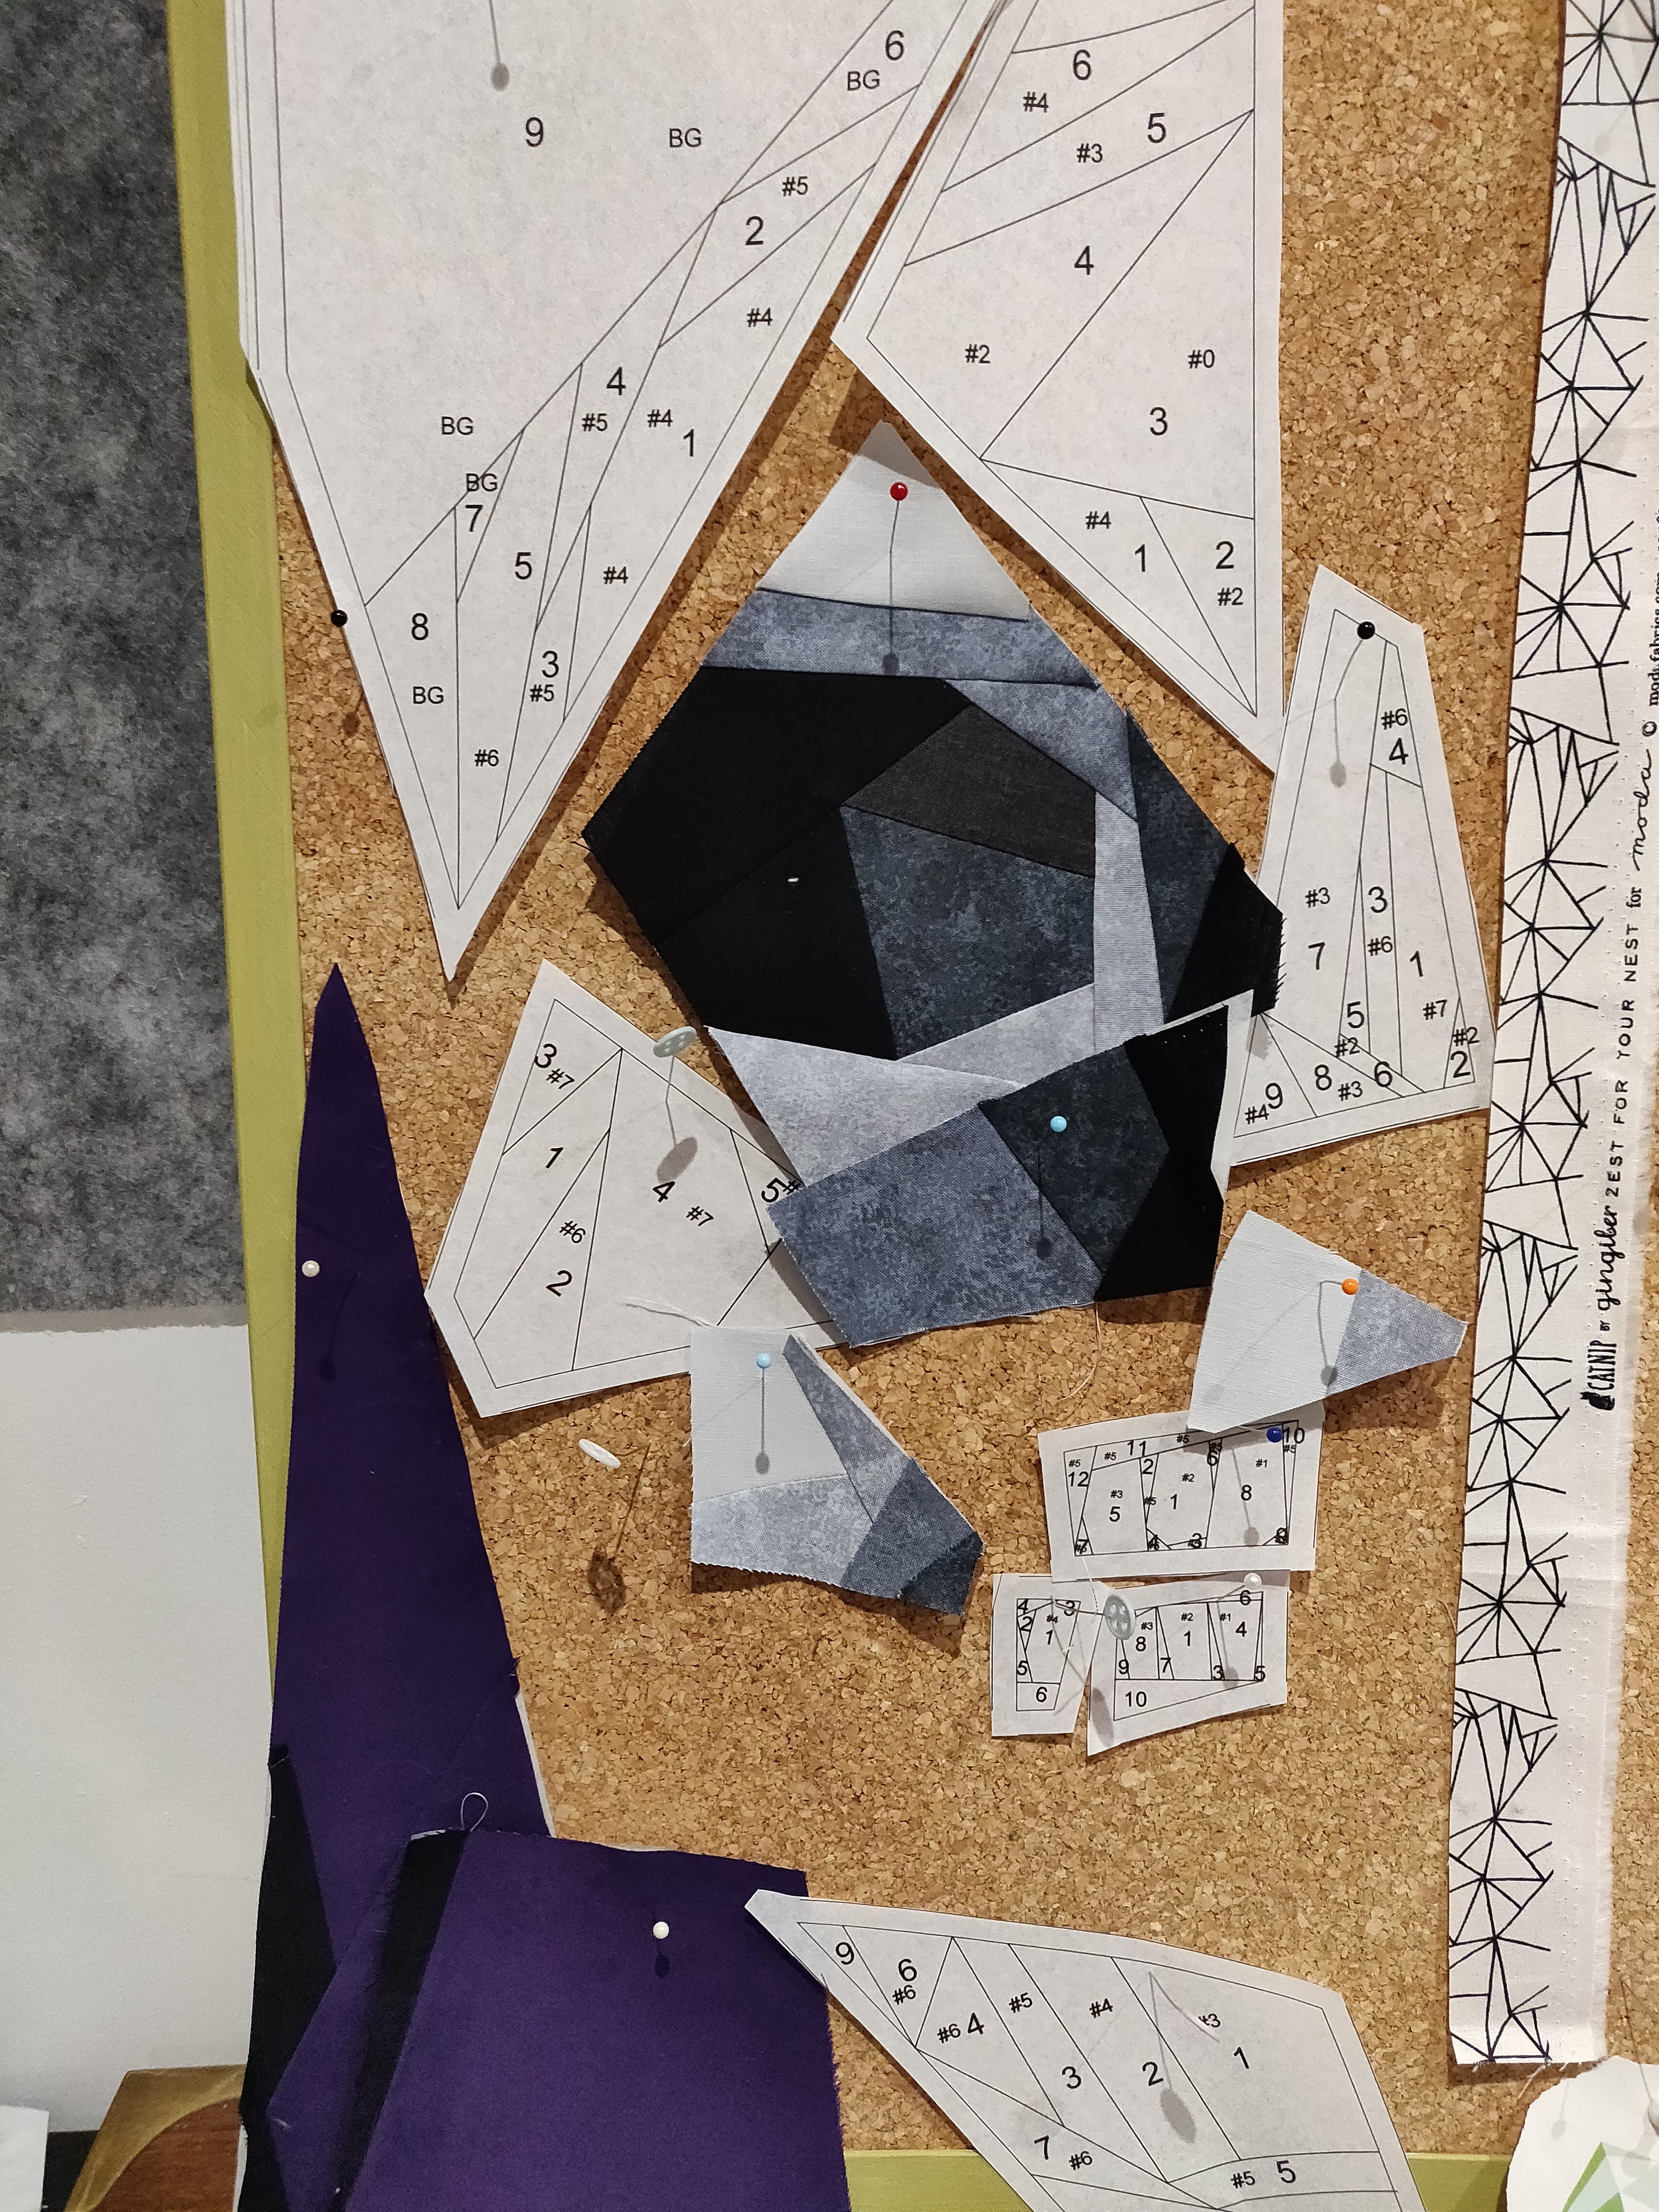
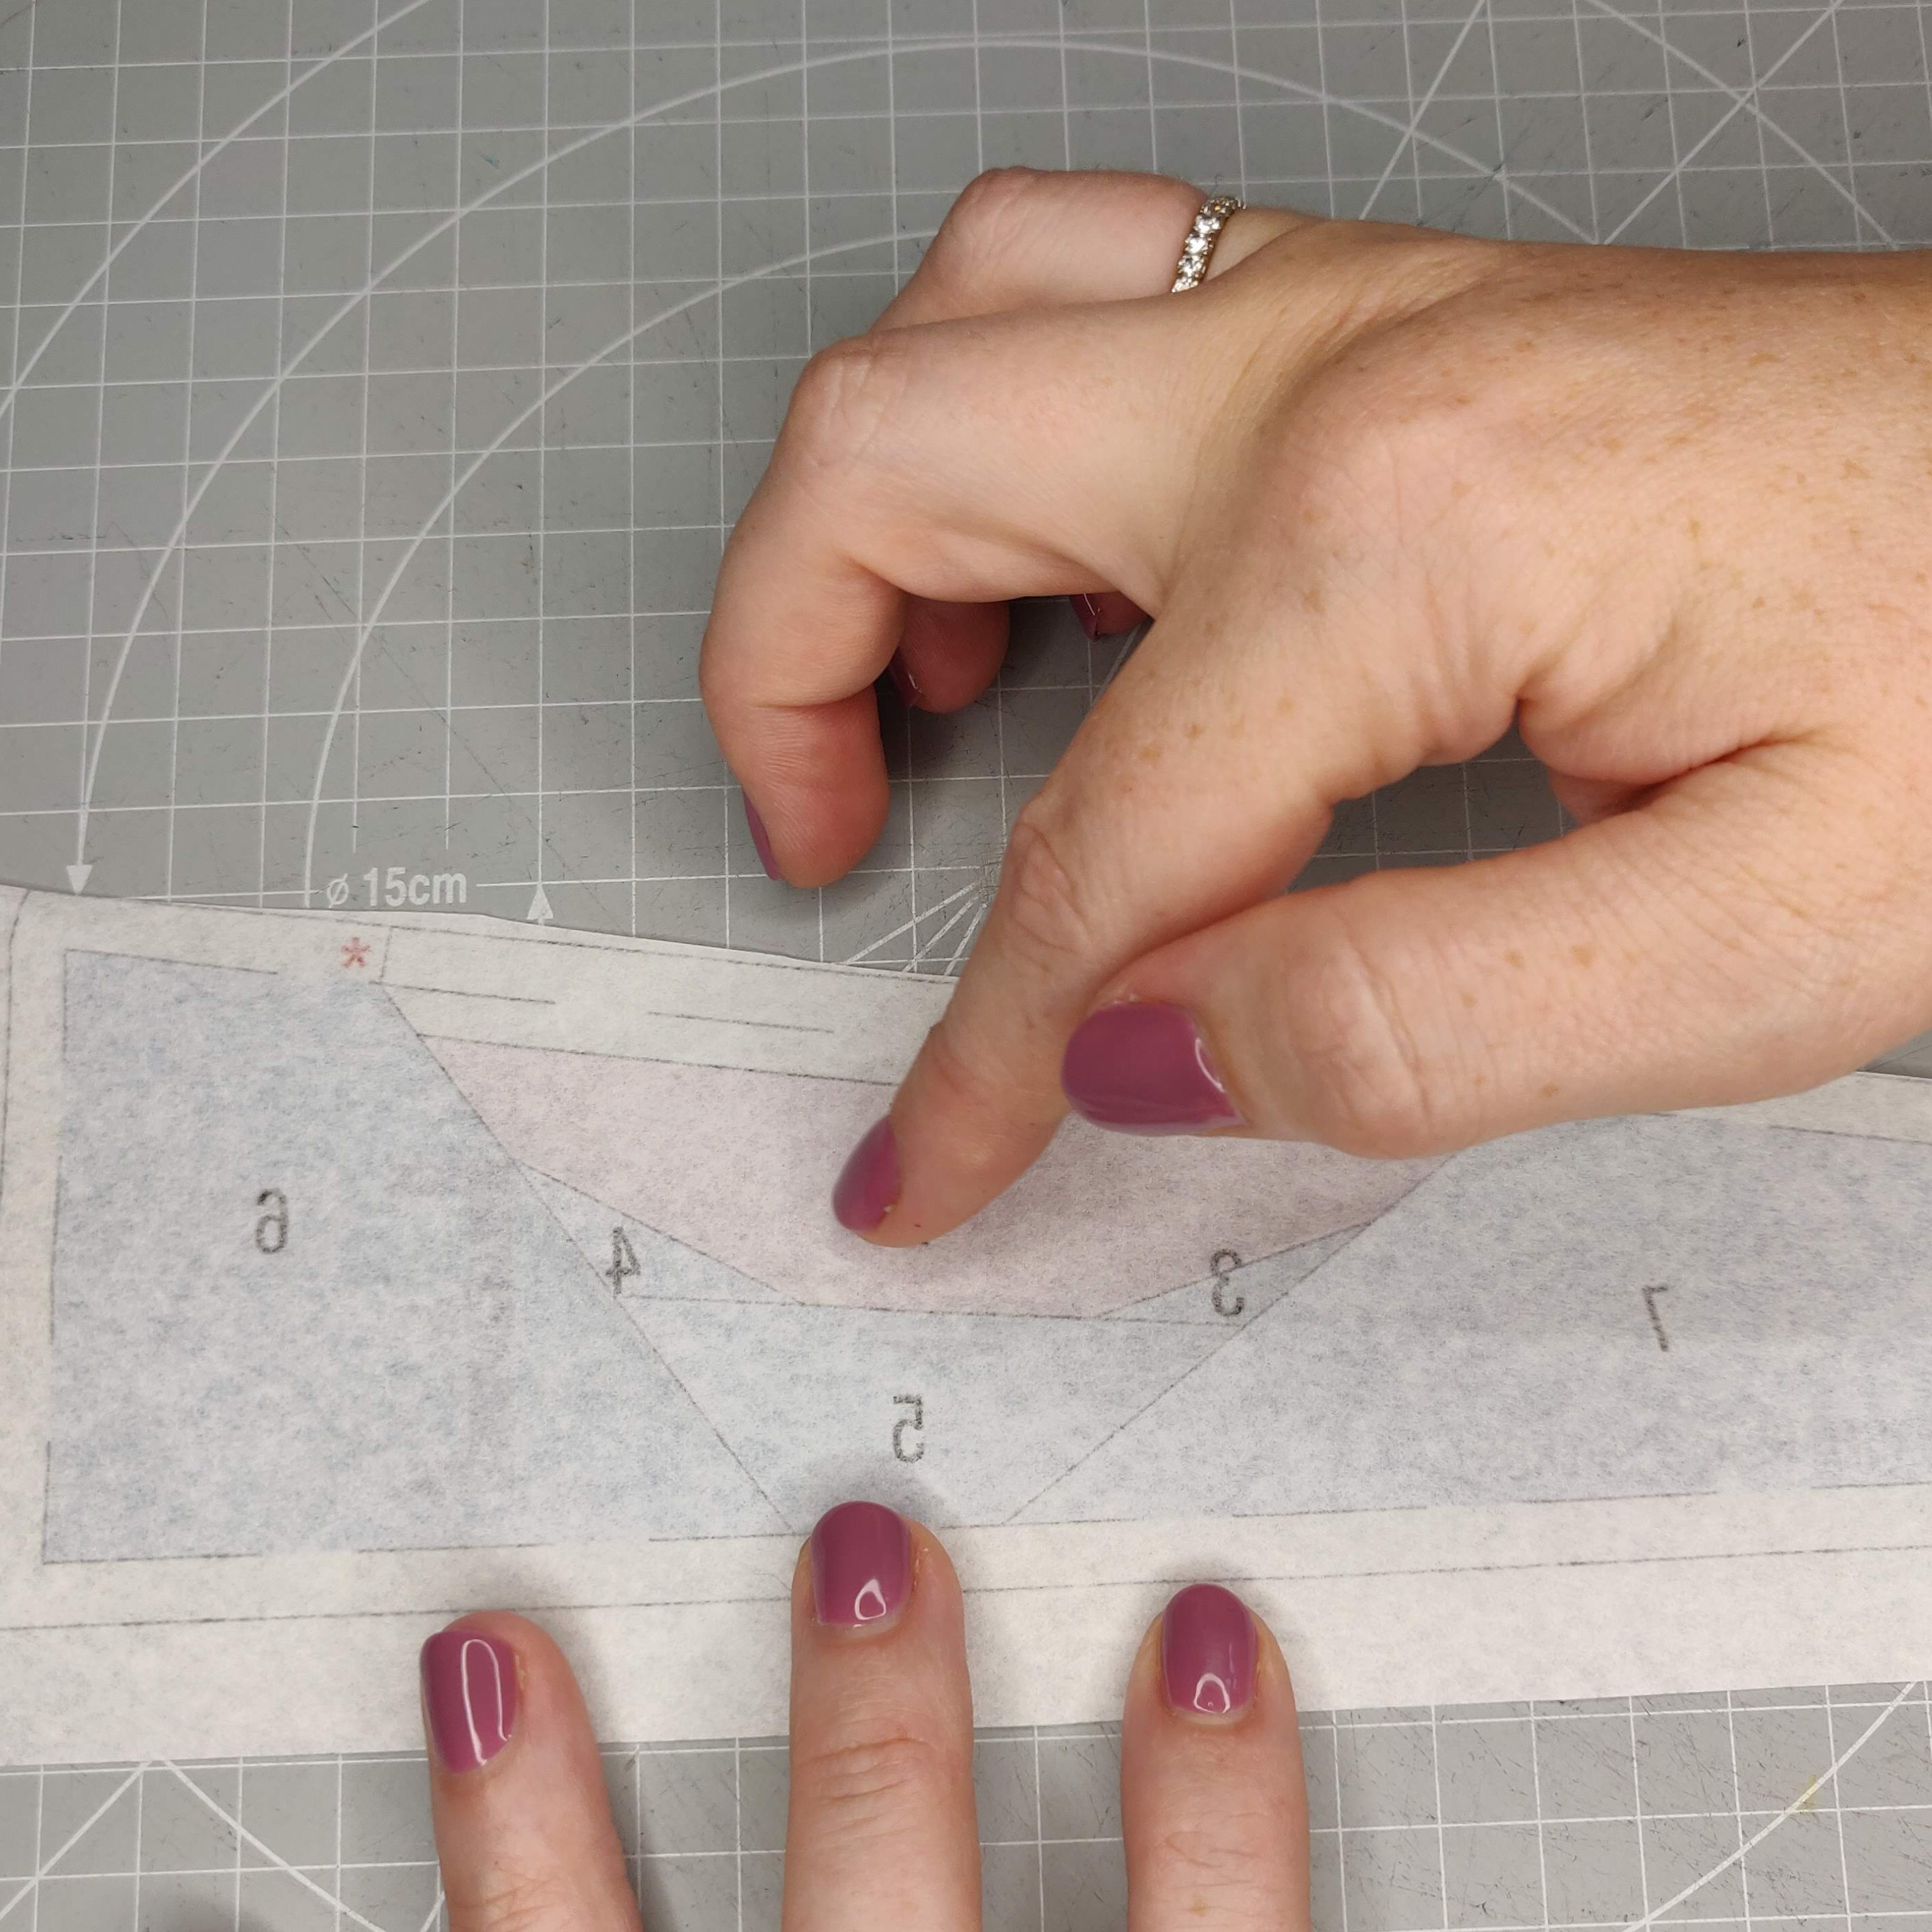
Take any section of the block, I suggest starting with one that has the fewest and/or largest sections if you are new to FPP.  For my example I am using section E.

Fold along each of the seam lines between numbered sections – printed side to printed side.  The “Add a Quarter” ruler I use has a thin profile one side to make this easier.  Folding over your normal quilting rulers can create a double line due to their thickness.

Turn over the paper so the printed side is facing down.

IMG_20200815_133513

Place a large enough piece of fabric over the whole of the first area (labelled 1 and in my example, it needs to be the fabric I selected for the icing). Remember to put it on the unprinted side of the paper, with the pattern/ printed side of the facing away from the paper.  This piece of fabric needs to be bigger than the area (labelled 1) by at least ¼” (seam allowance) on all sides (except any sides adjacent to the outside edge of the section where seam allowance as already marked).  To make sure of this I like to initially cut a piece of fabric a bit too big and then trim it down once it is held in place.

IMG_20200815_133552

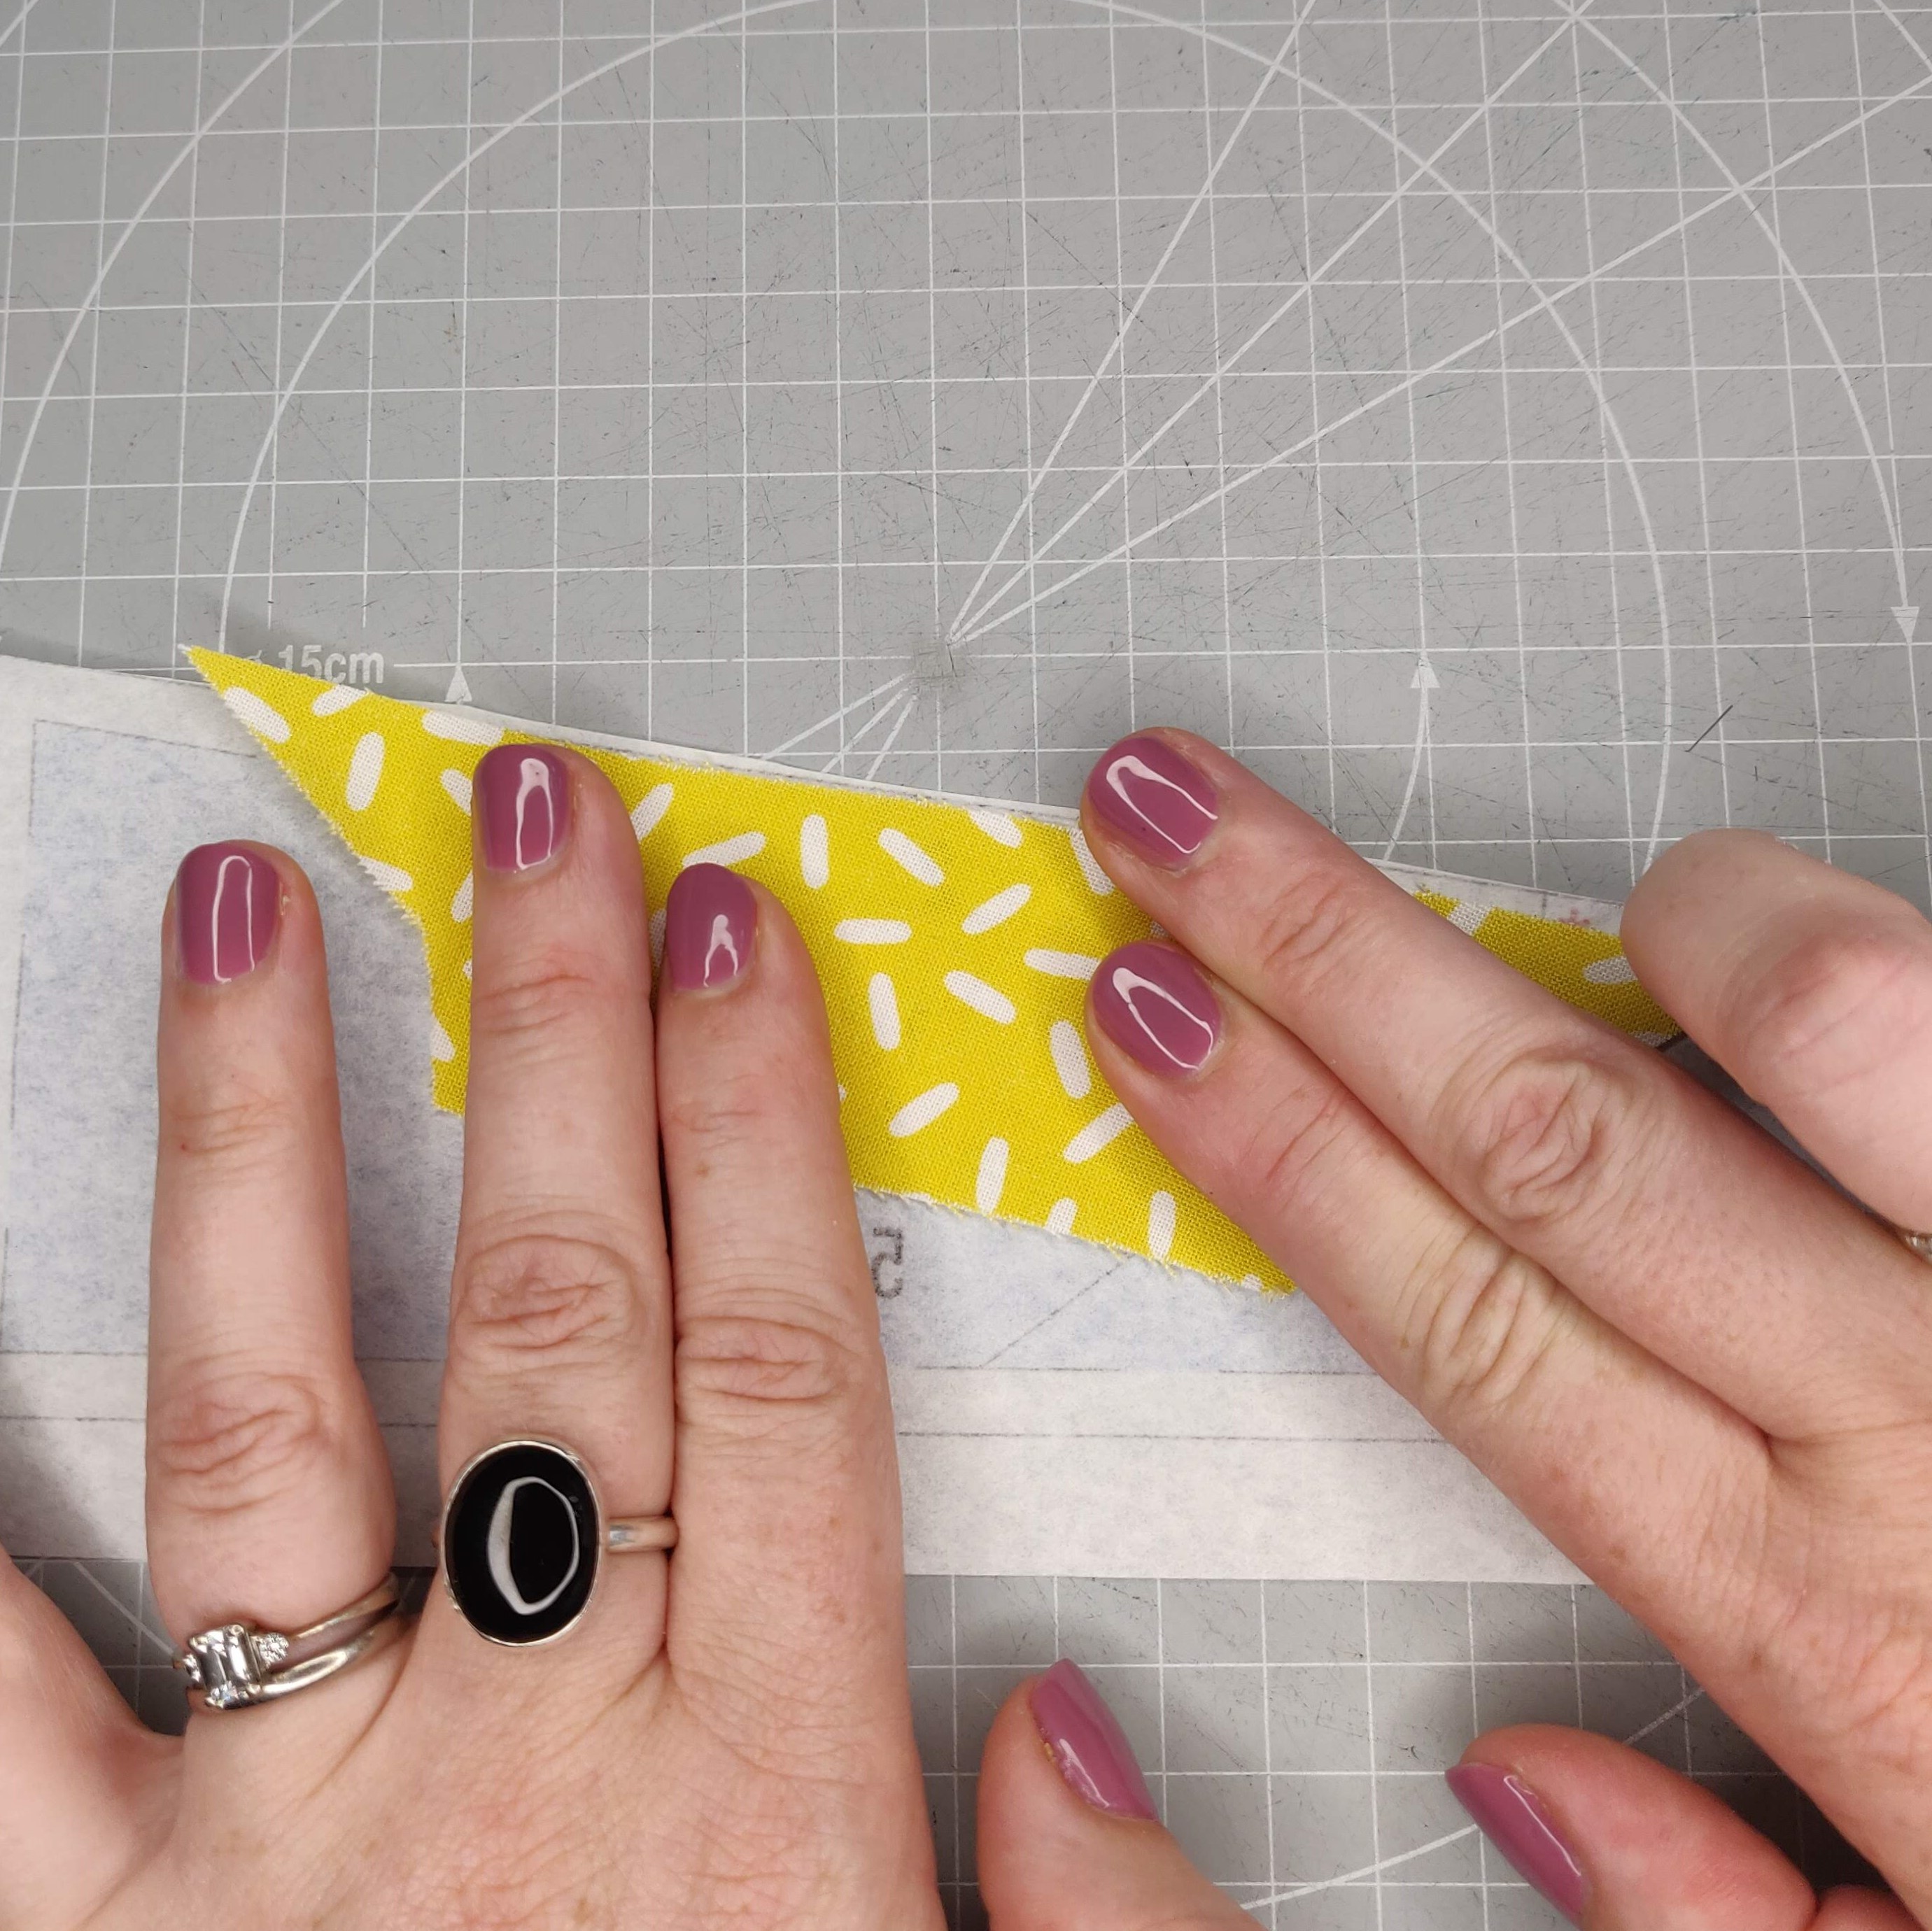
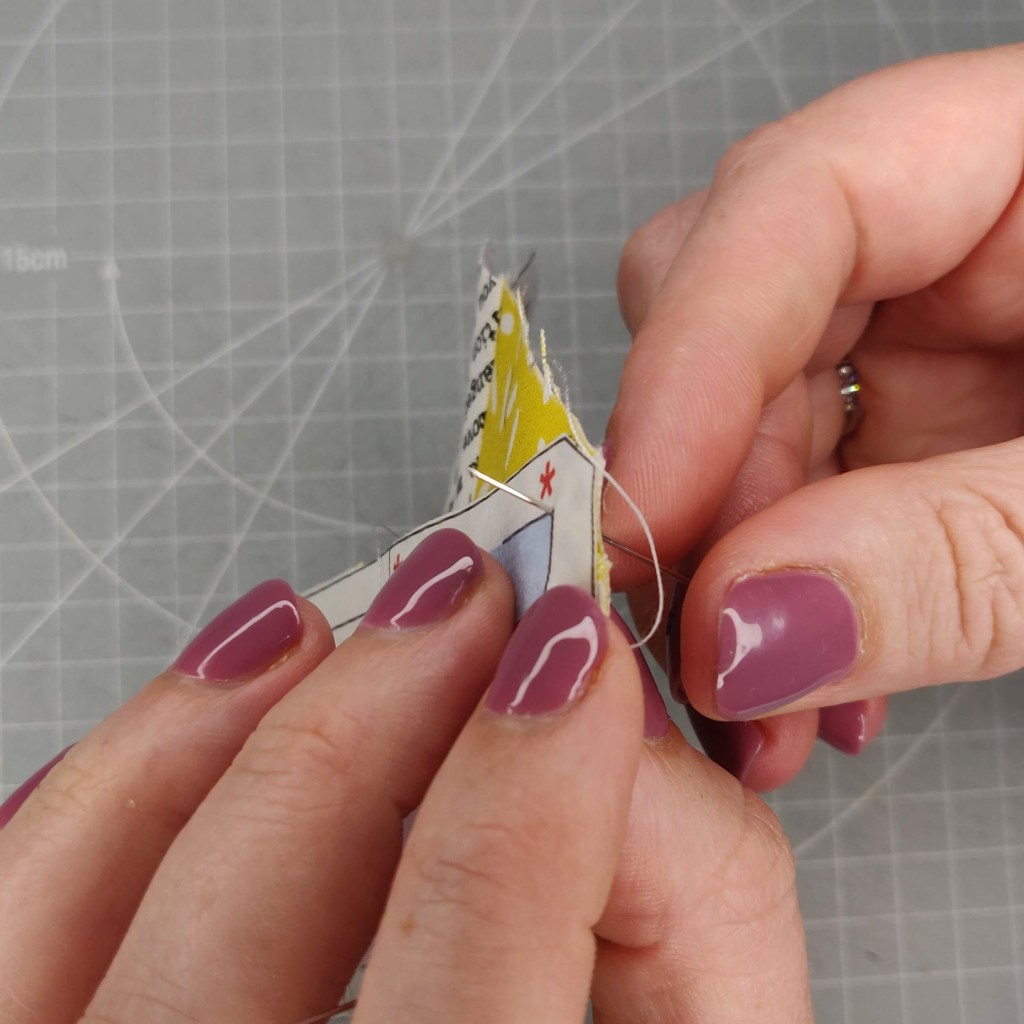
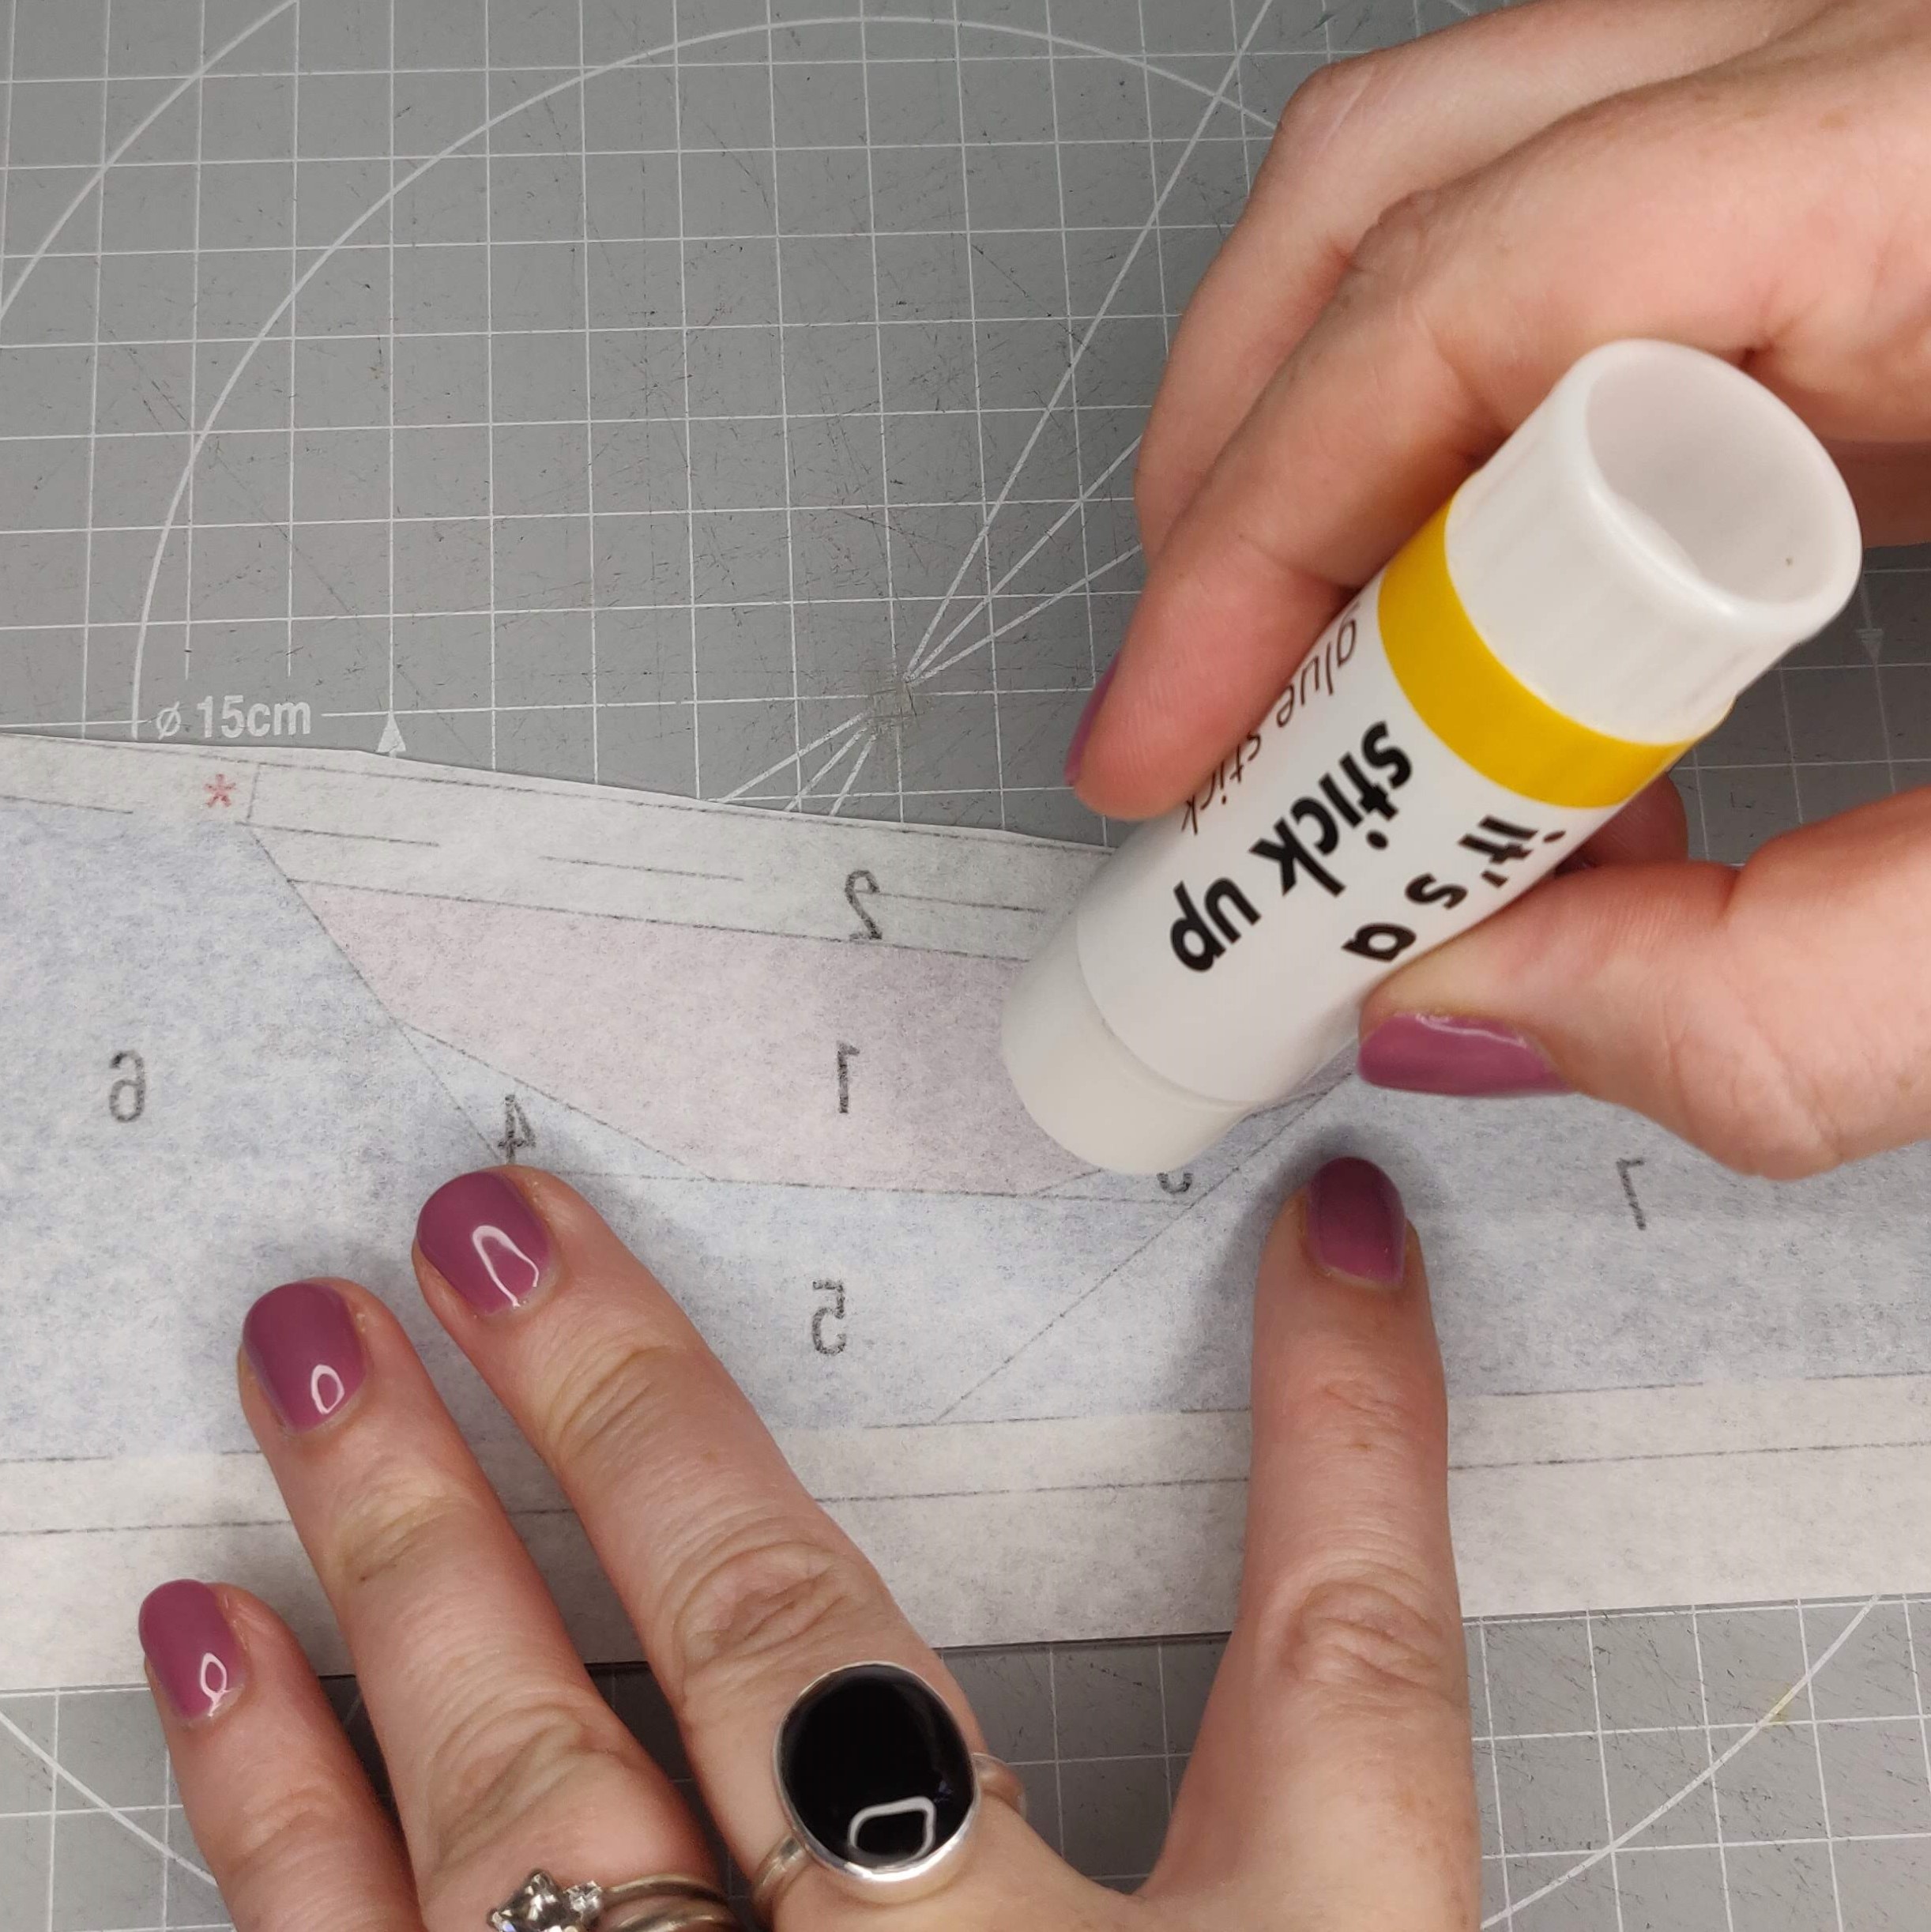
I use a small amount of glue stick (only on the area labelled 1) to hold the fabric in place and stop it moving while sewing or trimming. Some people just pin or use a long tacking stitch across the middle of the area to baste the fabric in place.

IMG_20200815_133528_01 (1)

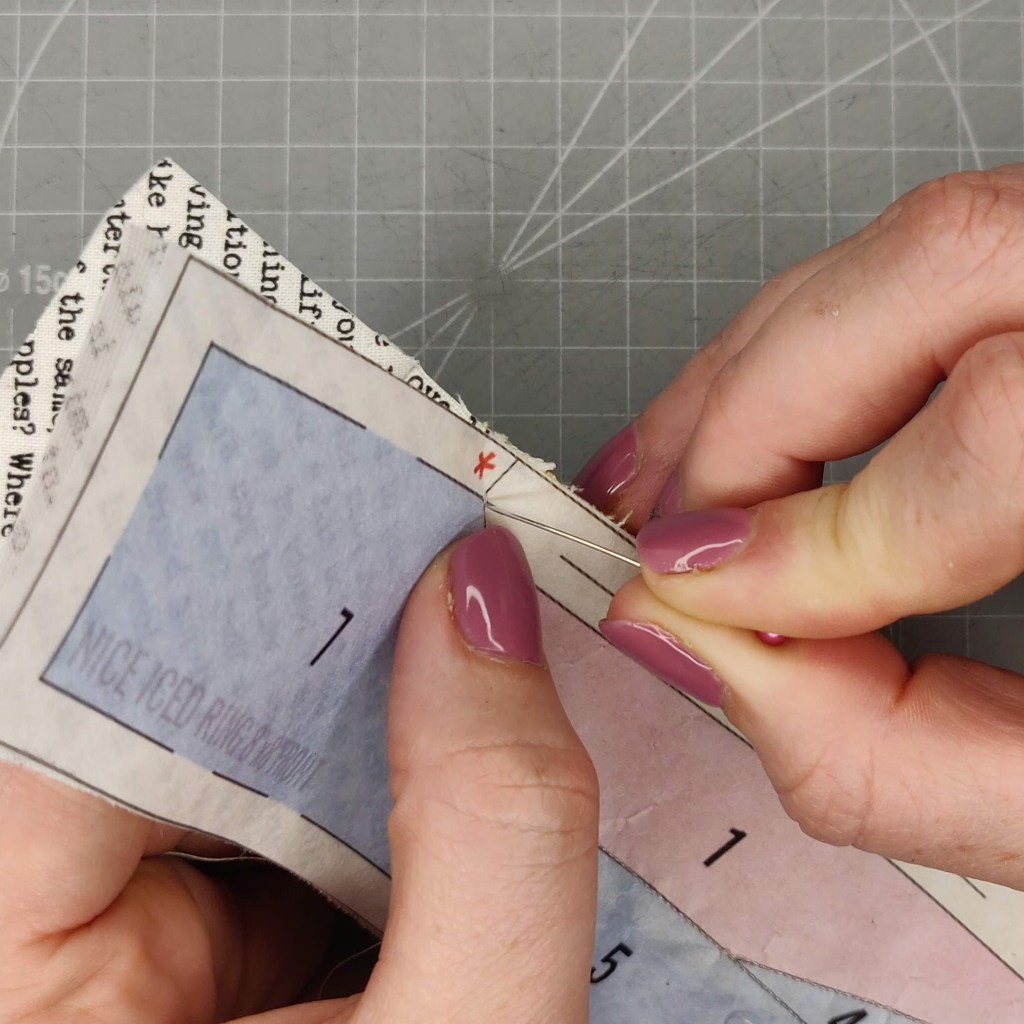
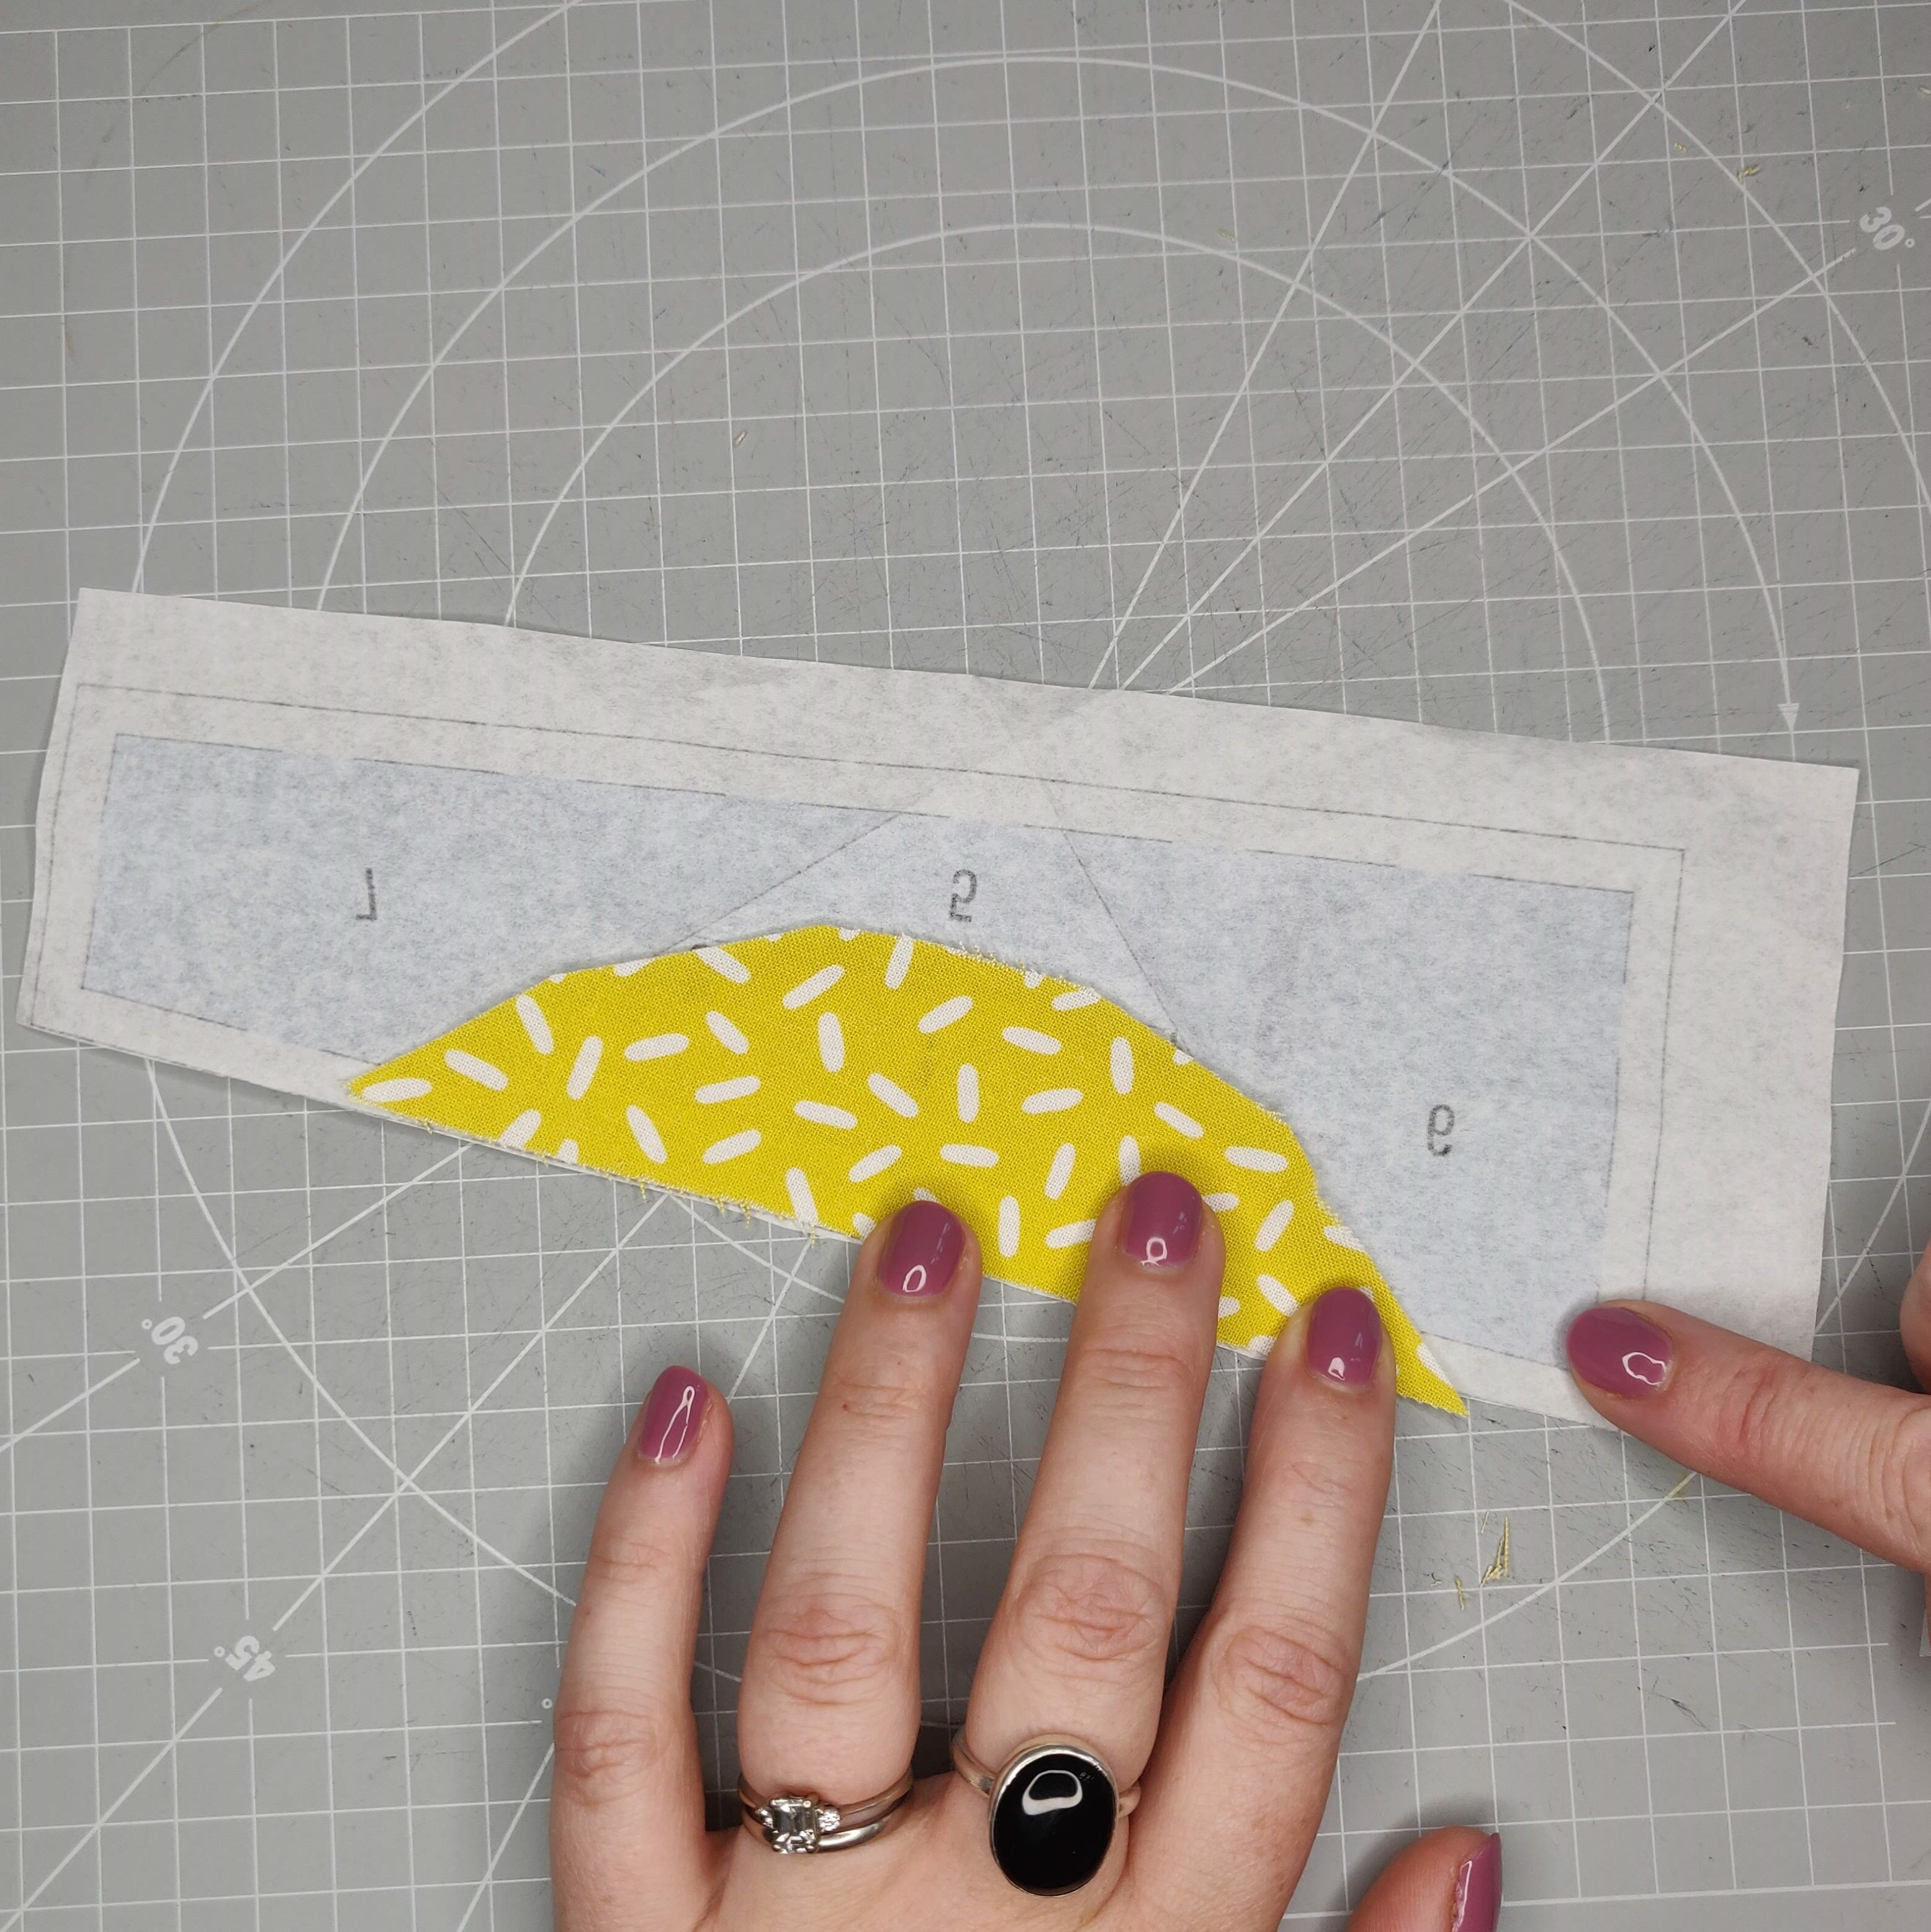
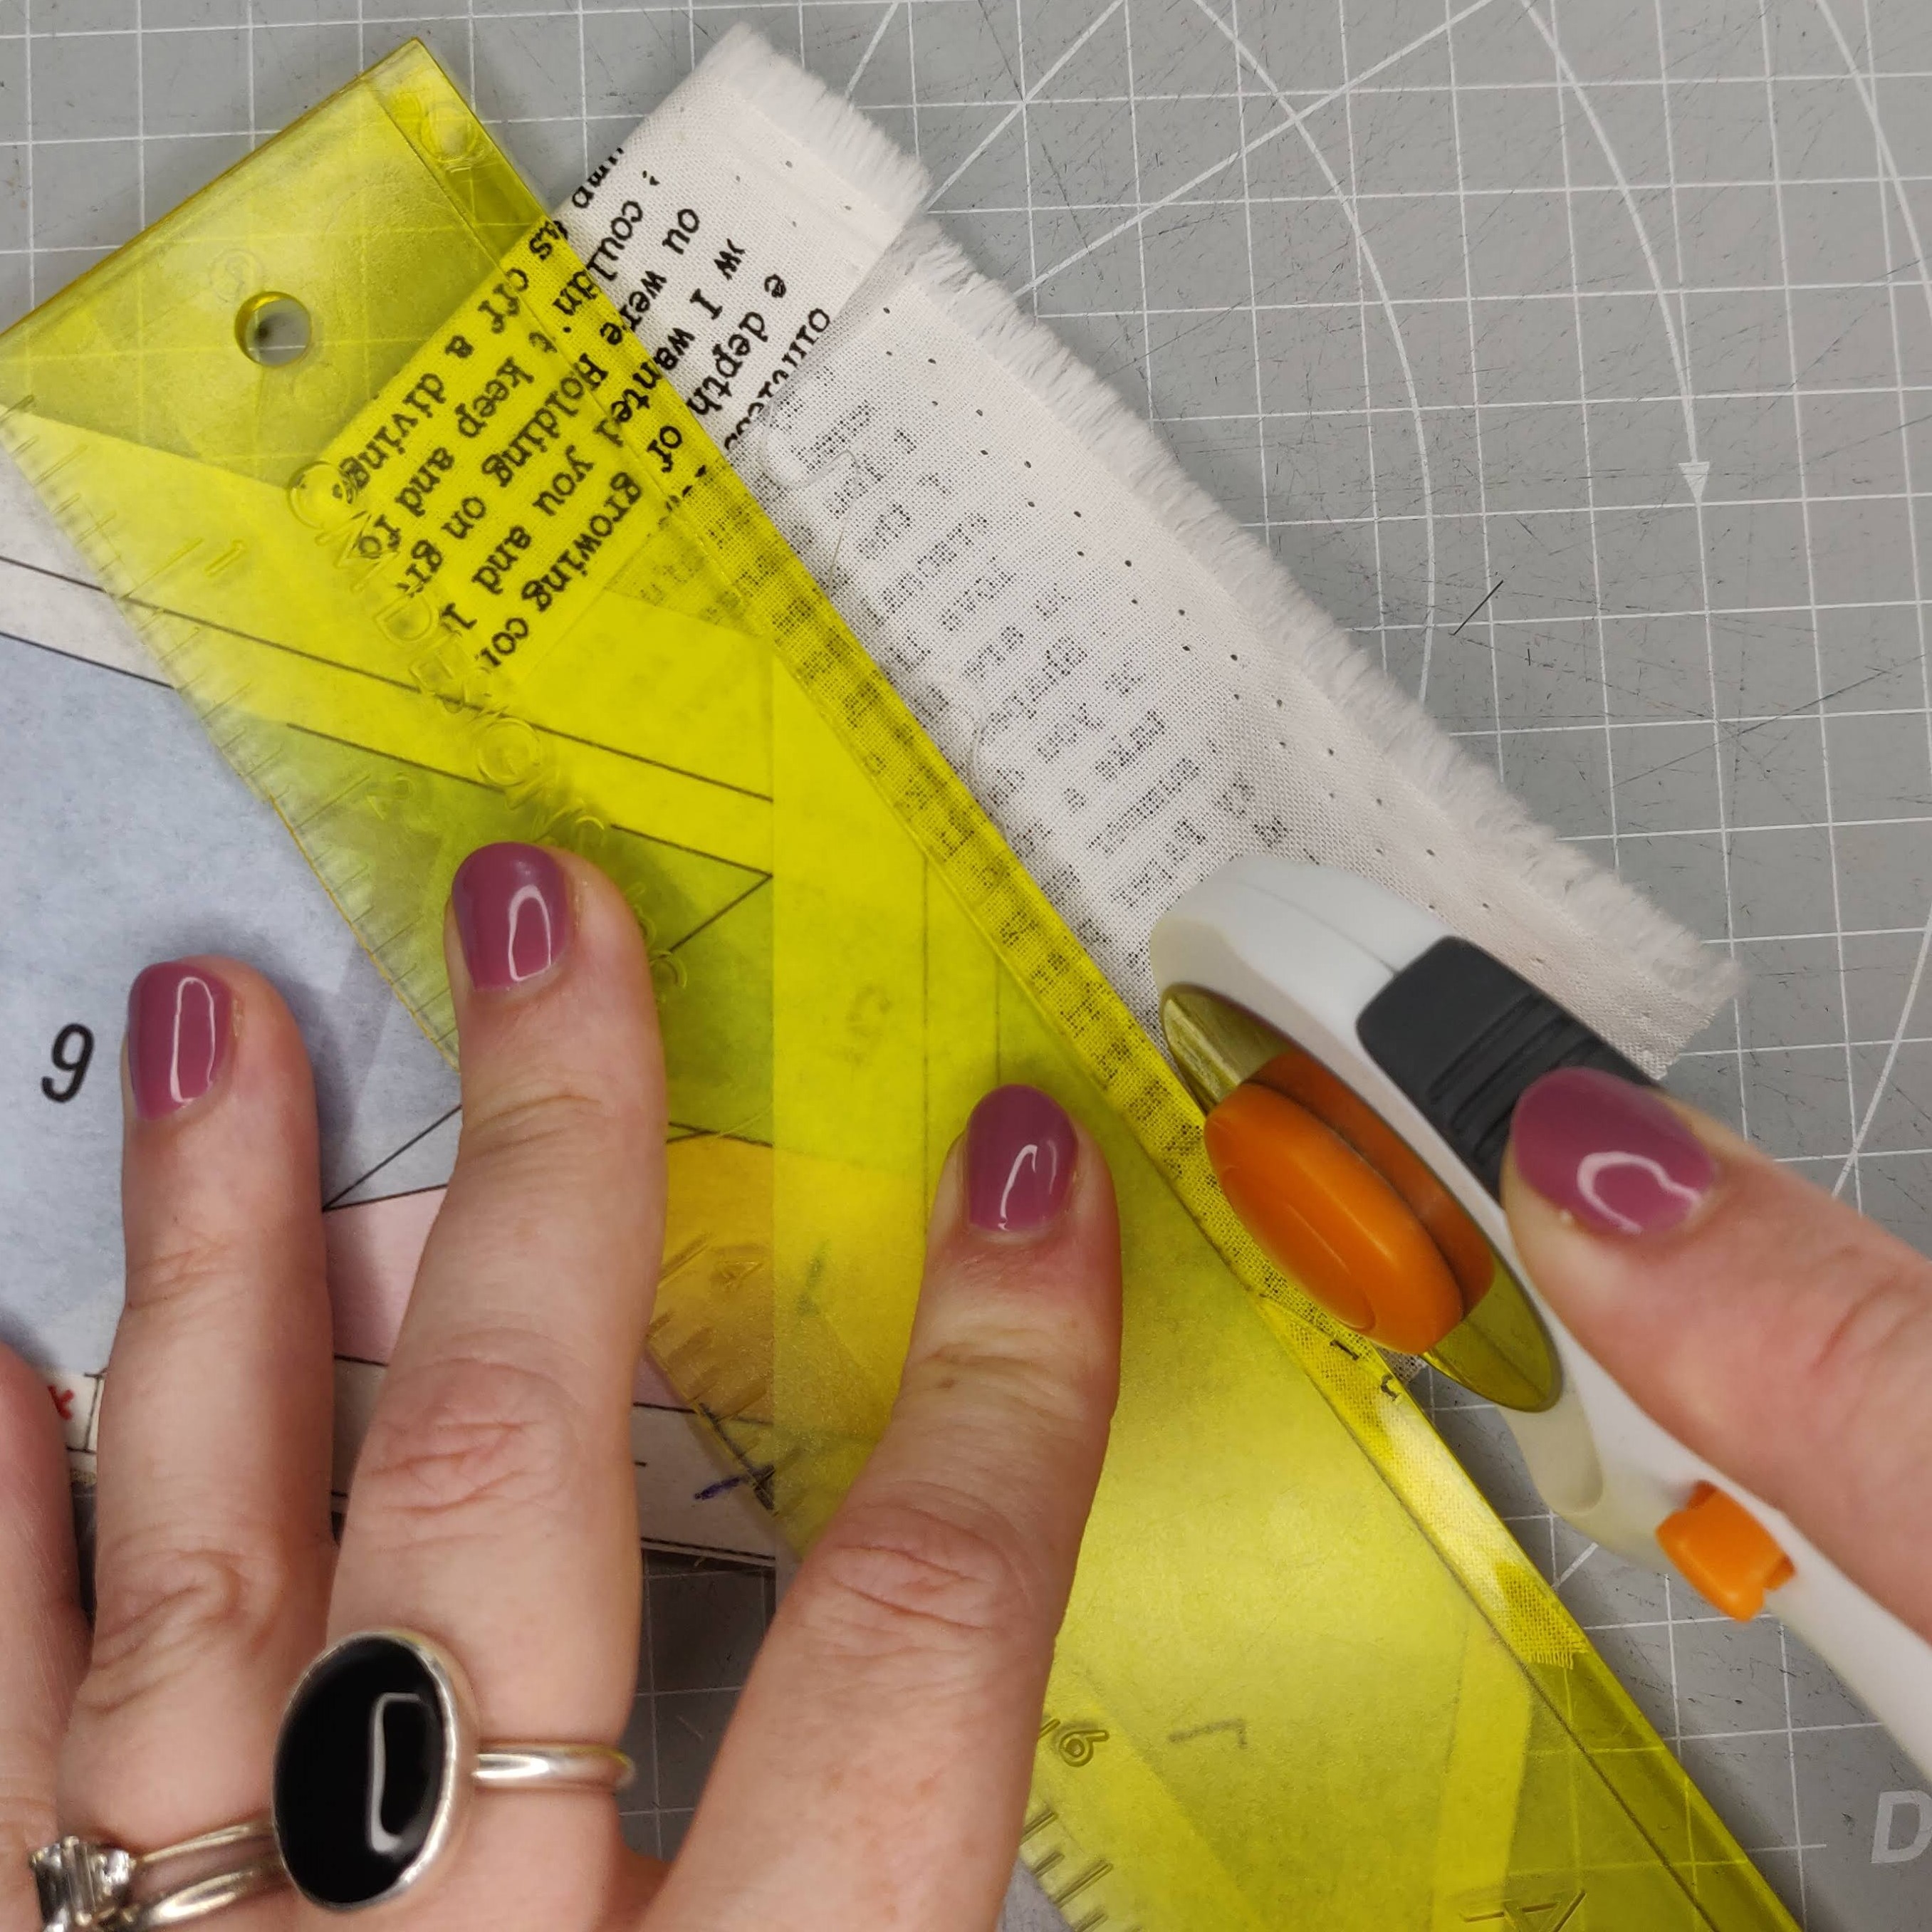
Once stuck in place you need to trim the first bit of fabric down to the ¼” seam allowance.  Turn the section over so the fabric is facing the mat and the printed side of the paper is facing you.  Fold the paper back along each of the lines between area 1 and the other numbers in turn and use the ruler and rotary cutter to trim the excess off.

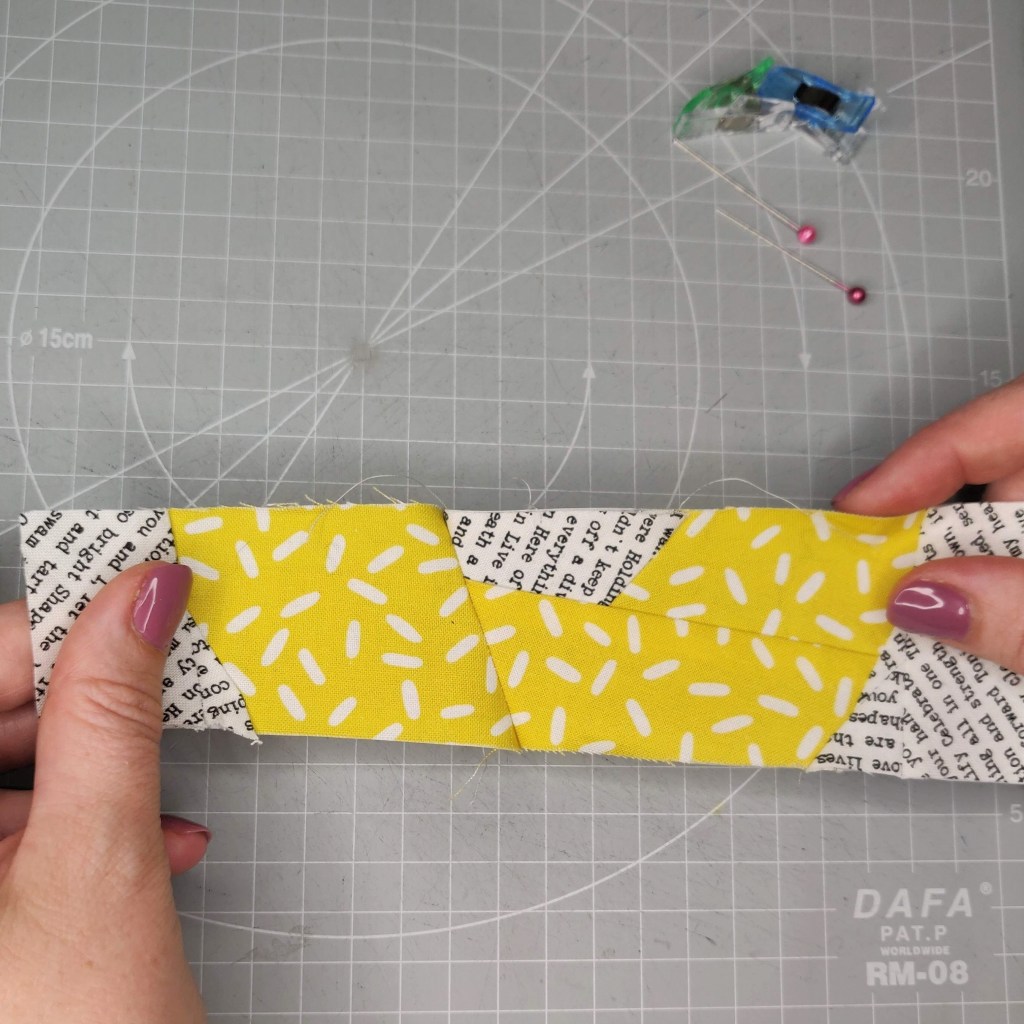
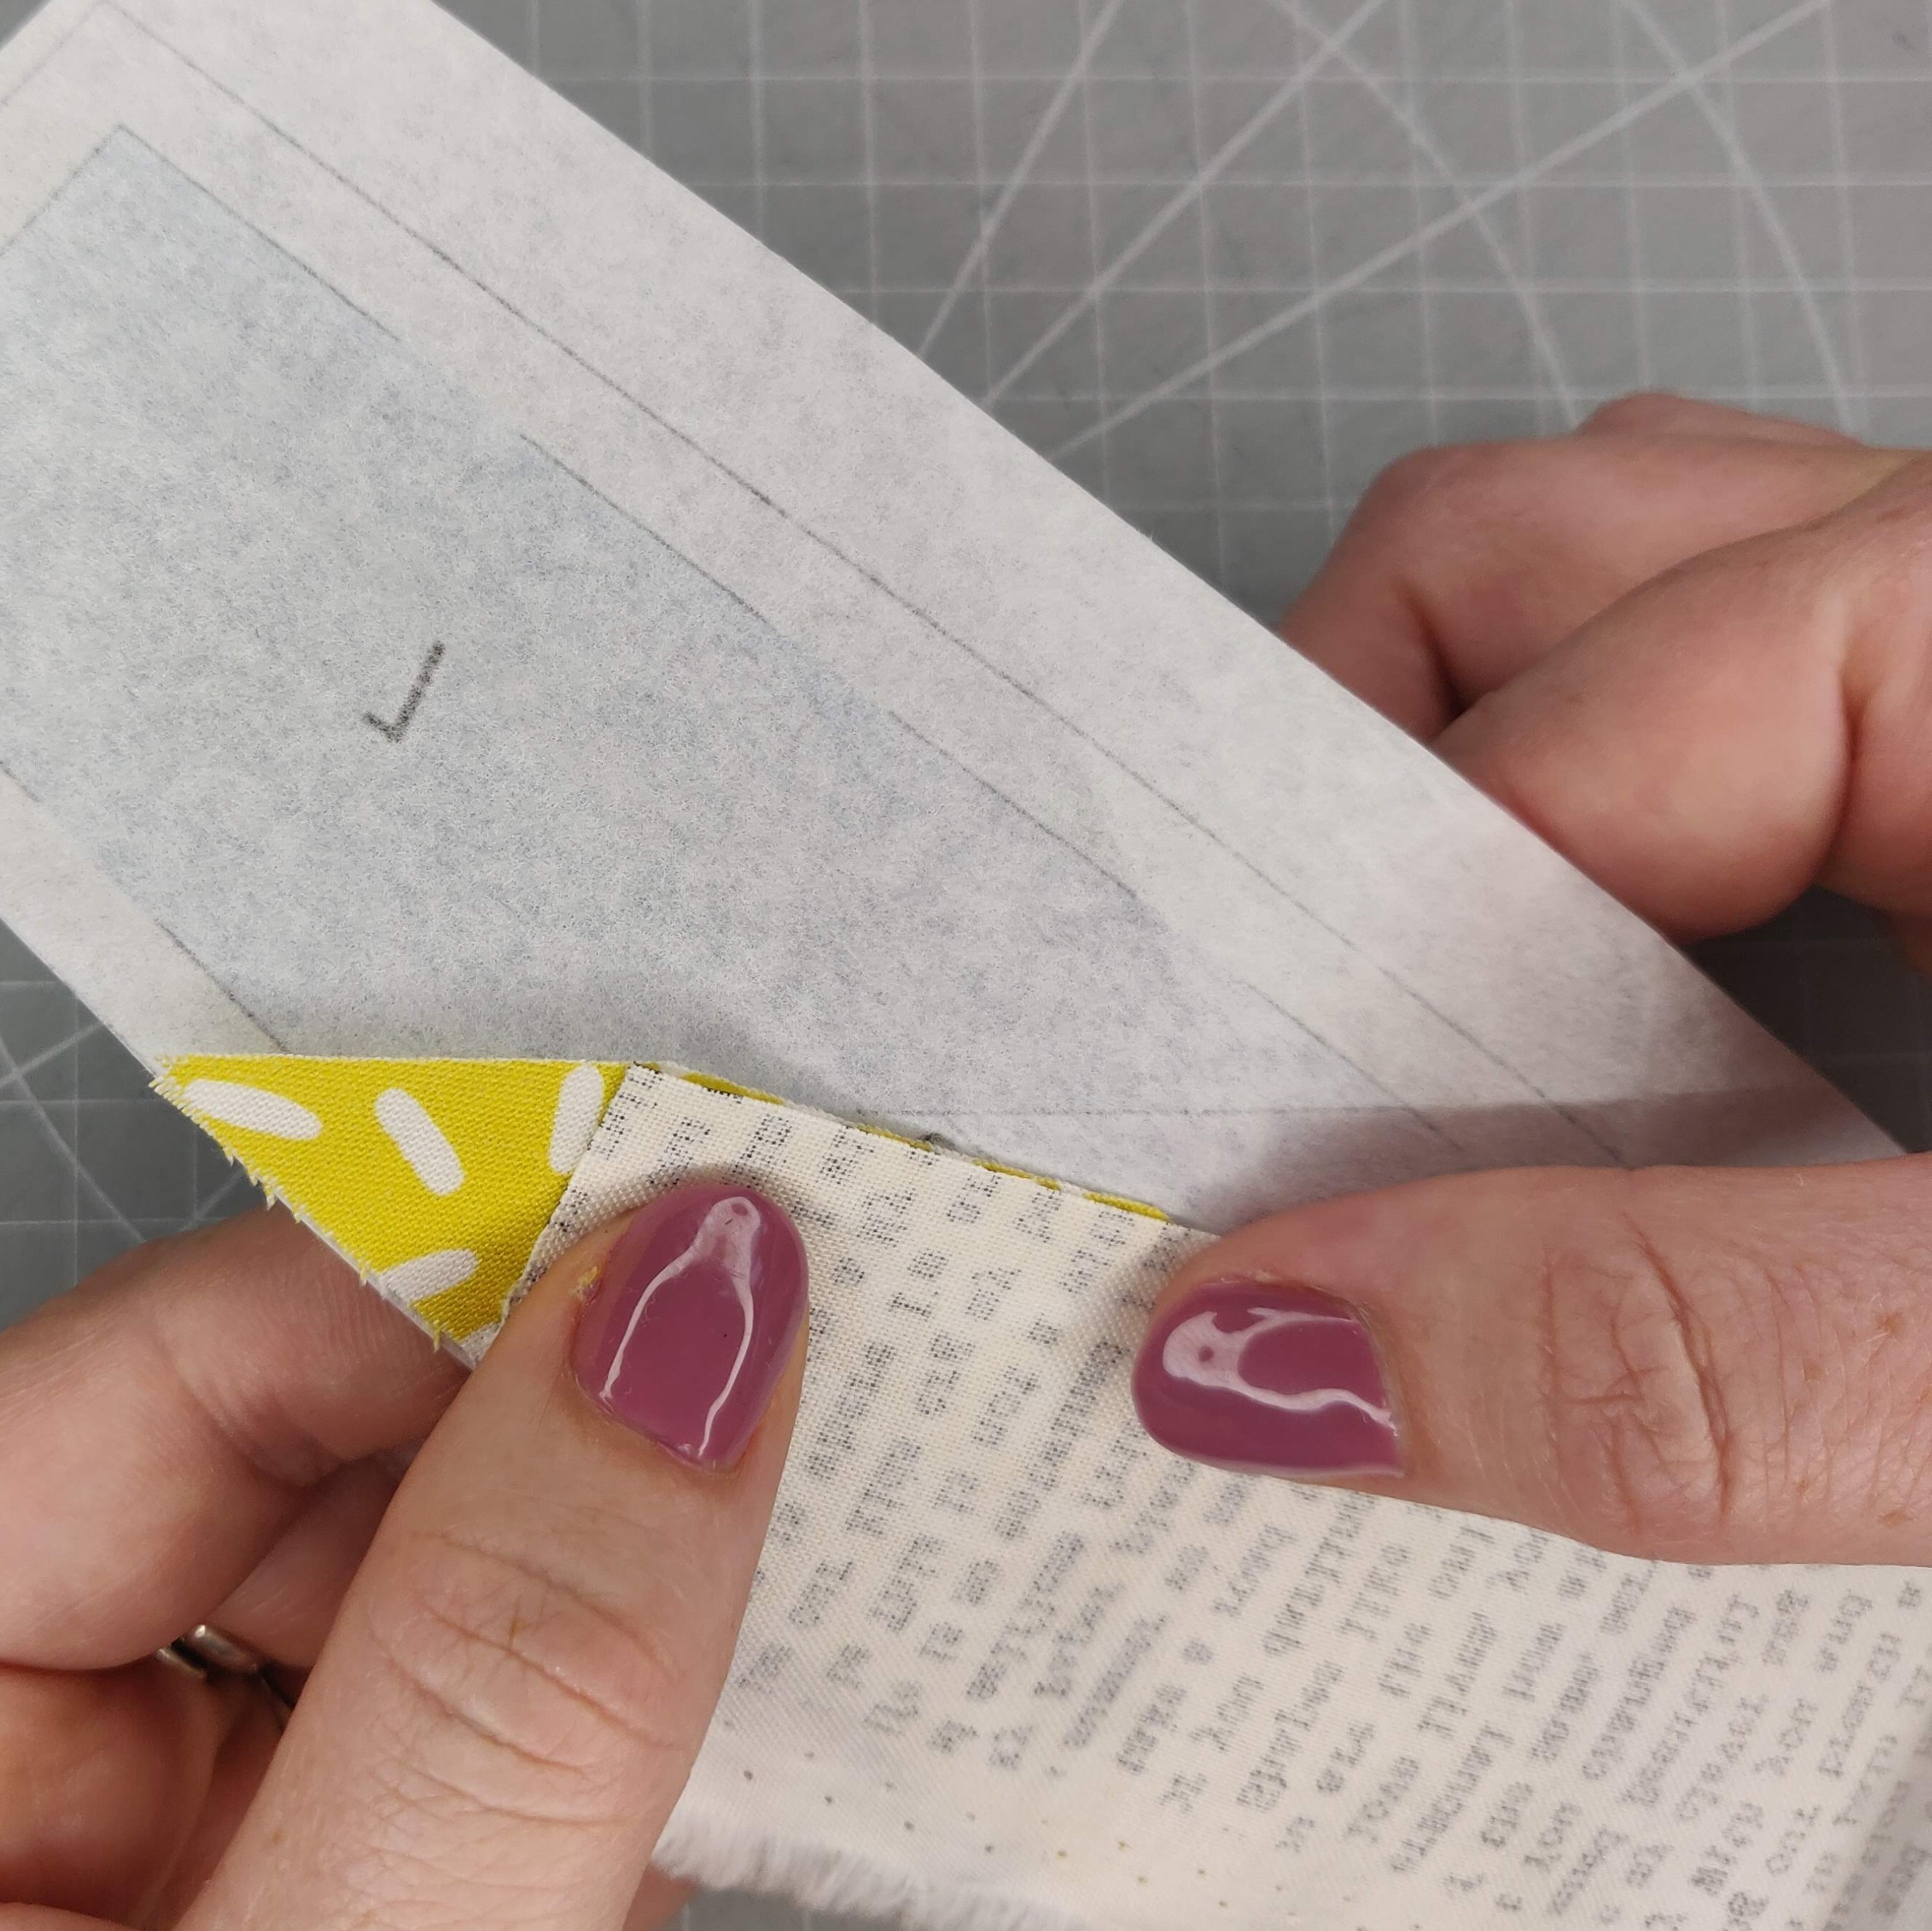
This is how my example looks now with the (icing) fabric covering area 1 plus a ¼” seam allowance on the adjacent sections and seam allowance at the bottom of the section.

IMG_20200815_133818

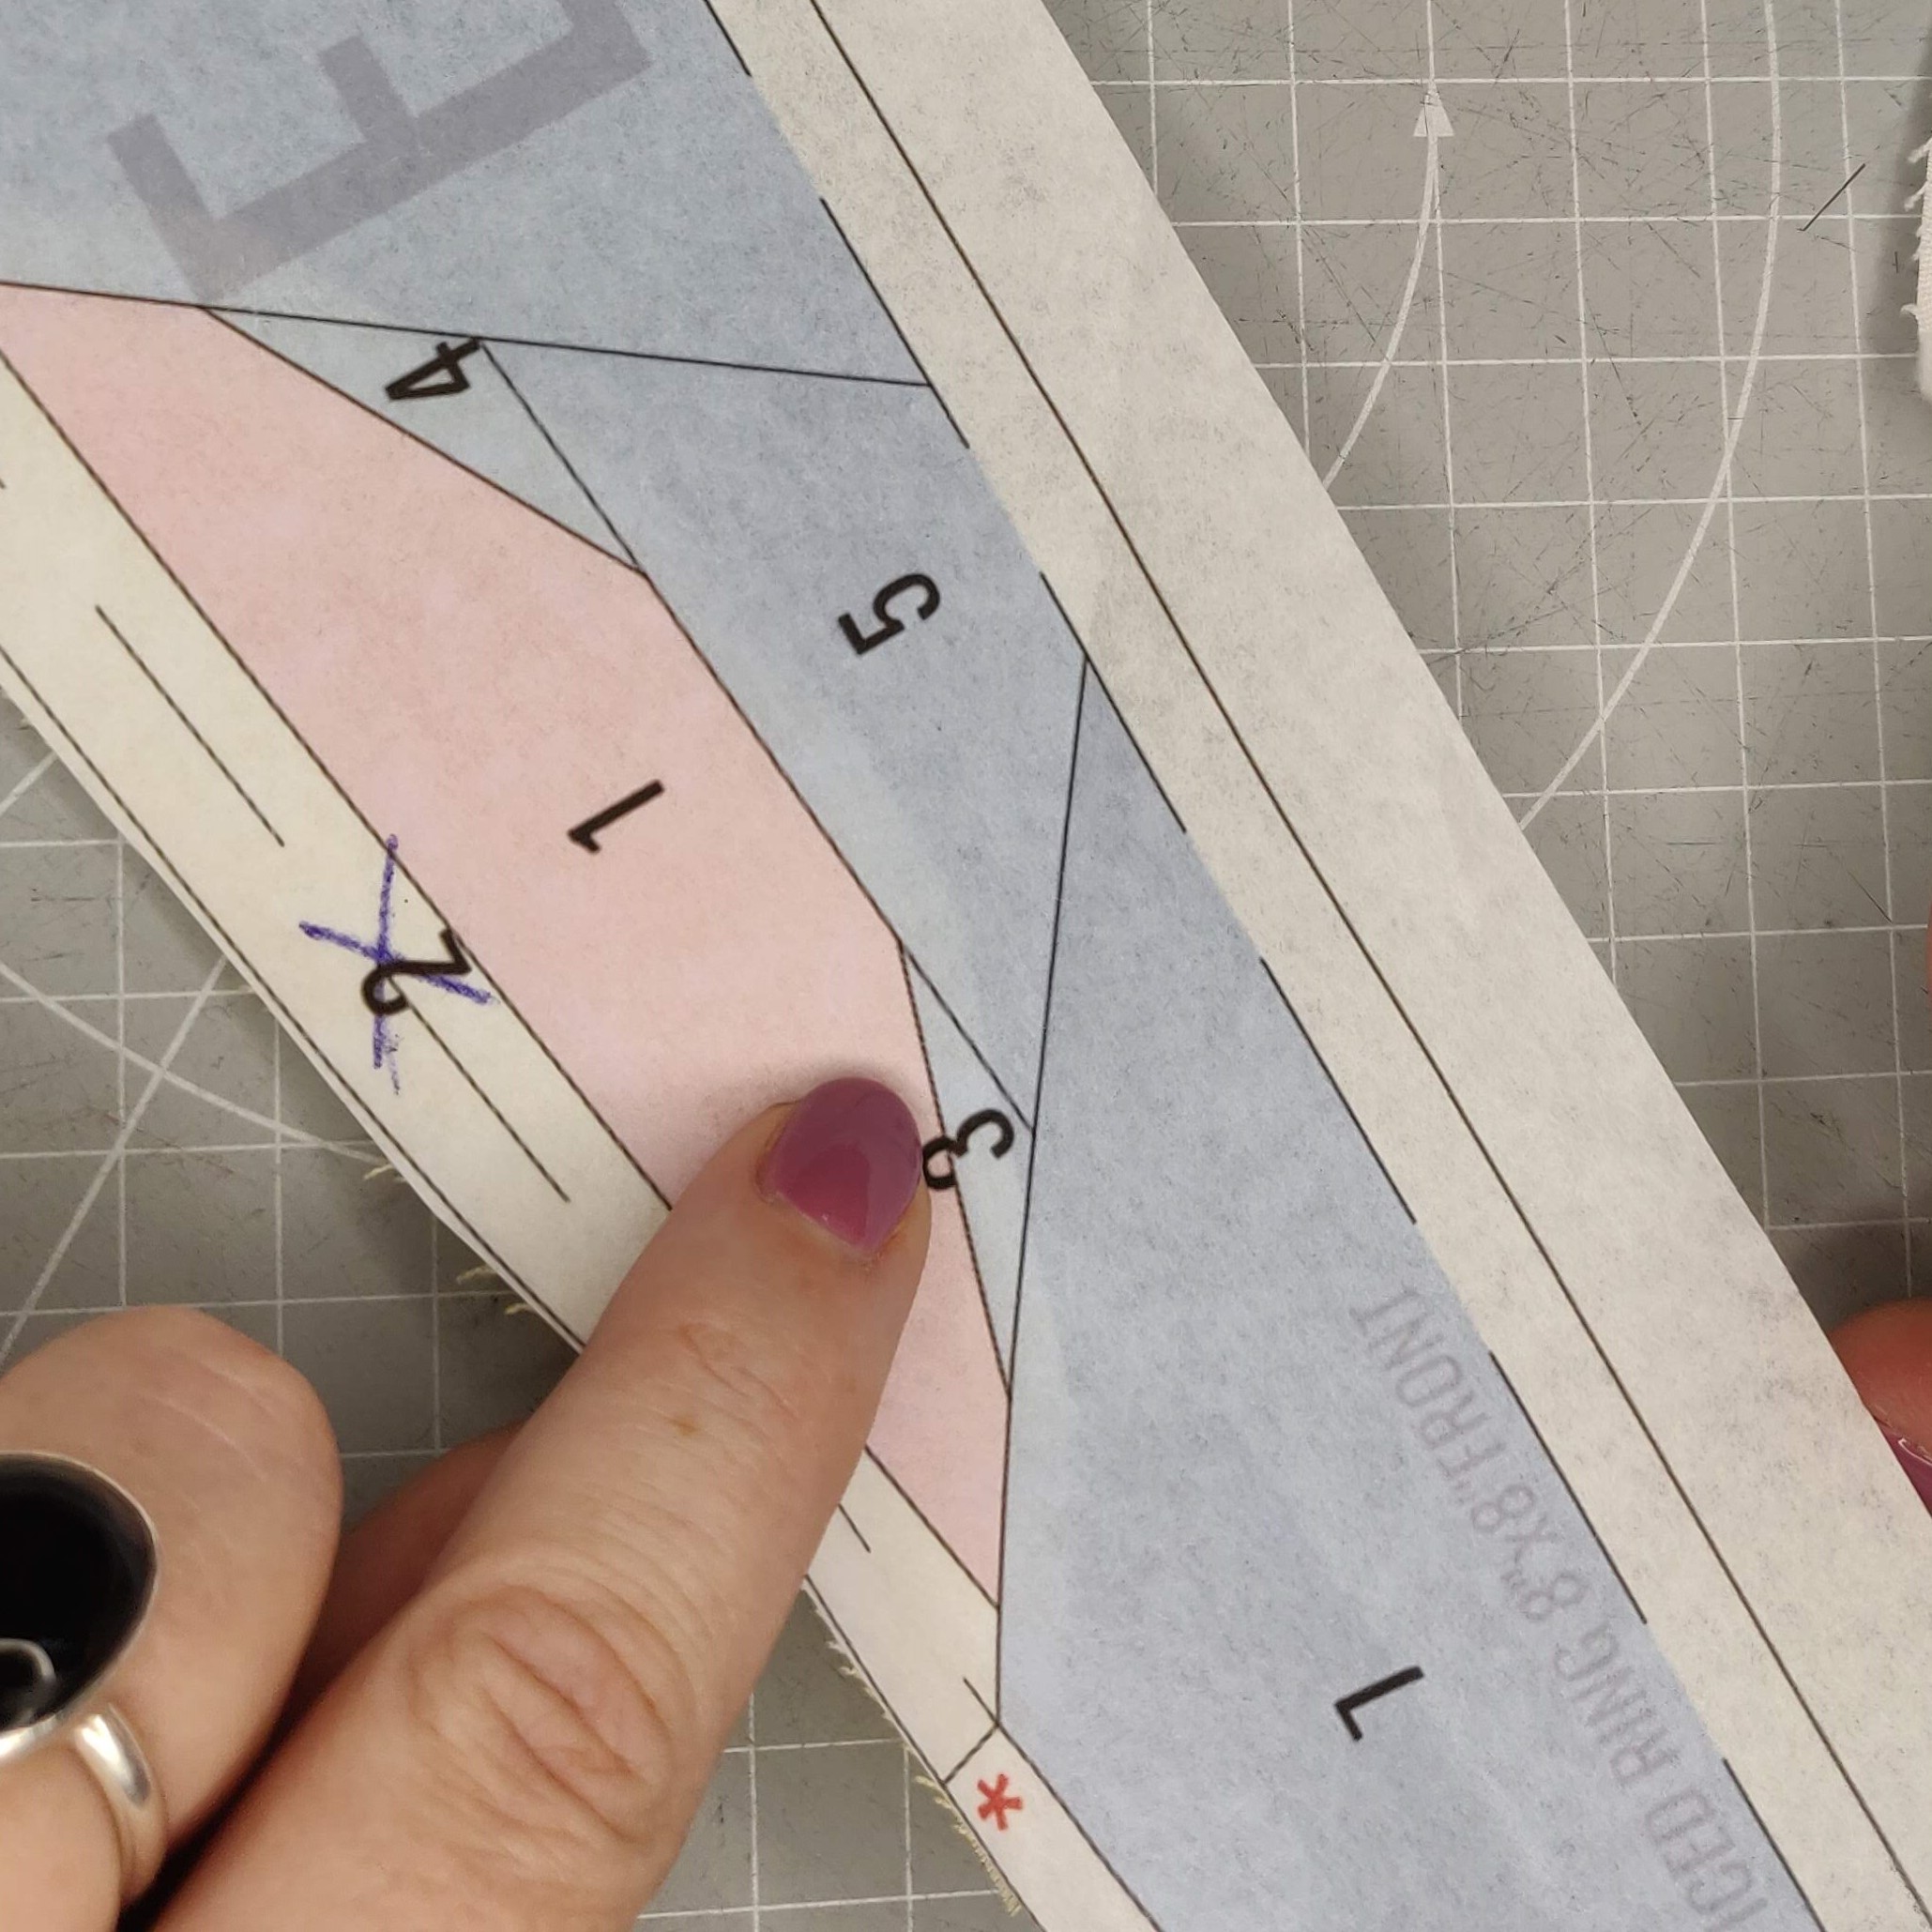
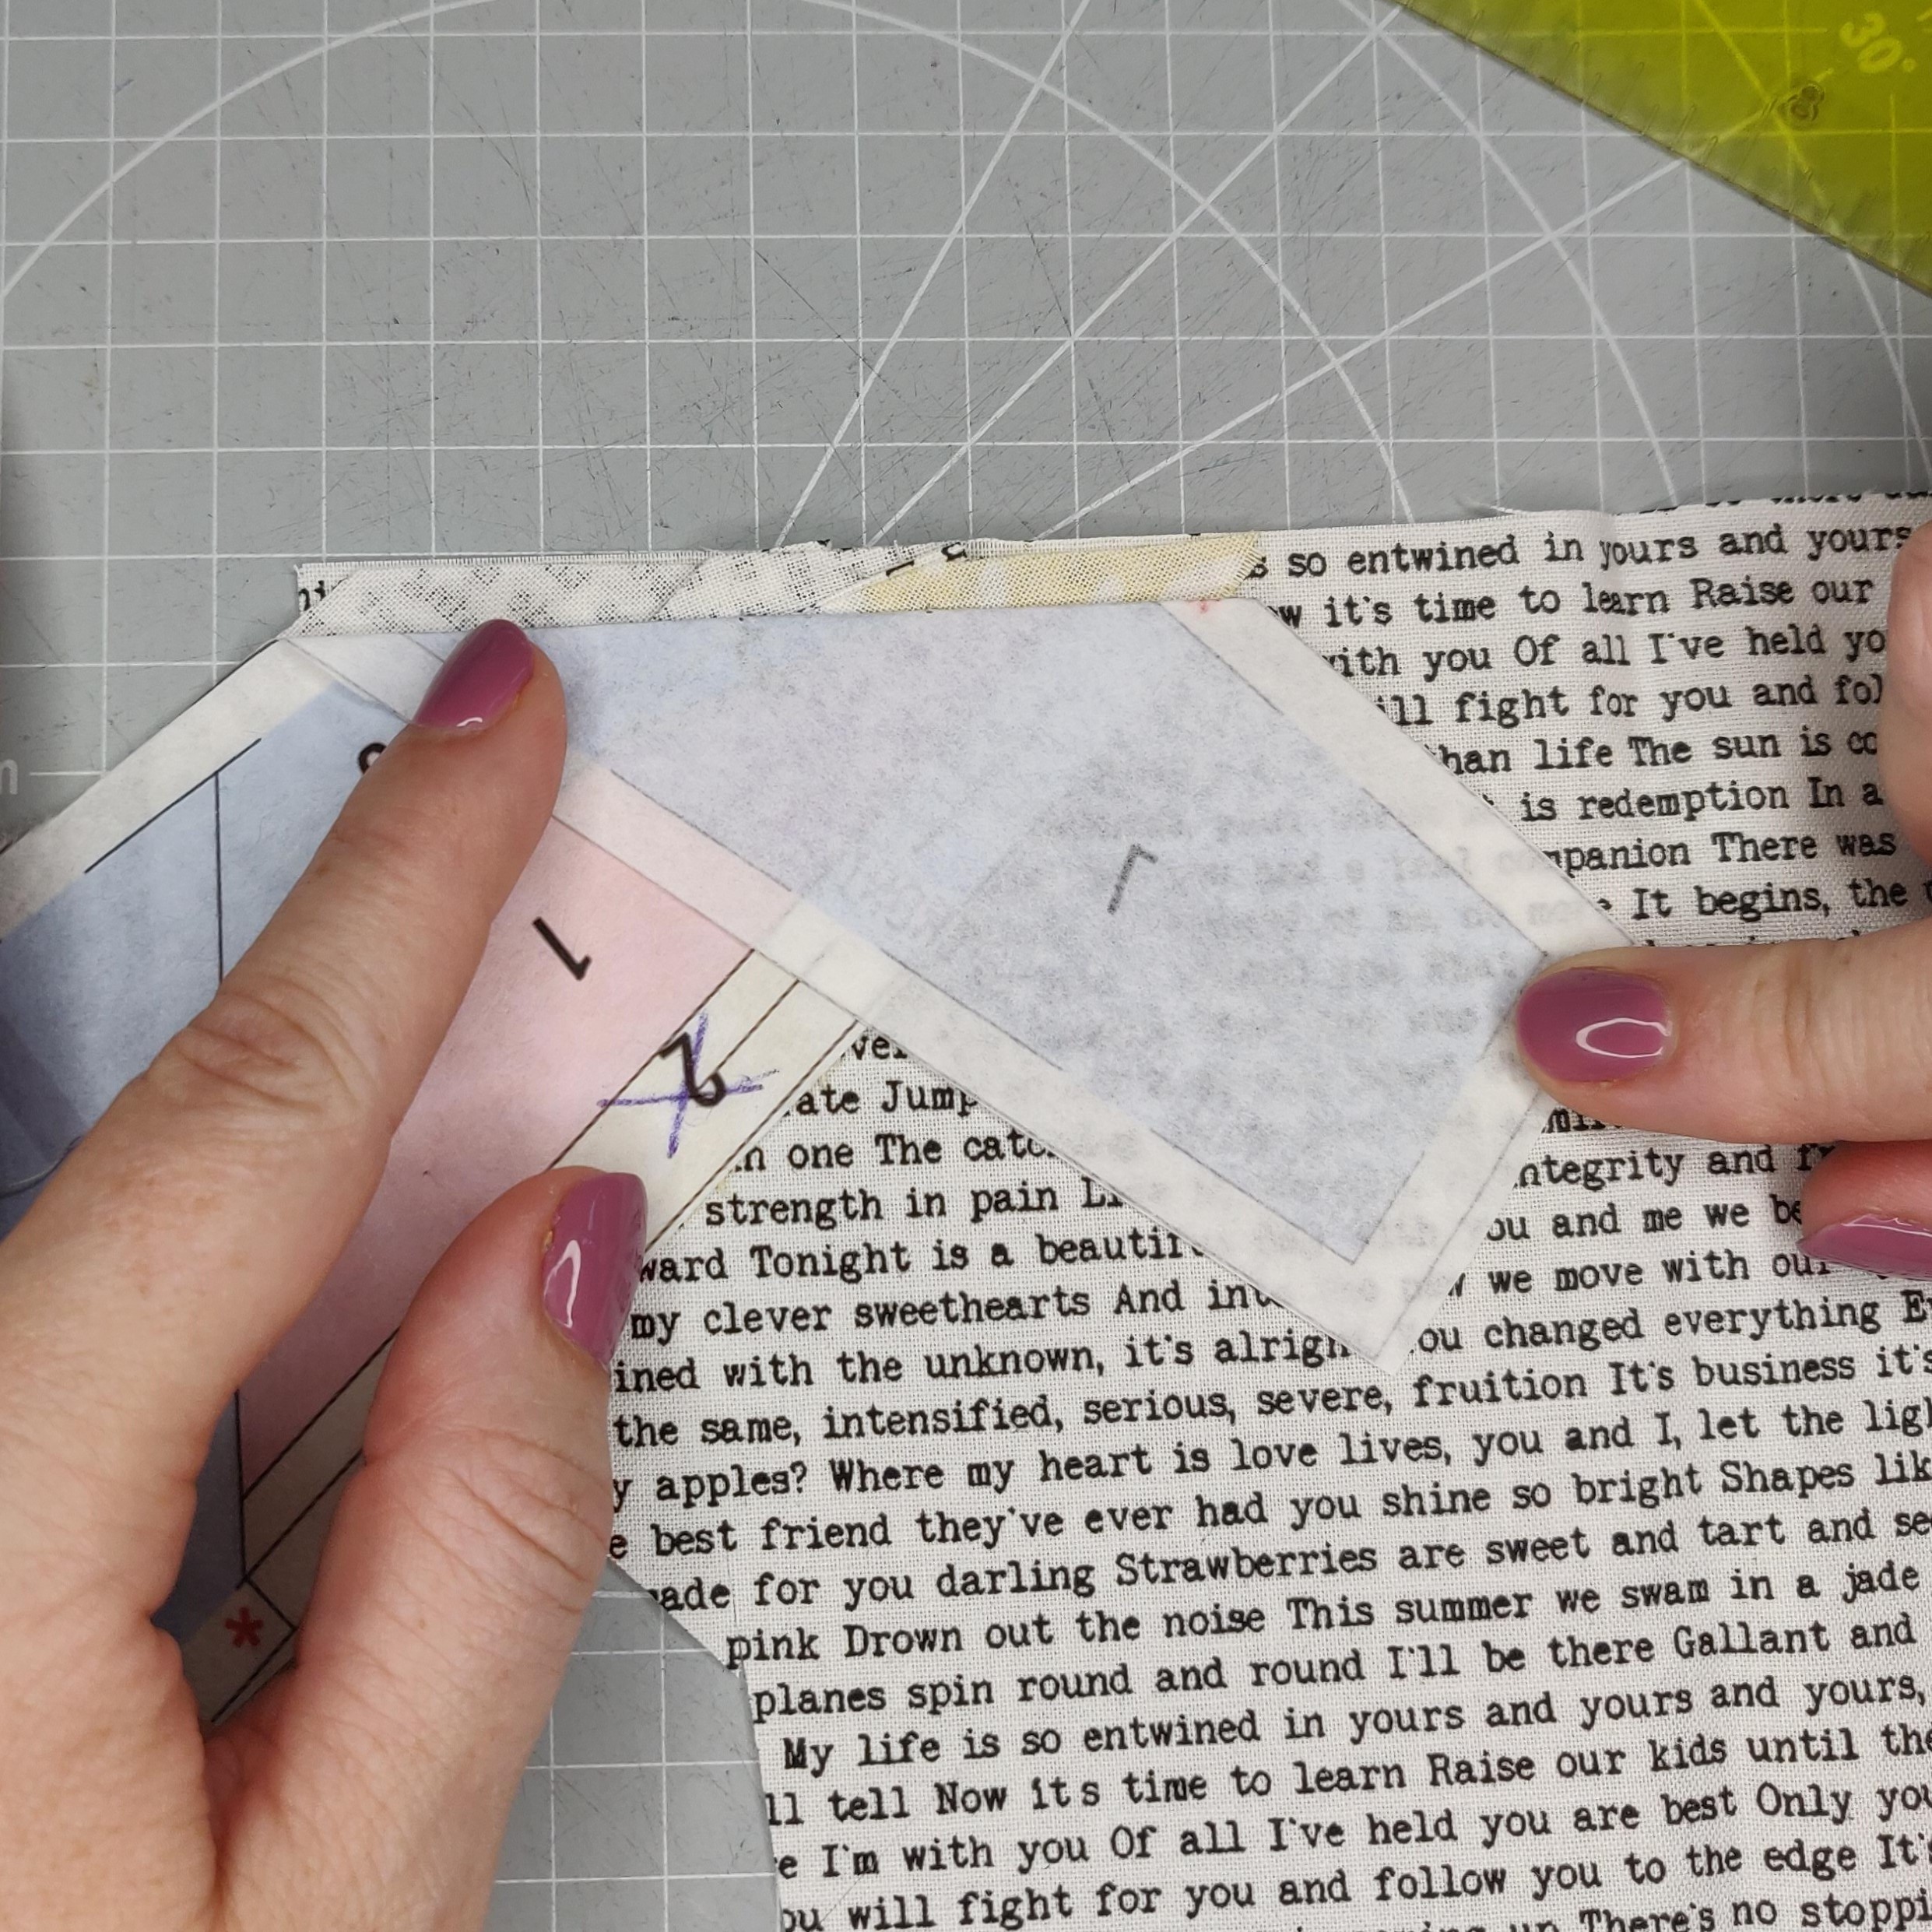
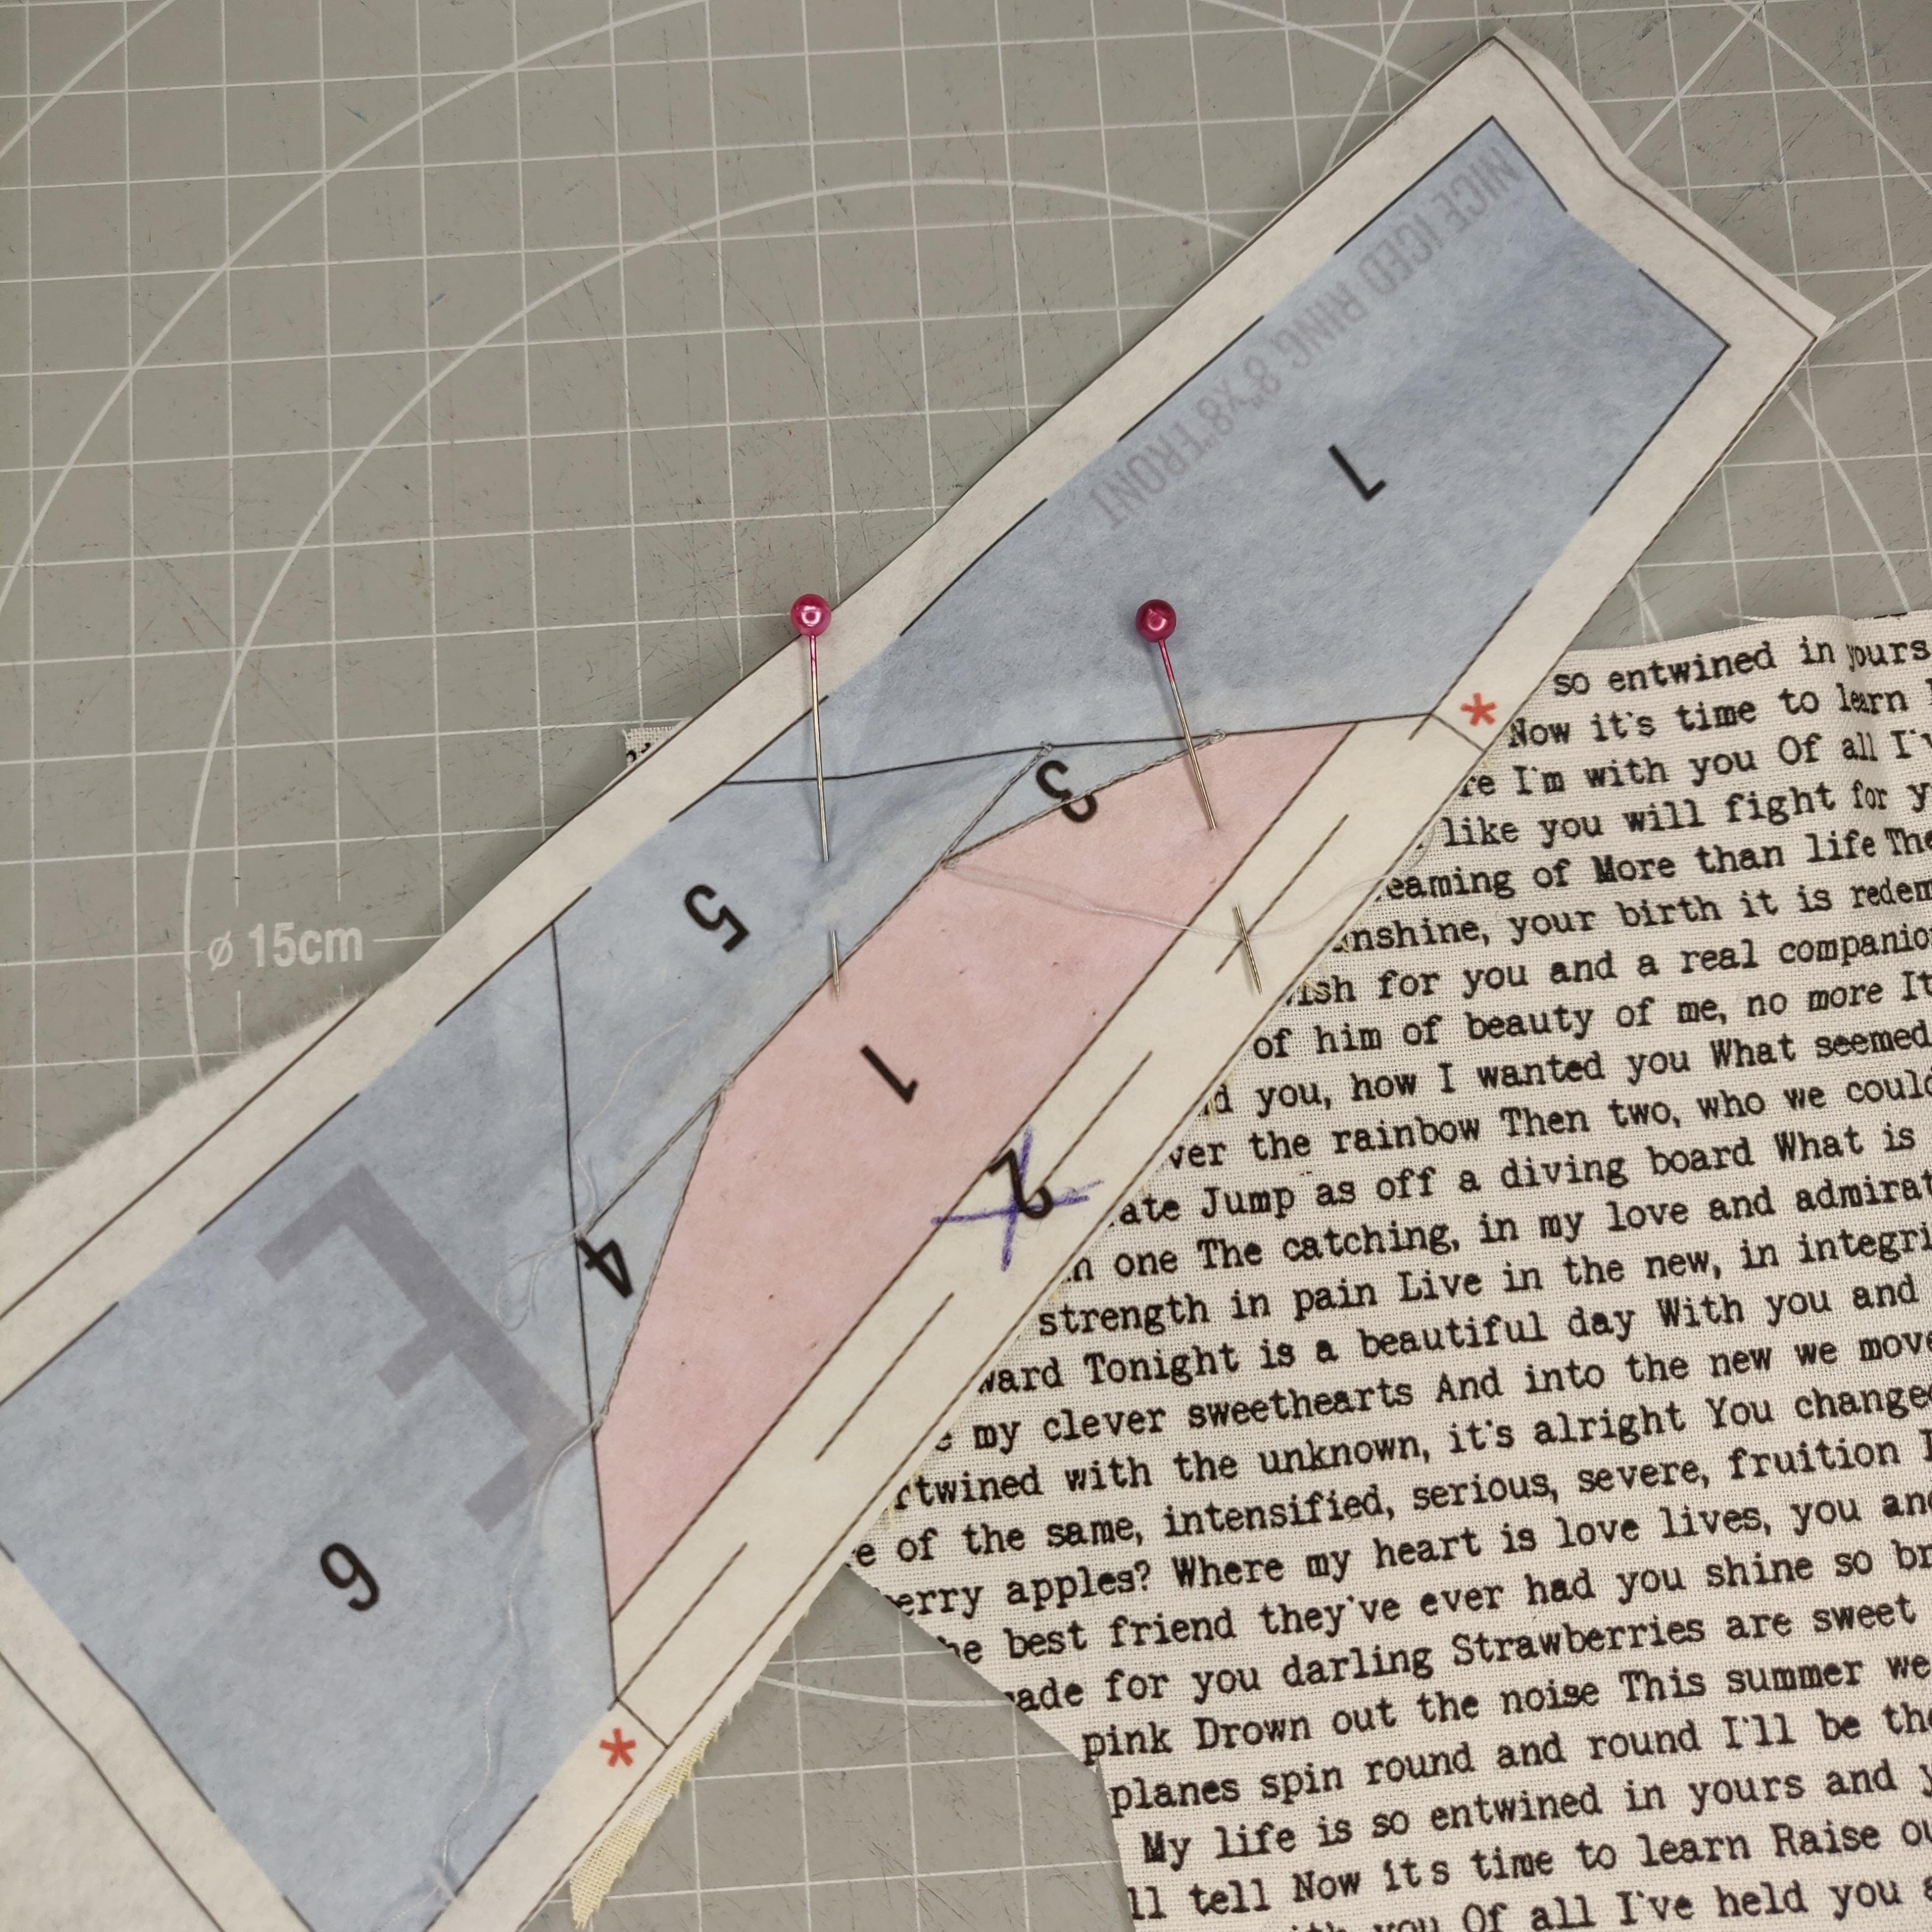
My example the “Nice Iced Ring” front block, I am making without the icing detail so have treated areas ‘1’ and ‘2’ as one area (I crossed out the 2 on the paper to remind me).

IMG_20200815_133959

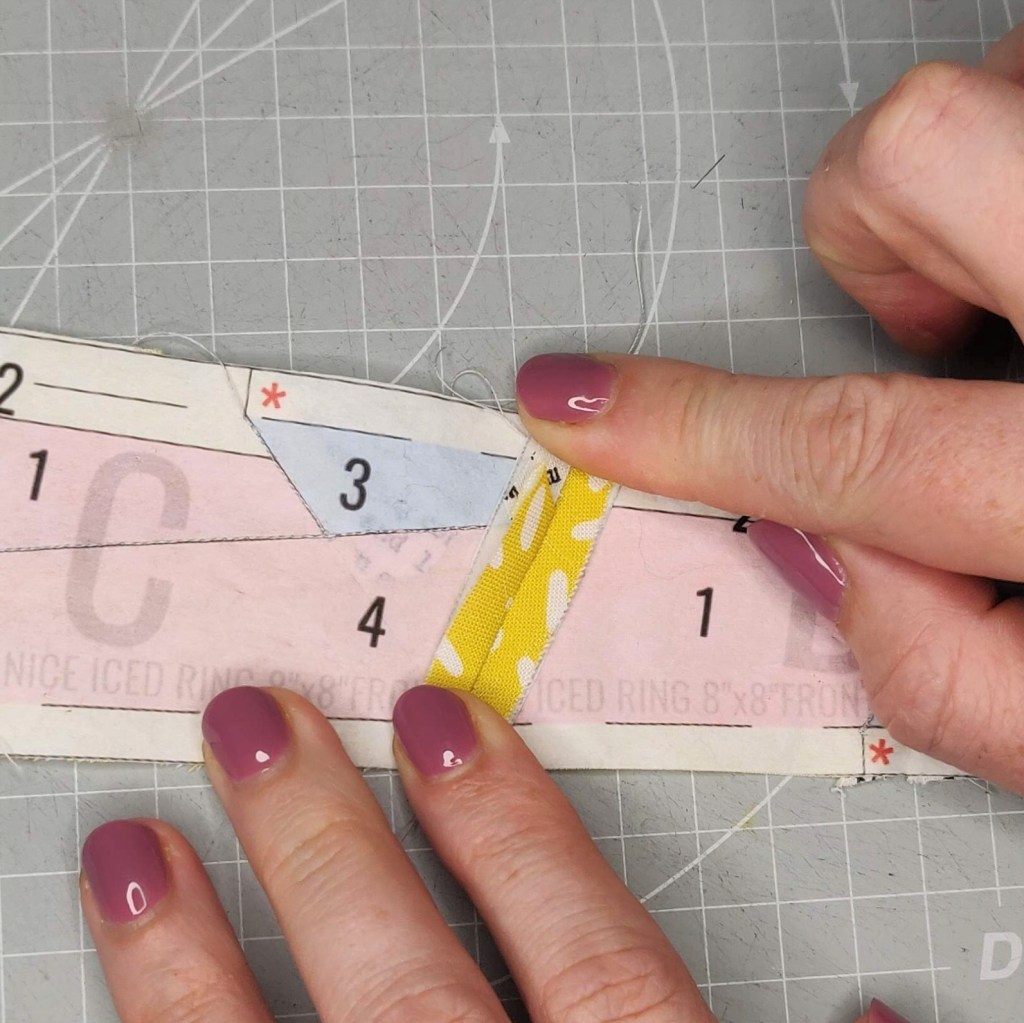
Next, take some of the fabric for the area you want to cover (in this case 3).  In my pattern this is different to the fabric used in areas 1 & 2 as shown by the change of colour. The blue indicates the background.  This fabric should be bigger than the area you want to cover by at least ¼” on all sides. 

IMG_20200815_134010

• • •

Getting the fabric the right shape and size and the right way round is the most difficult part of FPP.  Often people have tried FPP and then got confused and given up when they have tried several times and can’t get it right.  Conveniently this is where most guides use overly large bits of fabric and gloss over the fact that you can get it so wrong.

It is confusing because you are creating a mirror image on the back of the paper and then reversing it when you are lining up the section to sew it on (as you always sew the fabric on while its finished face is against the finished face of the fabric already attached to the pattern).

You can very easily think you have it right but open up the fabric when the seam is sewn and realise you’ve got it completely wrong! The fabric might have the print on the wrong side or the print the right side but shape wrong, or just not enough seam allowance.

There are a couple of easy ways to make sure this doesn’t happen:

  • Cut pre-prepared sections of fabric much bigger than you need and trim them down after sewing. Berene from “Happy Sew Lucky” explains how she does this on her YouTube channel – https://www.youtube.com/watch?v=4B0cTgce77A.  I started by using this method but it is wasteful of fabric when not doing simple squares or rectangles.
  • Print out the pattern a second time and cut each area of the section apart. Place these on the fabric (wrong side of fabric to unprinted side of paper) and cut round them adding at least ¼” seam allowance on ALL sides.  Sugeridoo does this in her instructional video – https://www.youtube.com/watch?v=-6vH6_zk-OQI have never used this method myself.

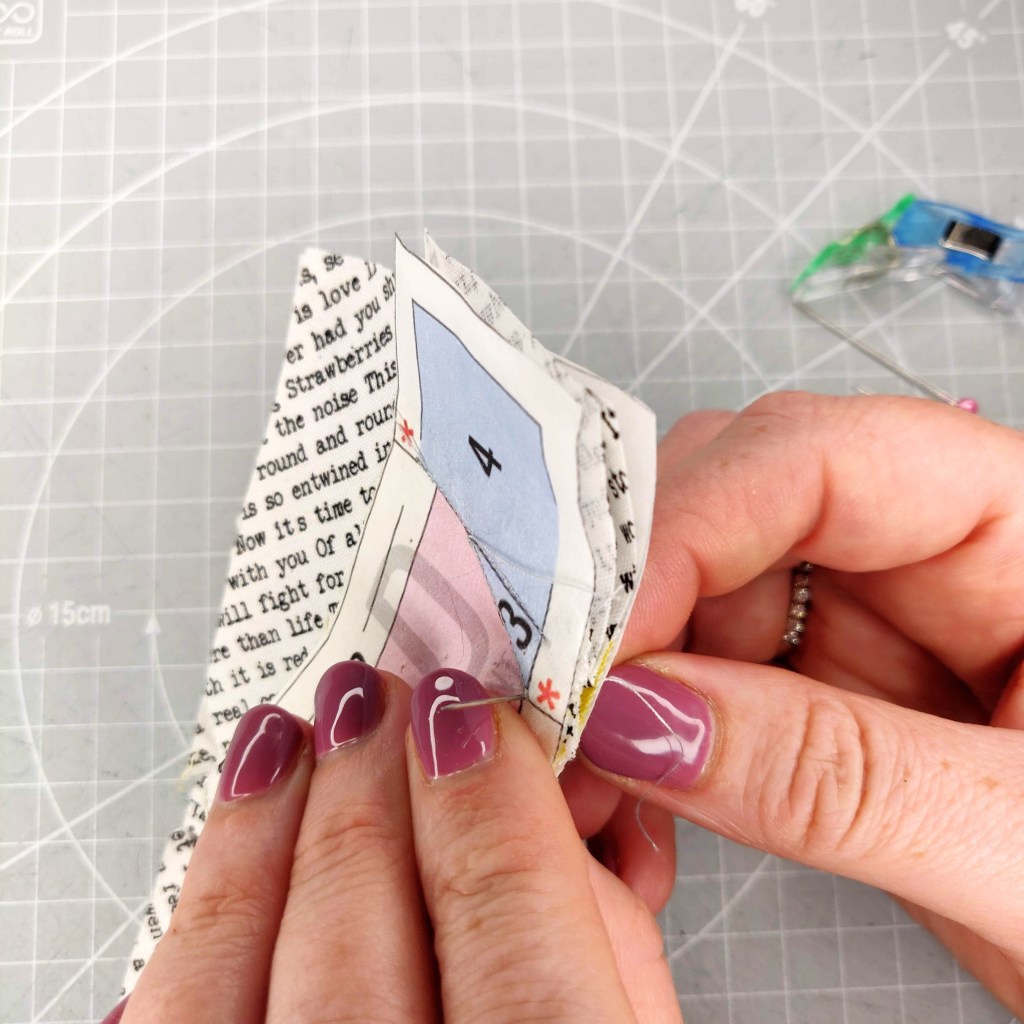
Personally, I use a method which allows me to use smaller scraps or efficiently cut from my main bit of fabric.  It is not an original idea but it is tricky to explain and I only recommend trying it once you have got the hang of the rest of the process! In essence you line up the new section of fabric with the existing one, fold the paper back along the seam you are going to sew so the printed sides of paper touch and flip the whole thing back and forth using your fingers as a visual reference to check the area is covered.  This is will be explained fully in my 4th part of this ‘how to’ series “Top tips and Tricks”.

• • •

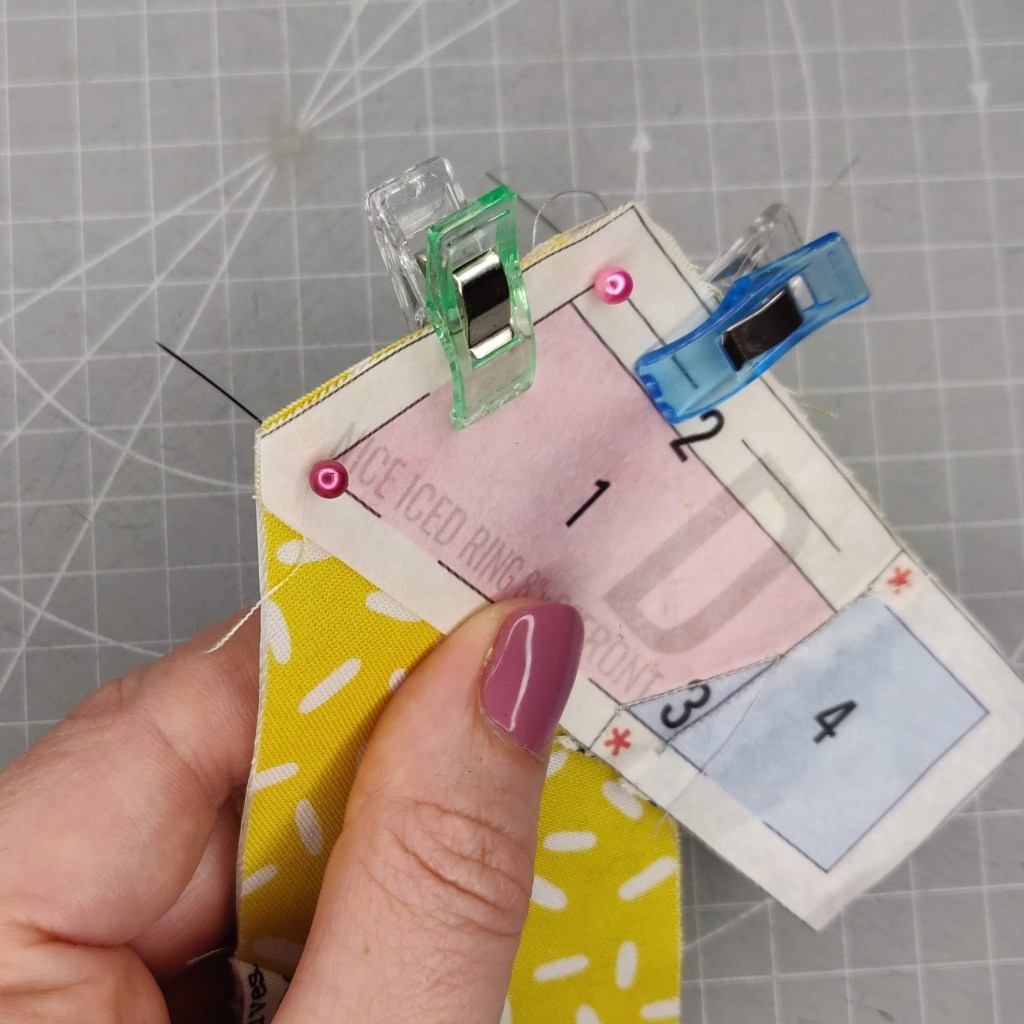
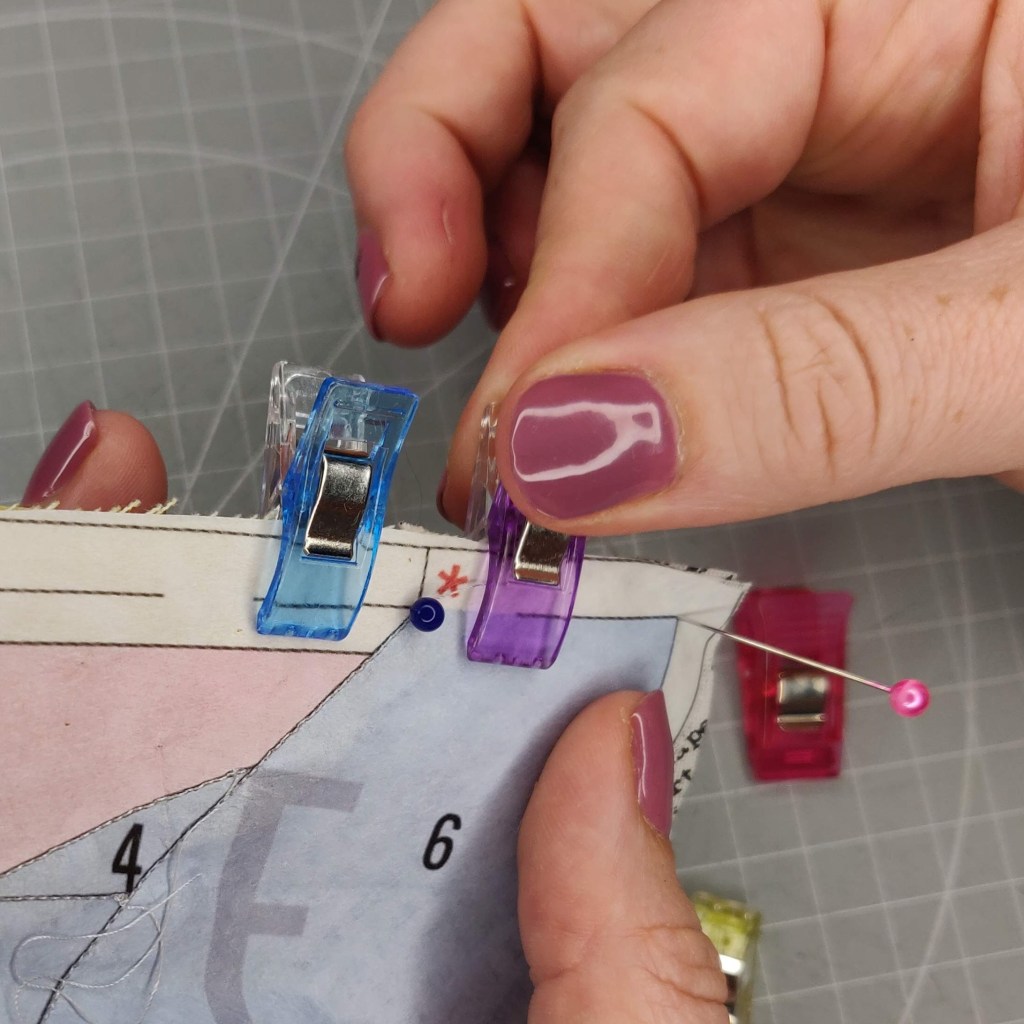
Place this next bit of fabric face to face with the first fabric stuck to the paper.  Line it up along the trimmed edge of the first fabric which is adjacent to the length of the seam you are going to sew (for my example the line between areas ‘1’ & ‘3’) and with about ¼” or more at each end.

IMG_20200815_134024

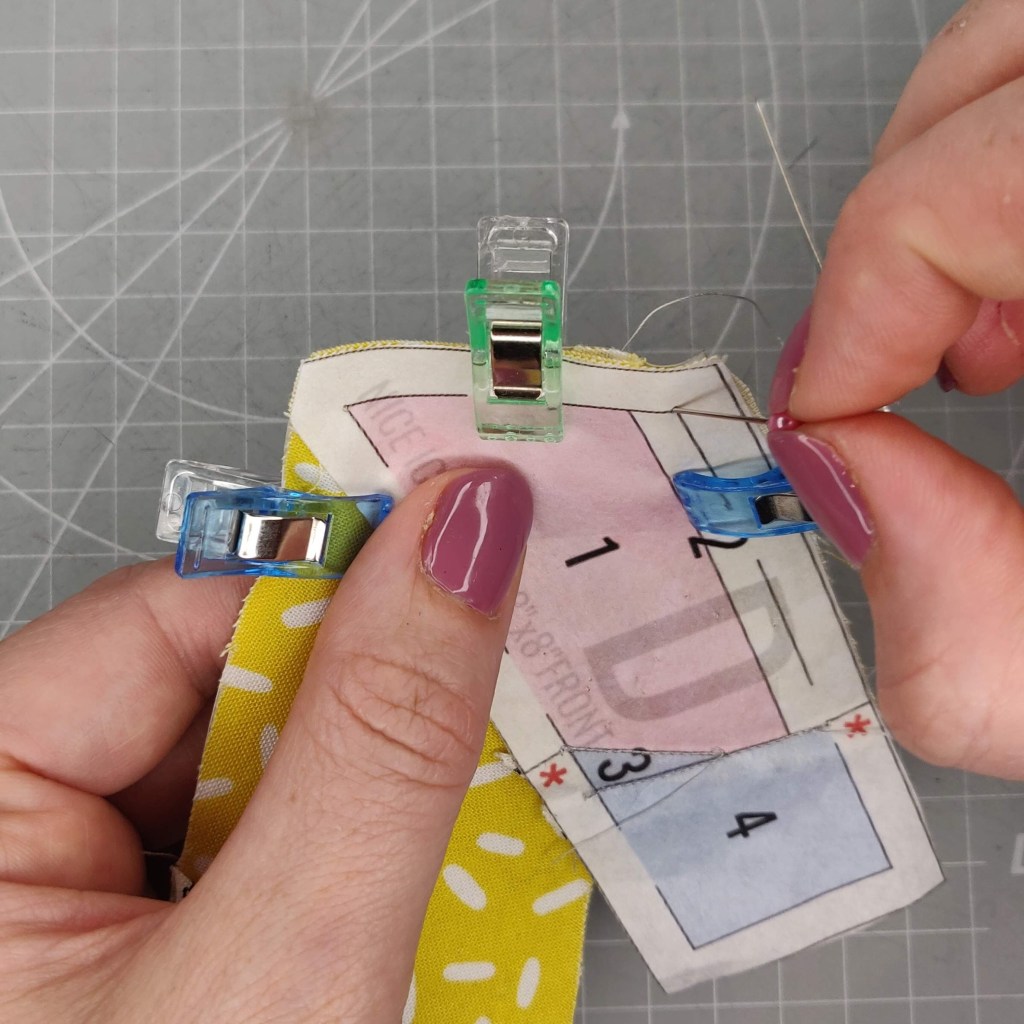
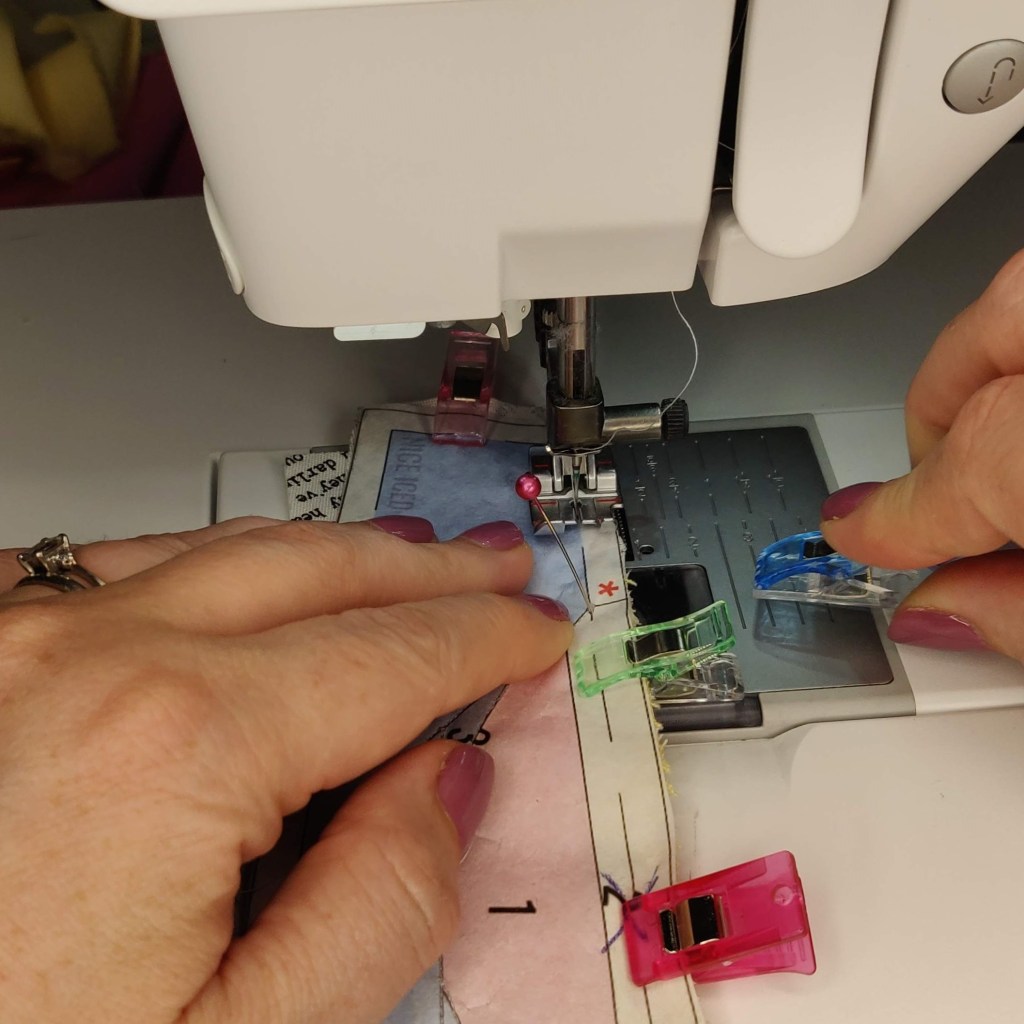
Pin the fabric in place.  Do this at both ends so nothing gets folded over while going through the machine.

IMG_20200815_134314

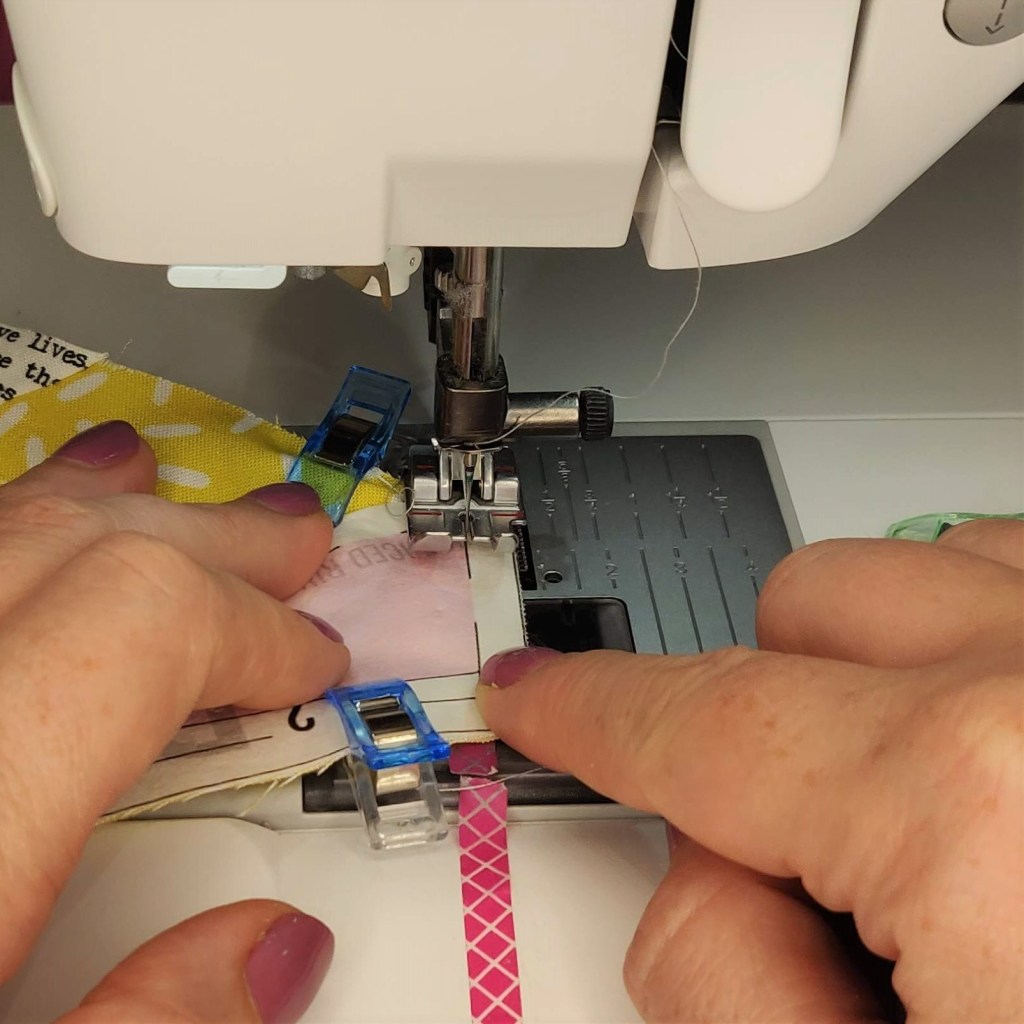
With your machine on straight stitch at 1.5 length, sew along the line ONLY between the two areas (“1” & “3” in this example) with a lock stitch at the beginning and end.  Do not go further than this line at either end.

Unfold the fabric and press your fingers over the seam and then use your roller to flatten with firm pressure.

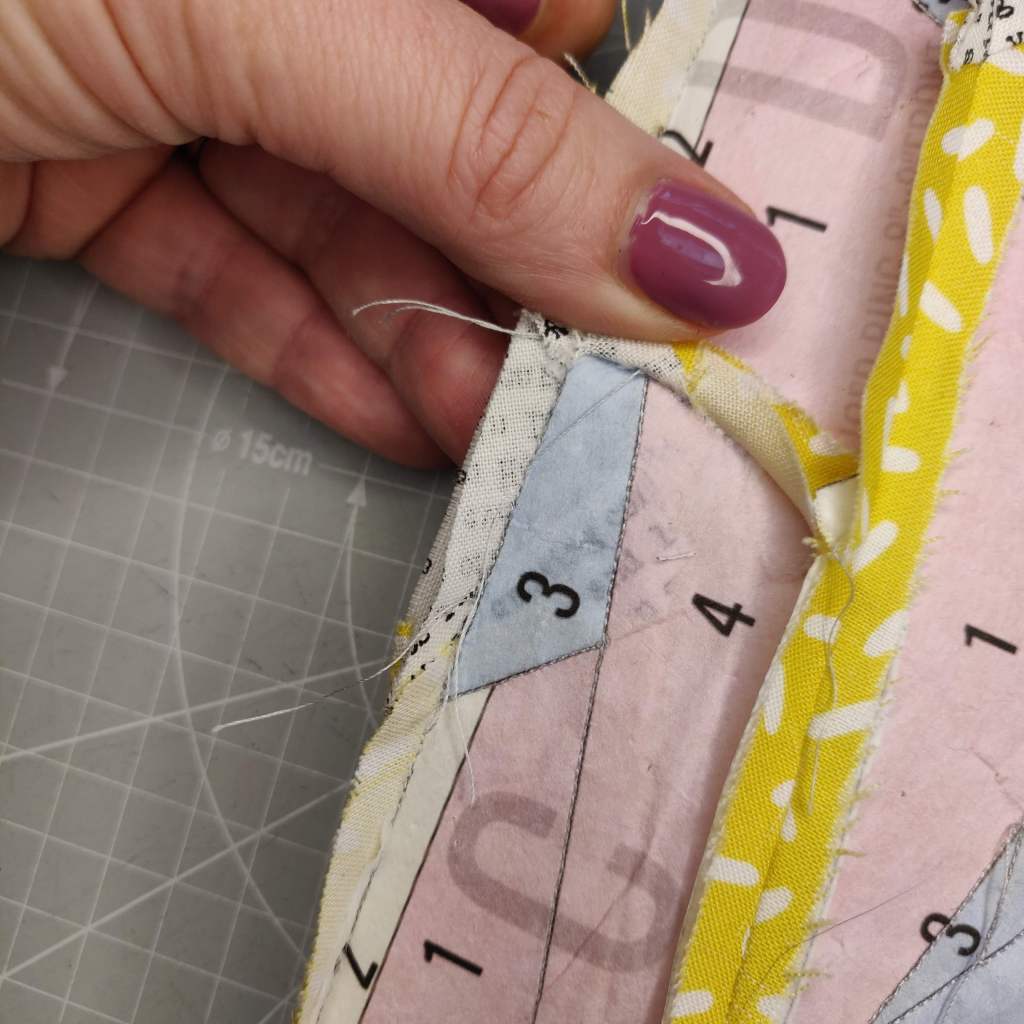
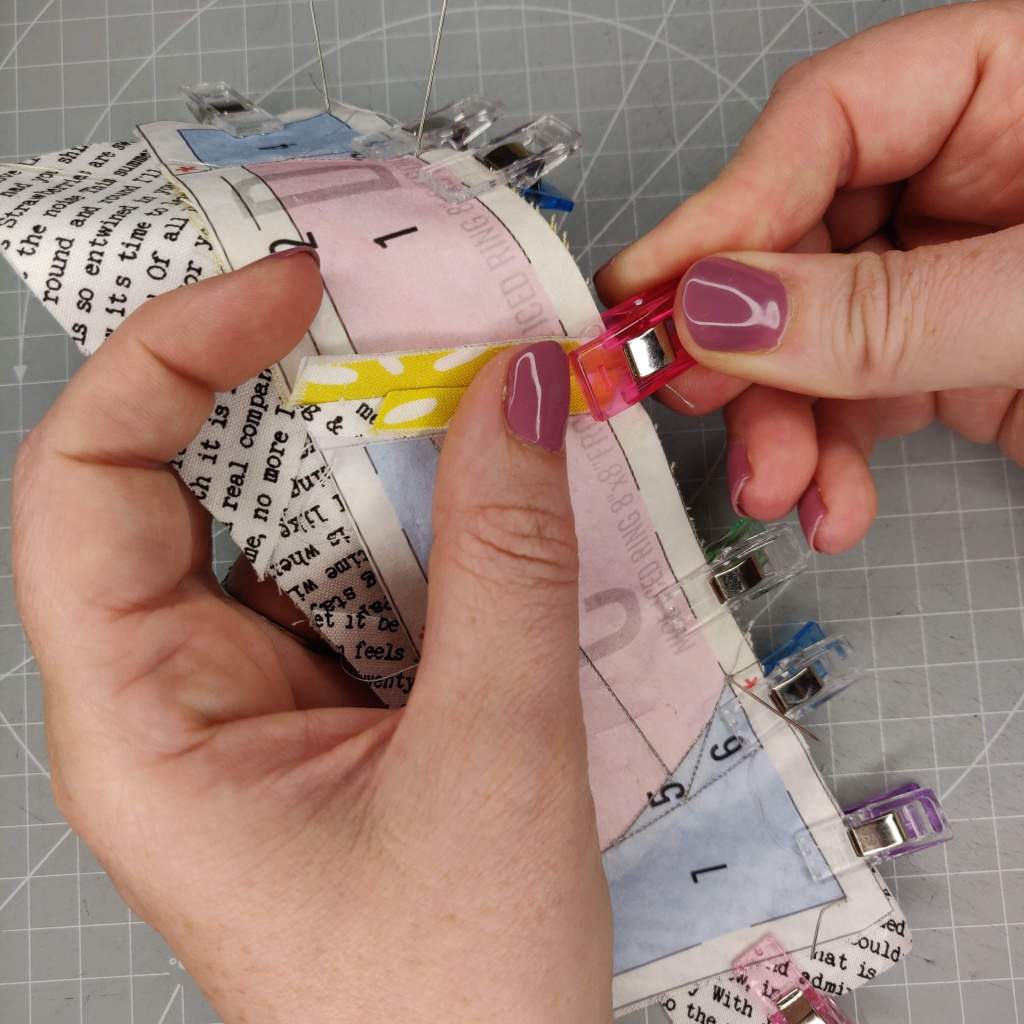
Now turn the section over so the finished fabric is on the mat and fold only the paper back along the seam lines yet to be sewn NOT the one you just sewed (on my block this is the lines between 3 and 5 and 3 and 6). Trim leaving 1/4” of the fabric past the folded paper.

IMG_20200815_134522

This is what the trimmed fabric looks like on my example, it covers area 3 with a ¼” seam allowance on the unsewn sides.

IMG_20200815_134553

Repeat the same process for area 4 and so on until the section is completely covered in fabric.

• • •

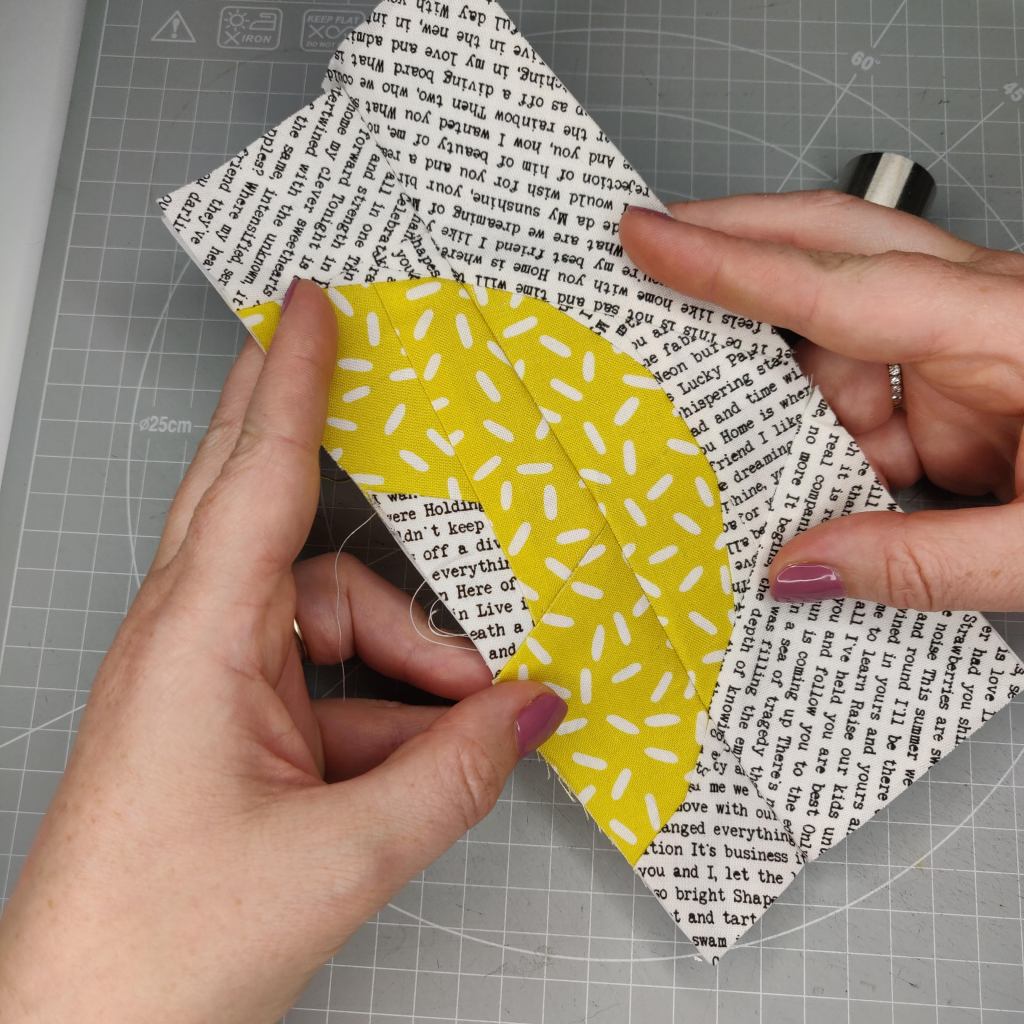
The next few photos show some of the stages to finish section E.  I have included them as the larger areas show the method more clearly.

IMG_20200815_134724

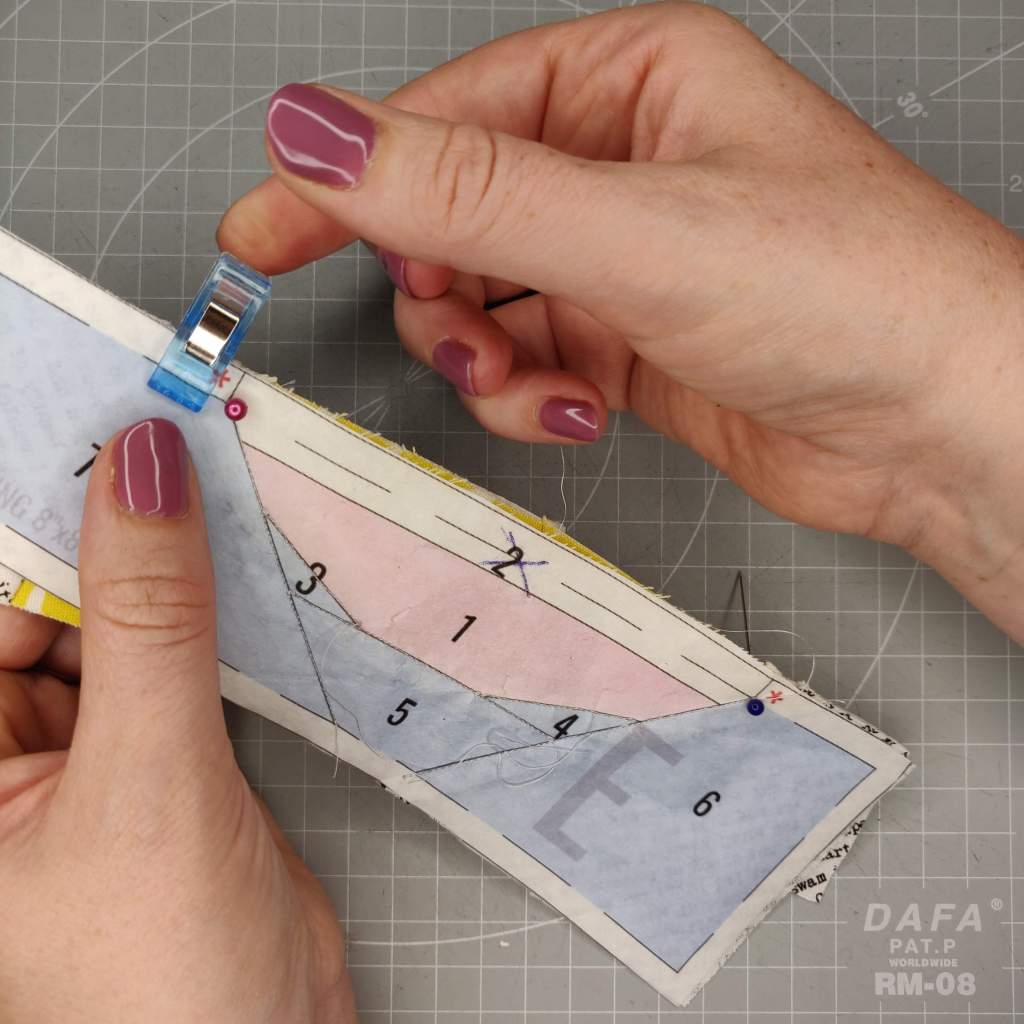
This is how my example looks once the fabric has been sewn to area 4 and trimmed.

IMG_20200815_134853

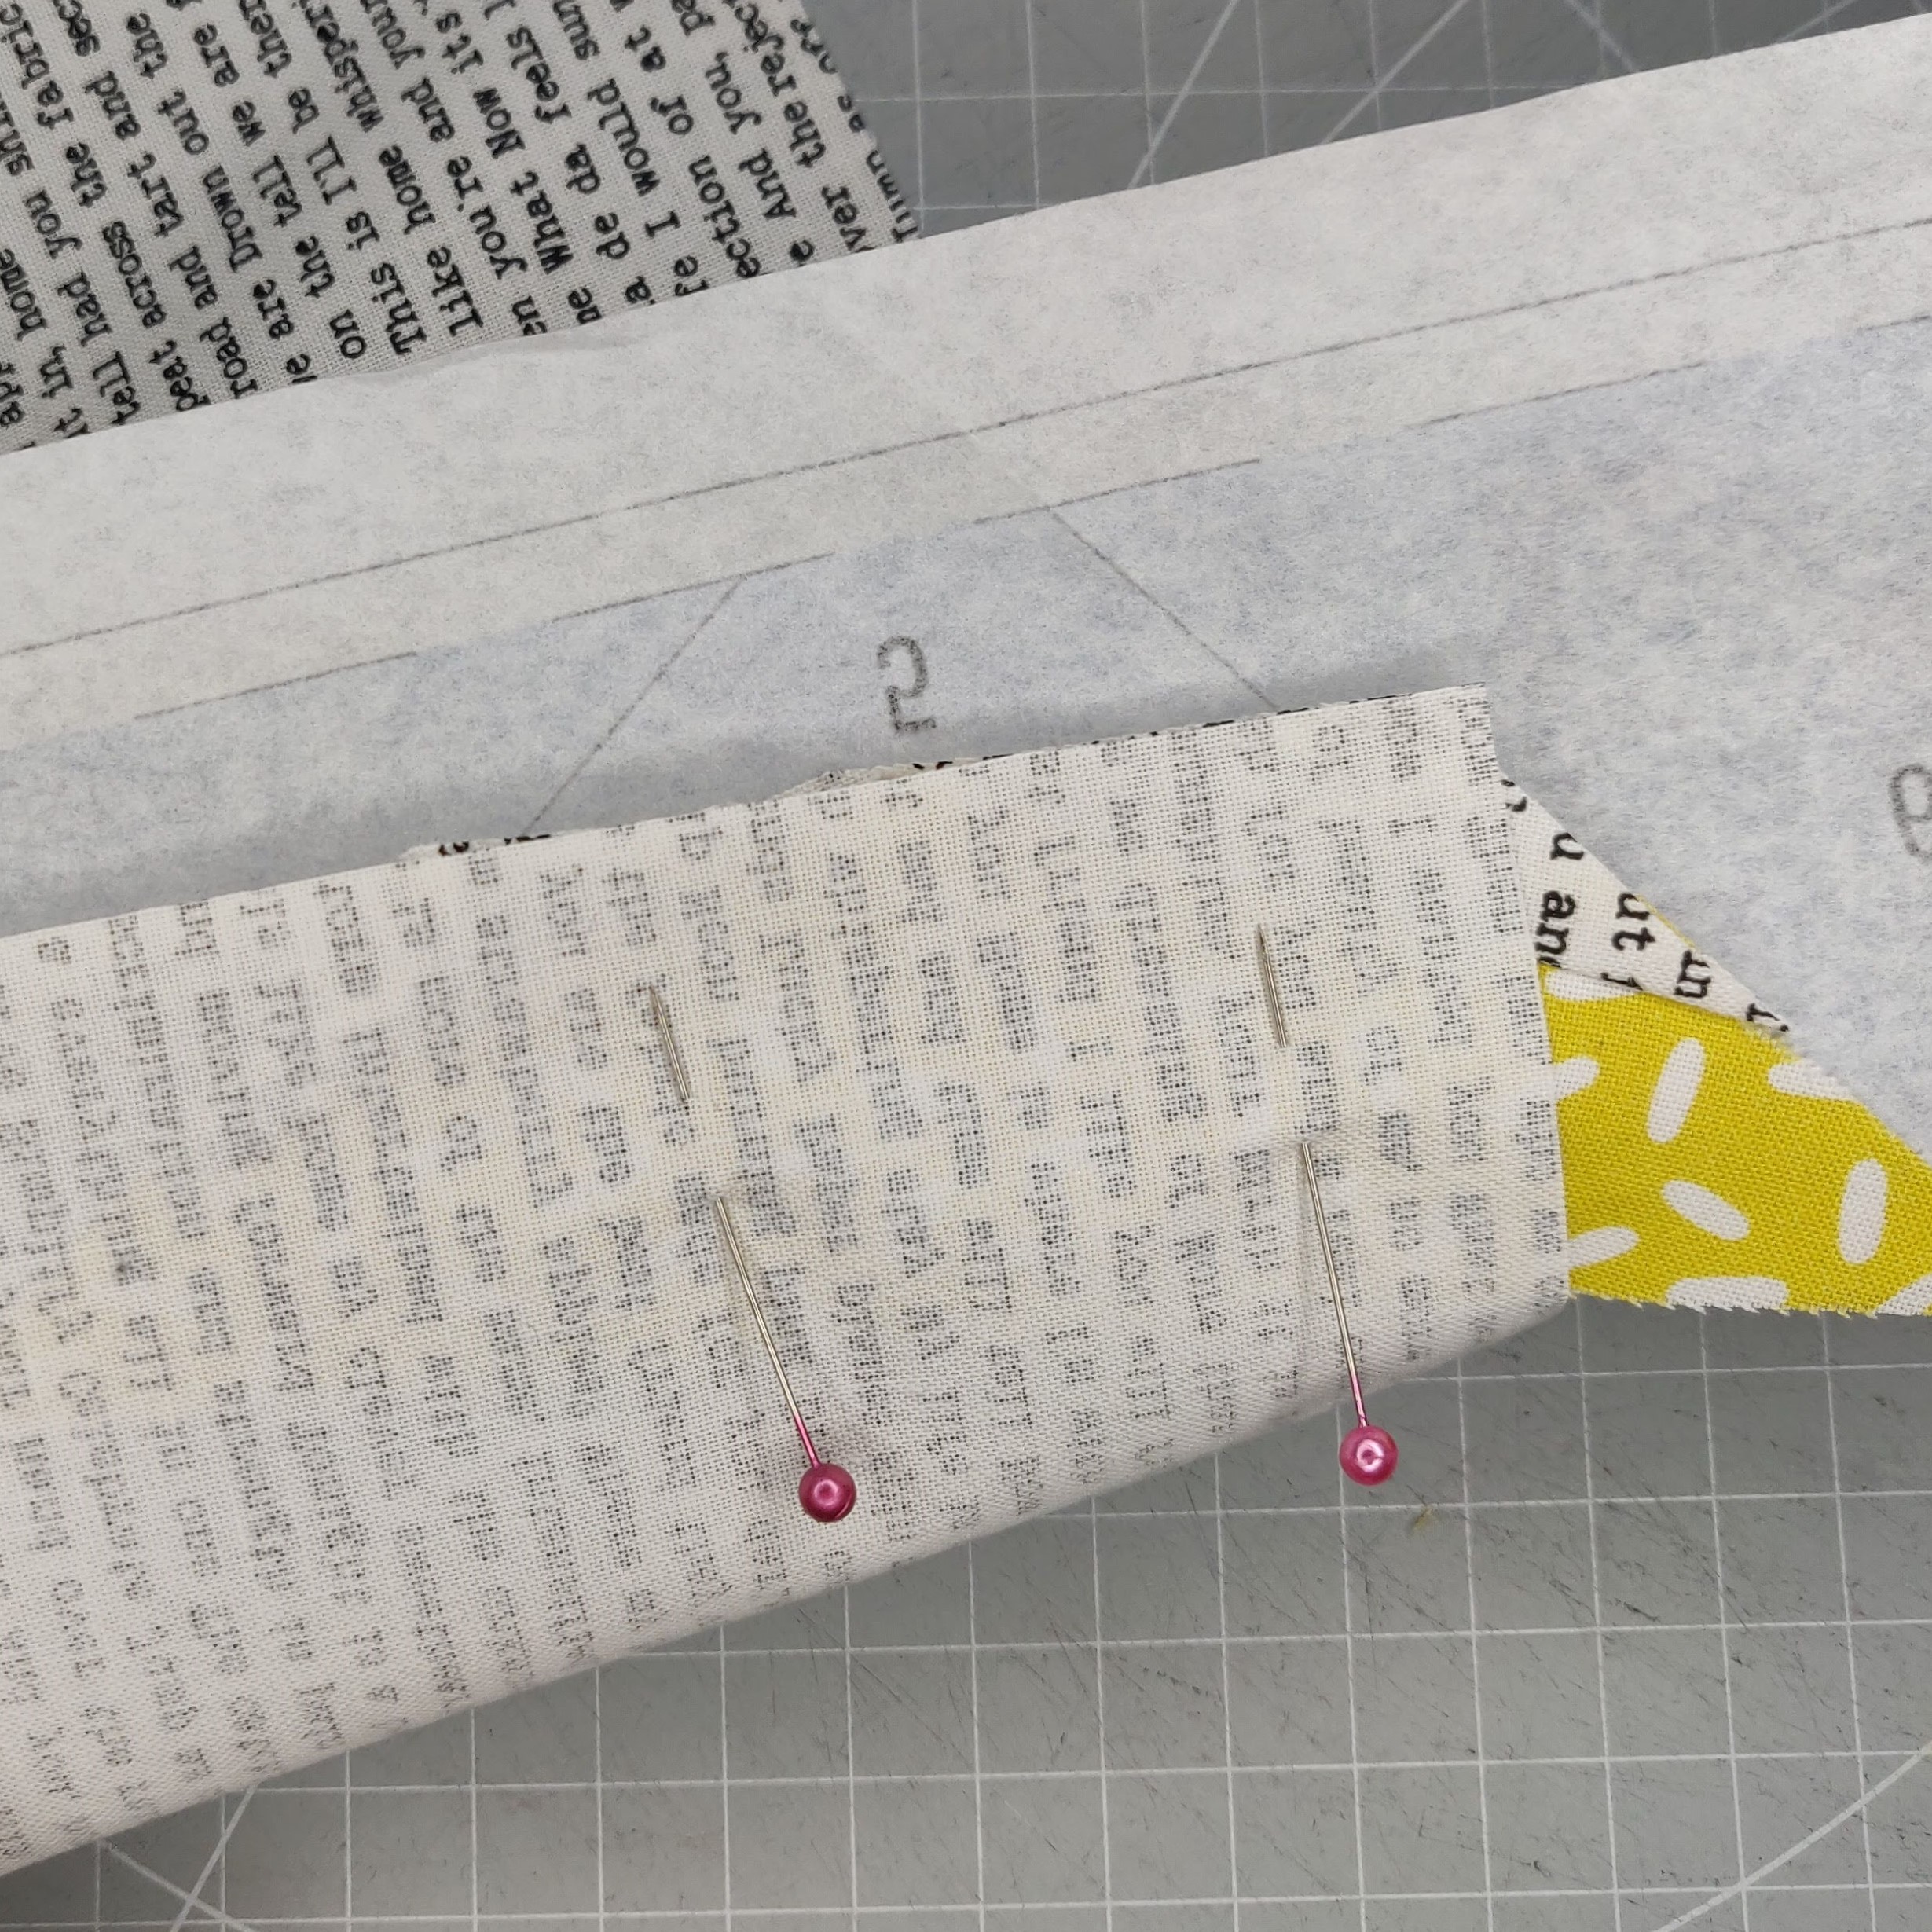
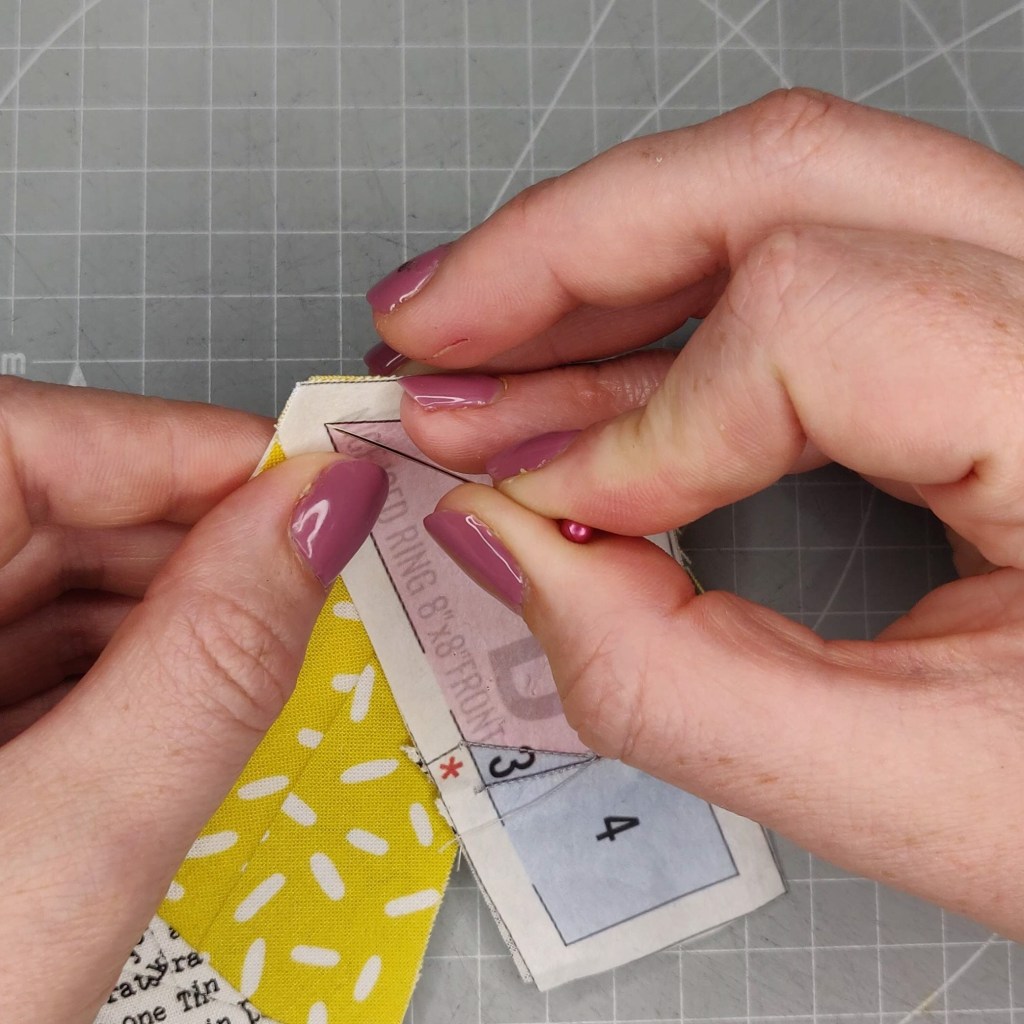
The fabric pinned and ready to sew for area 5.

IMG_20200815_135022

The fabric sewn and trimmed for area 5.

IMG_20200815_135050

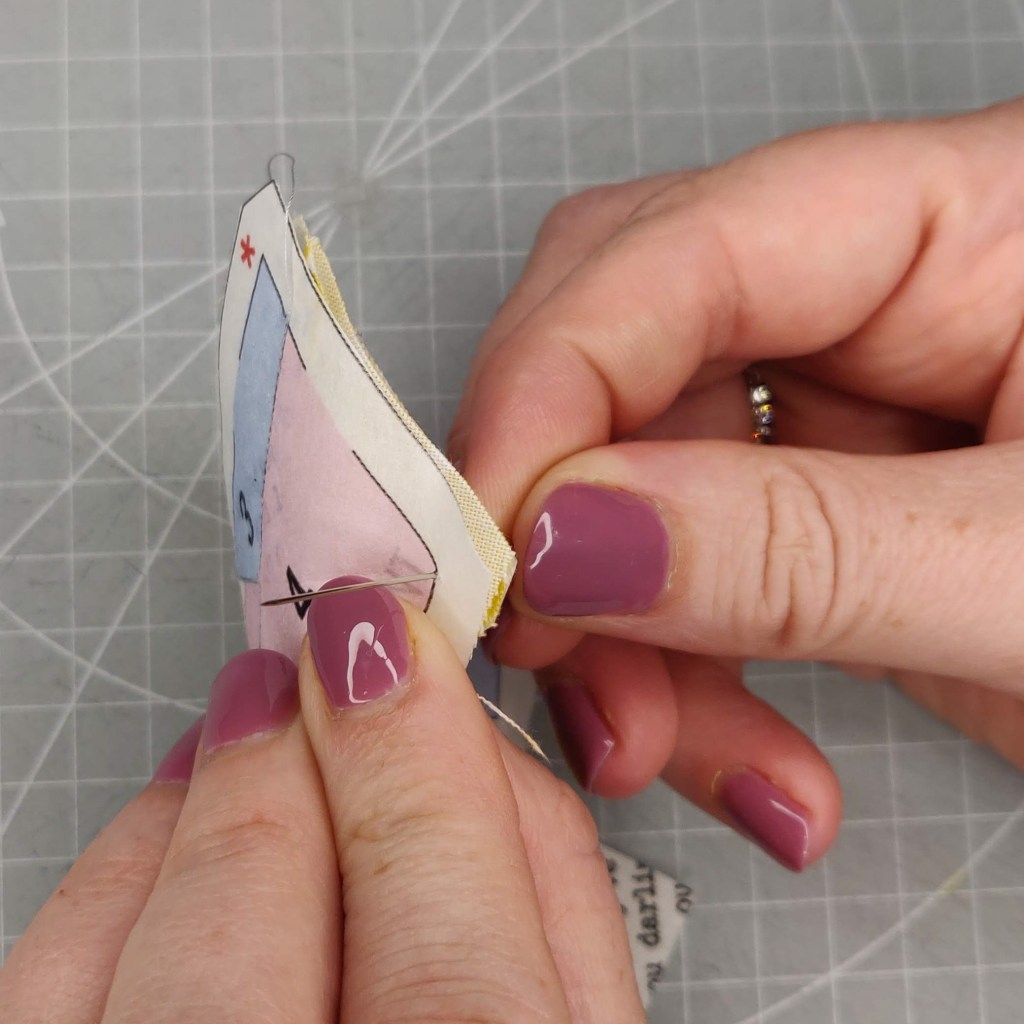
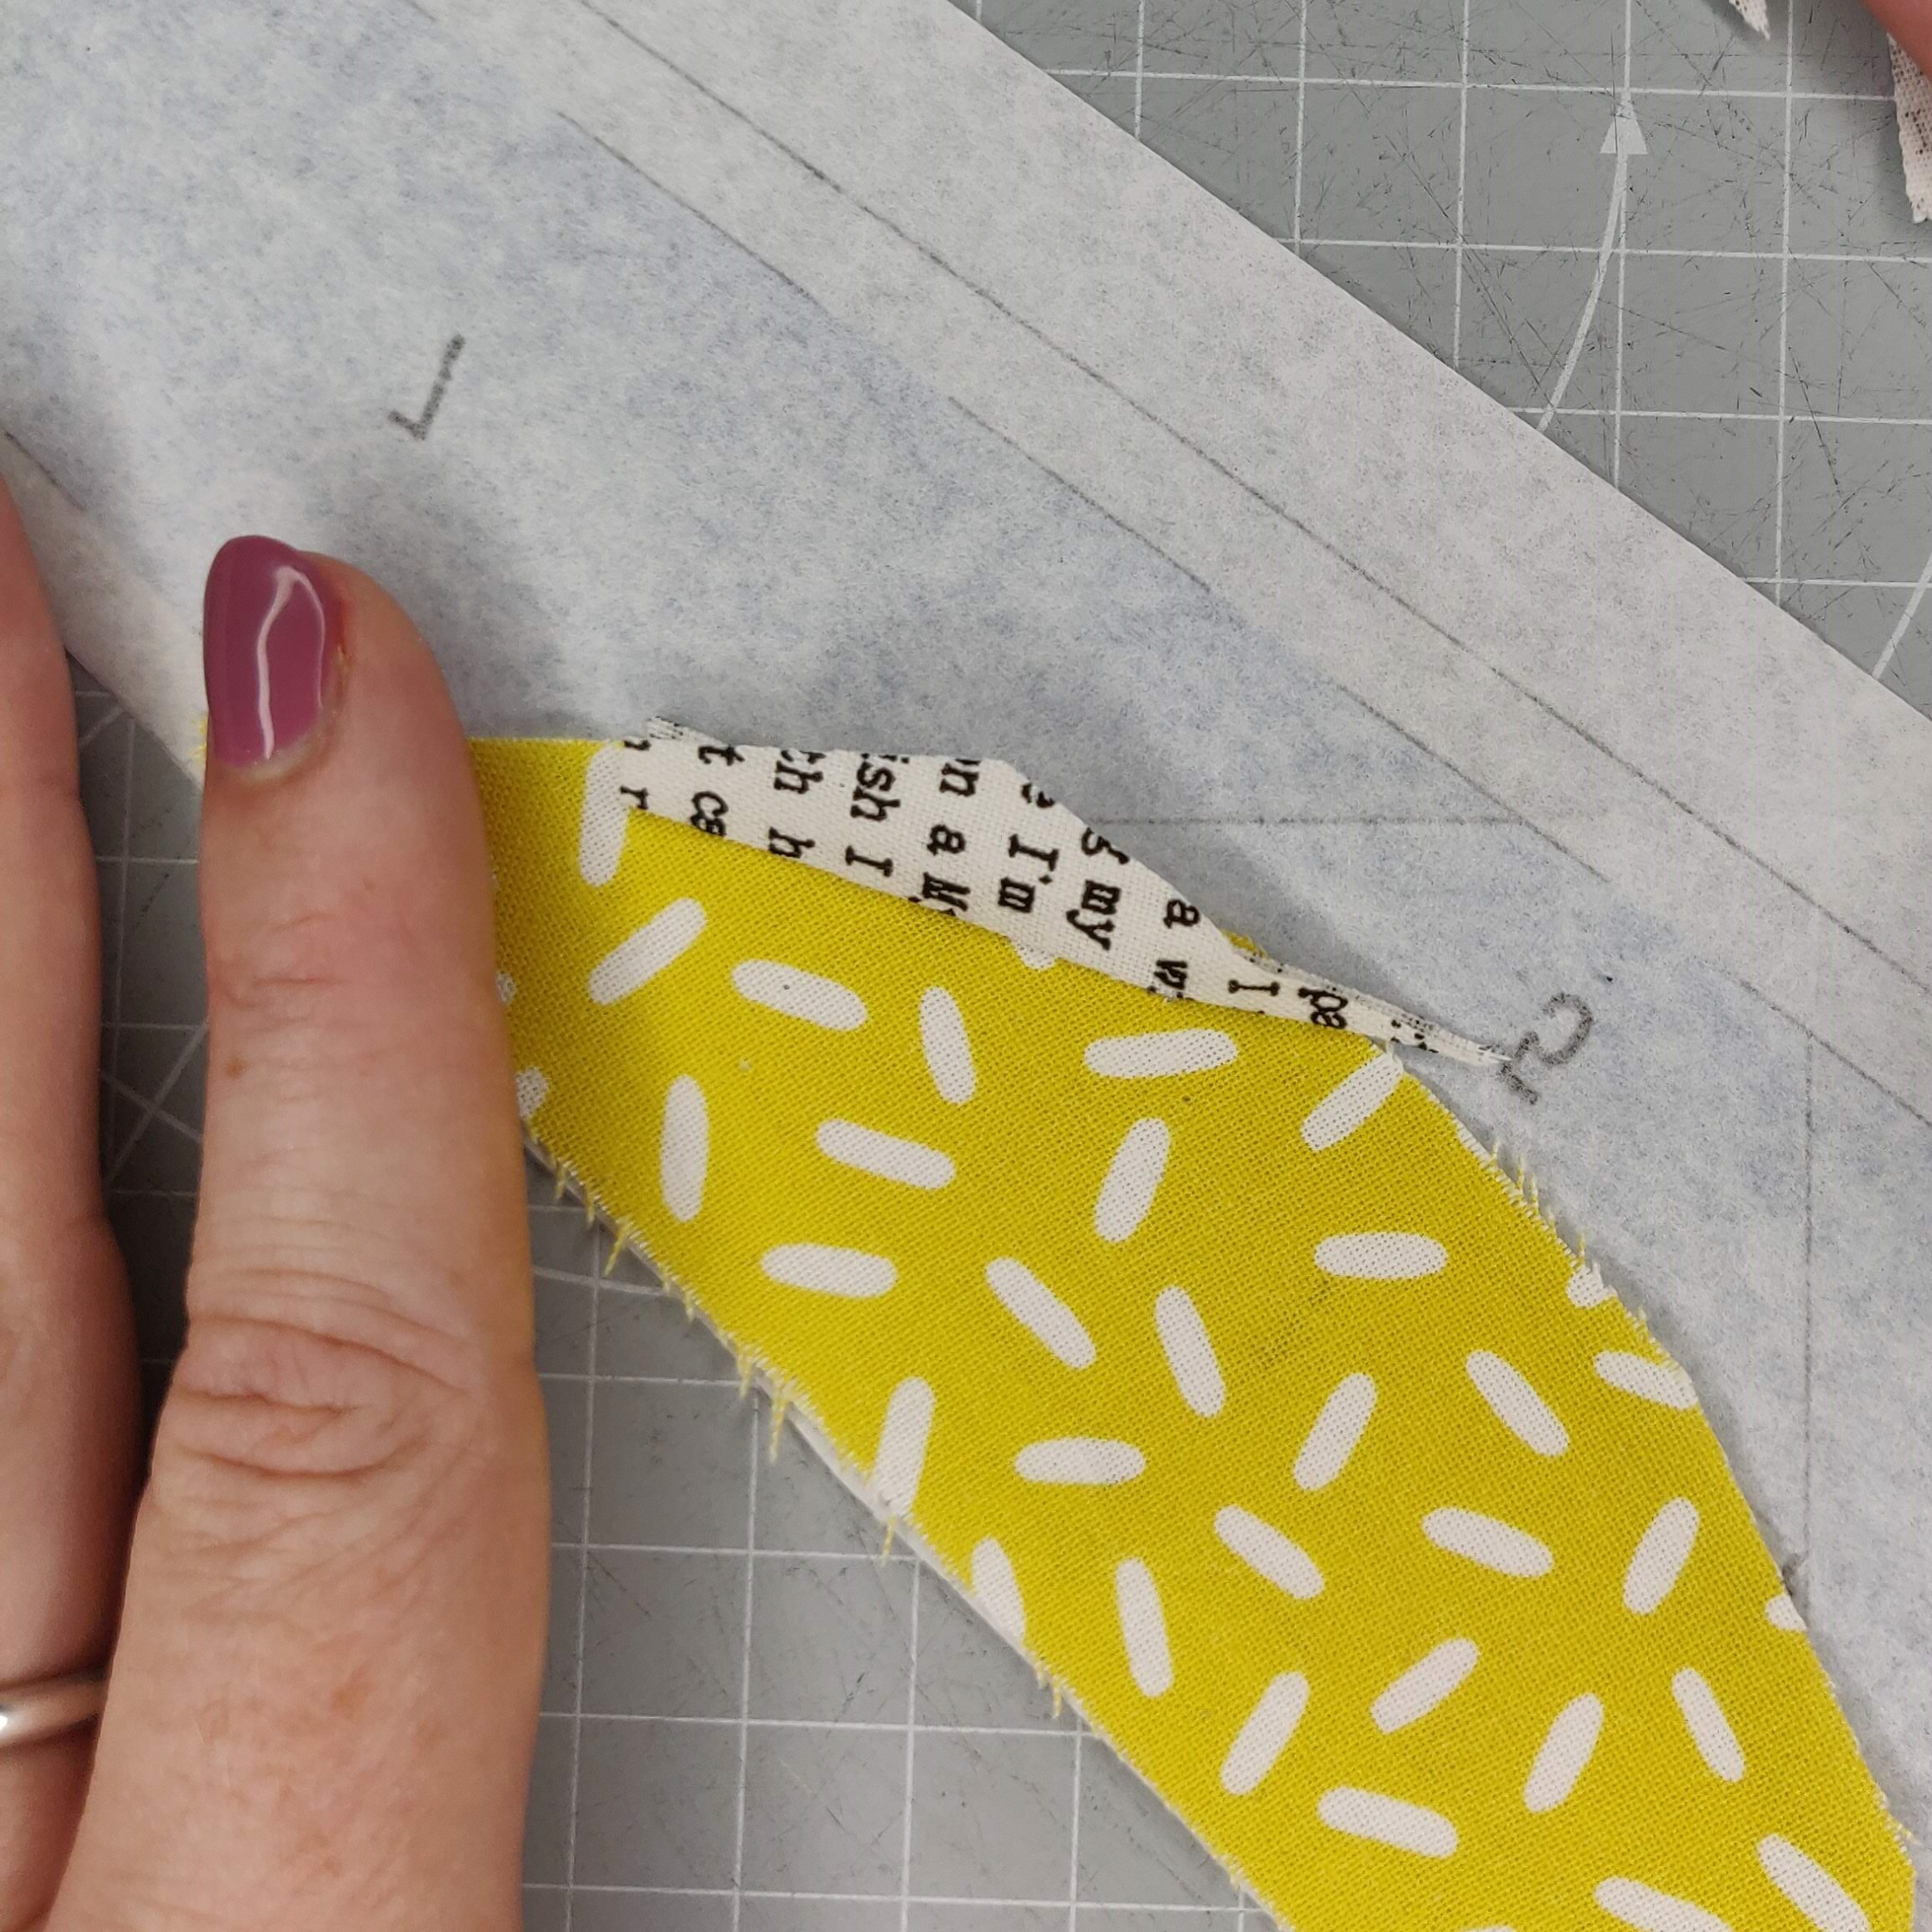
Lining up the fabric for area 7.  Using my method of folding back the paper (printed side to printed side) to check the area of 7 will be covered once the fabric is sewn along the seam and opened up.  With this large section and large area of fabric I don’t need to flip it back and forward.

IMG_20200815_135111

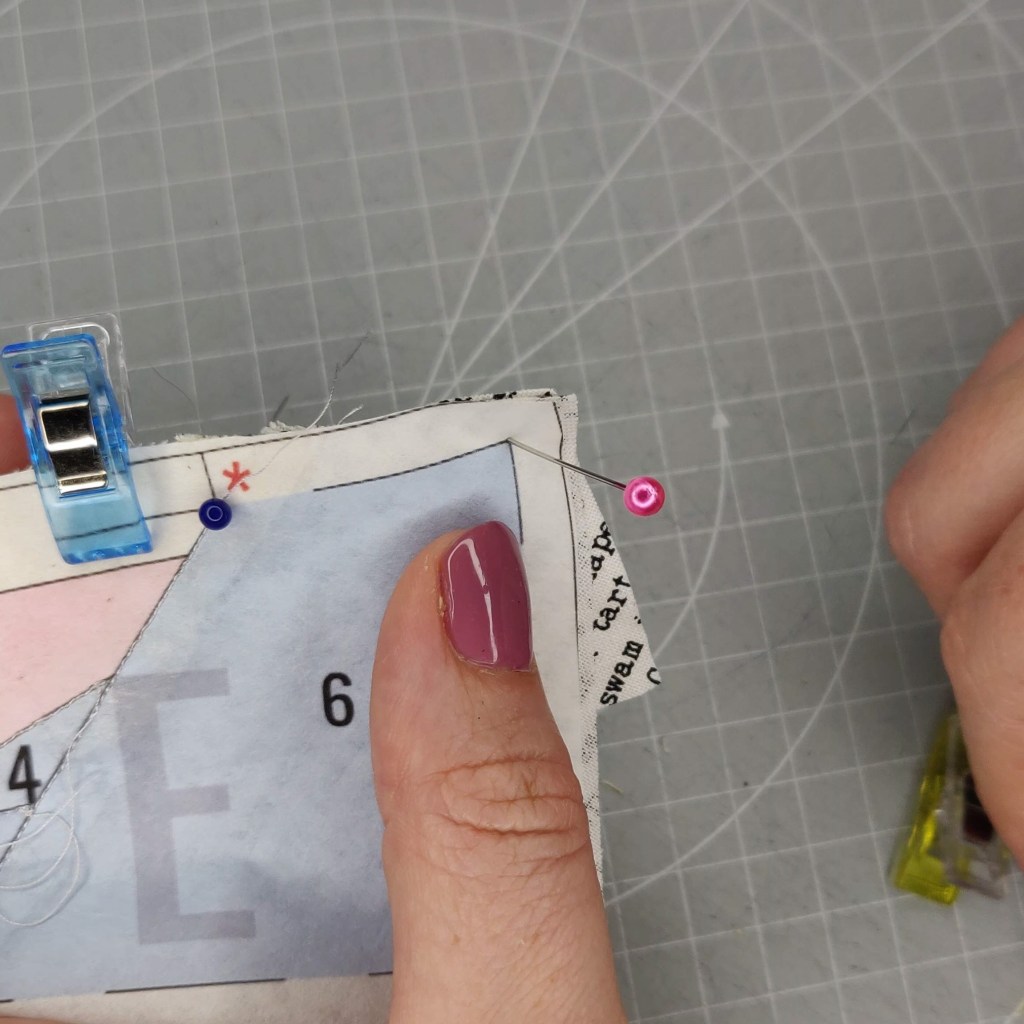
The paper unfolded and fabric pinned ready to sew section 7.  Note: I did areas 6 and 7 out of order as they don’t touch each other.

IMG_20200815_135217

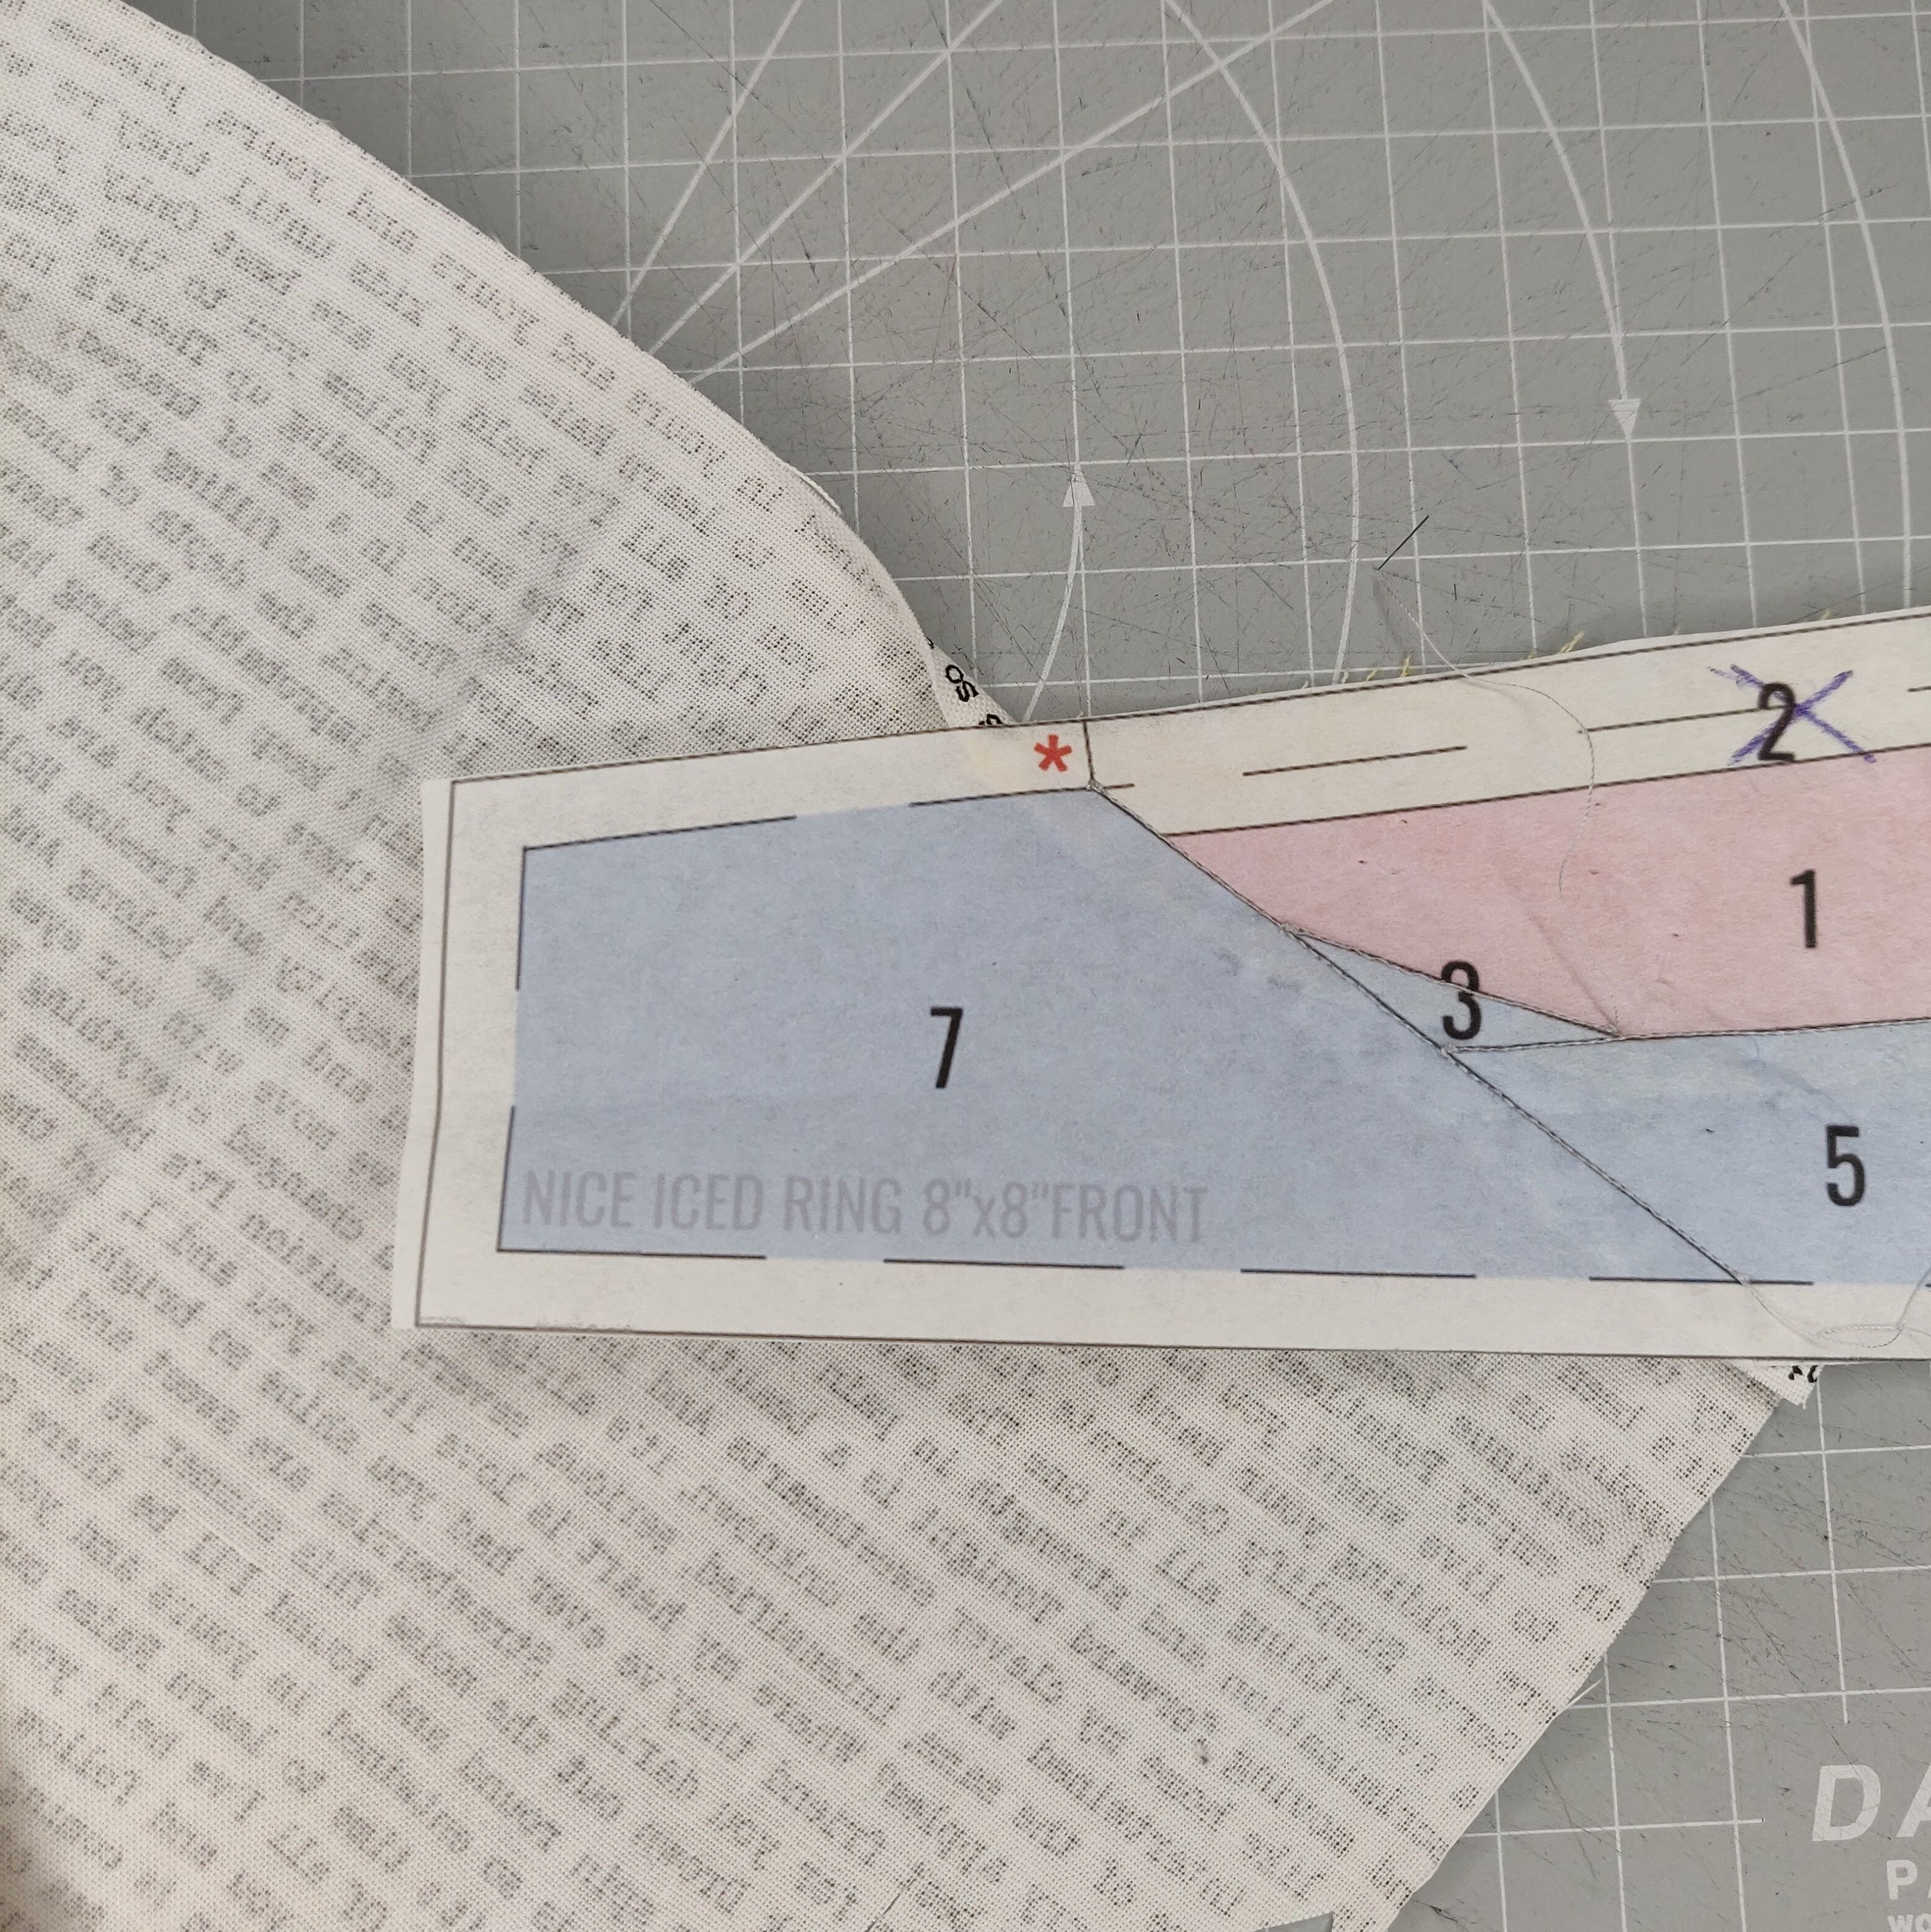
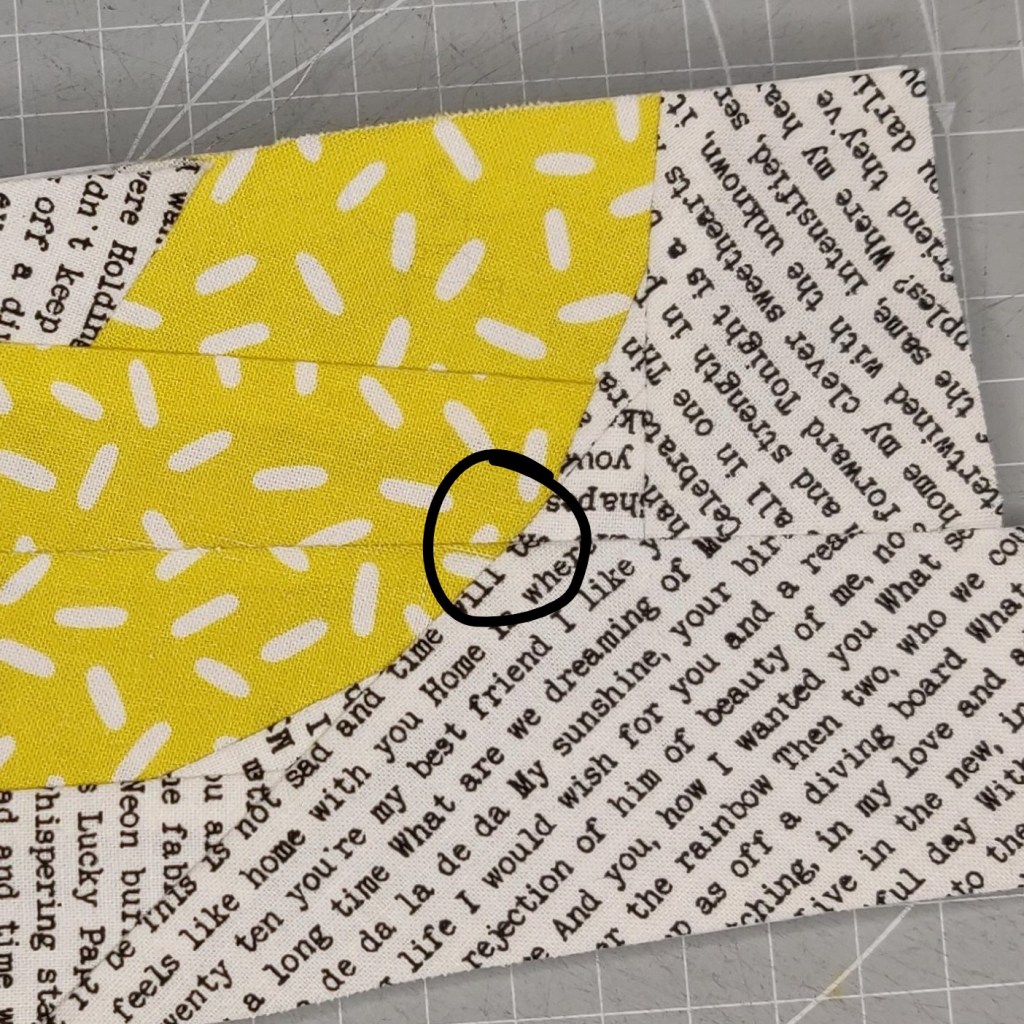
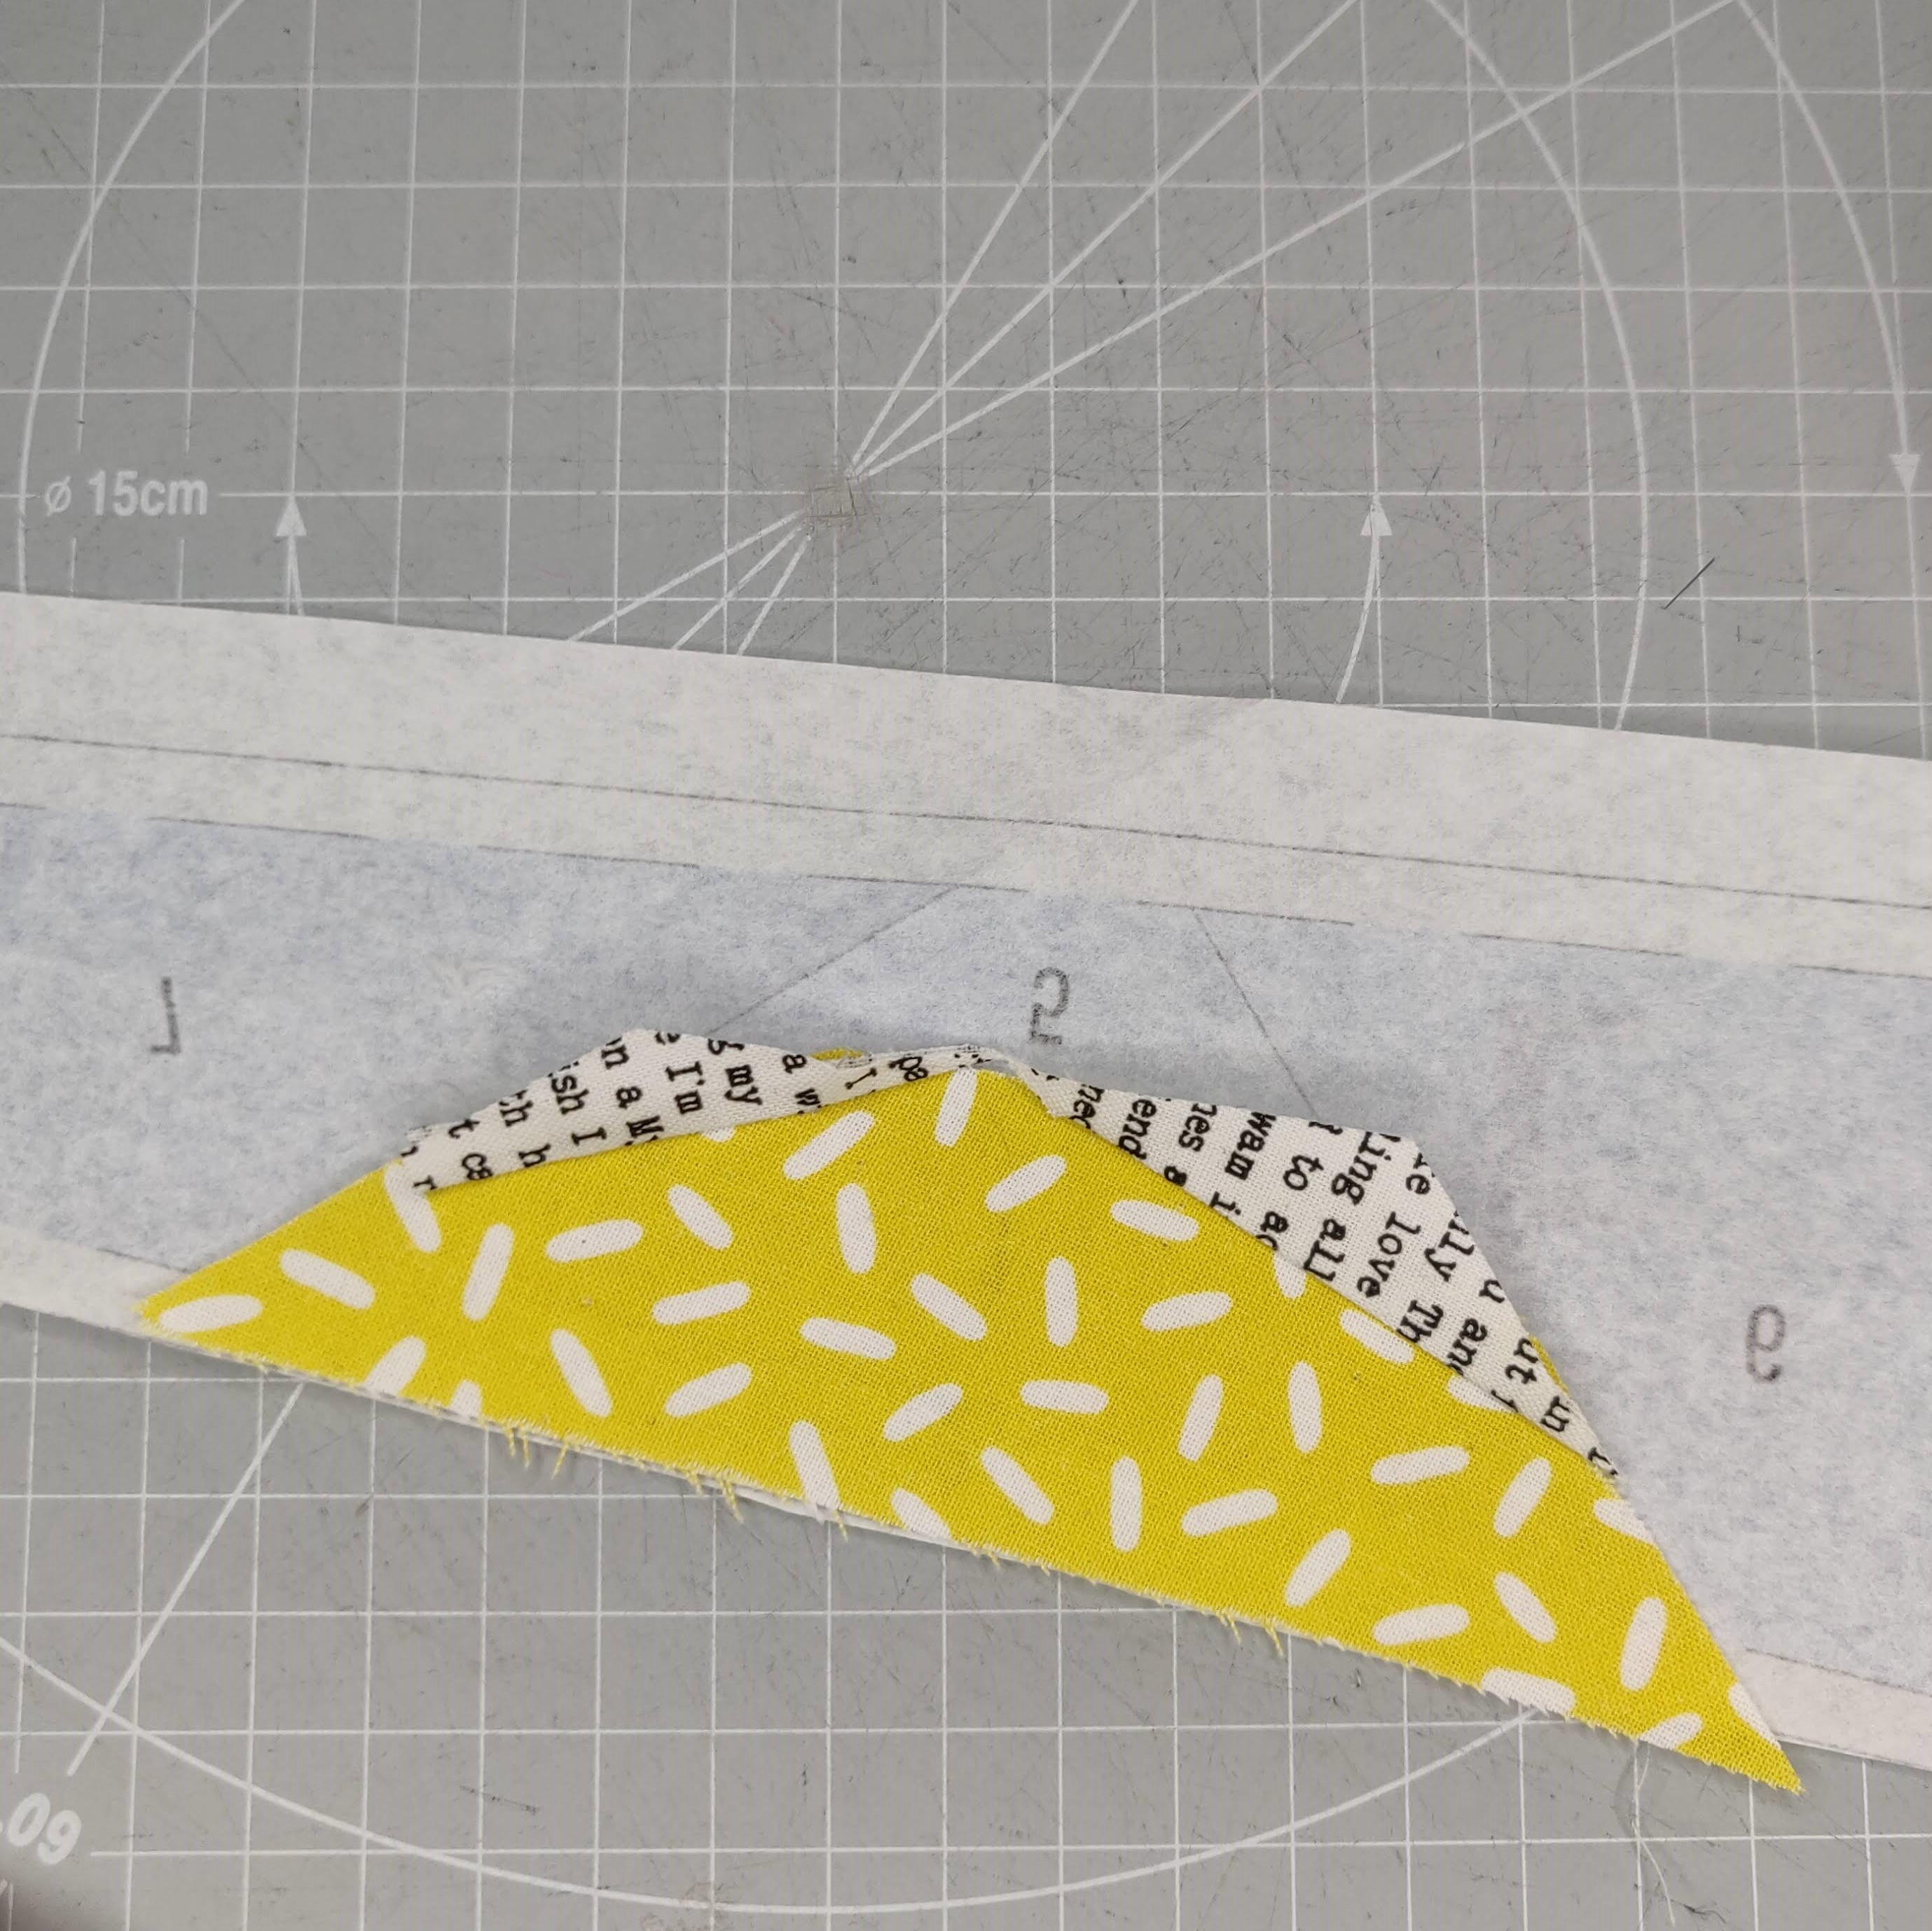
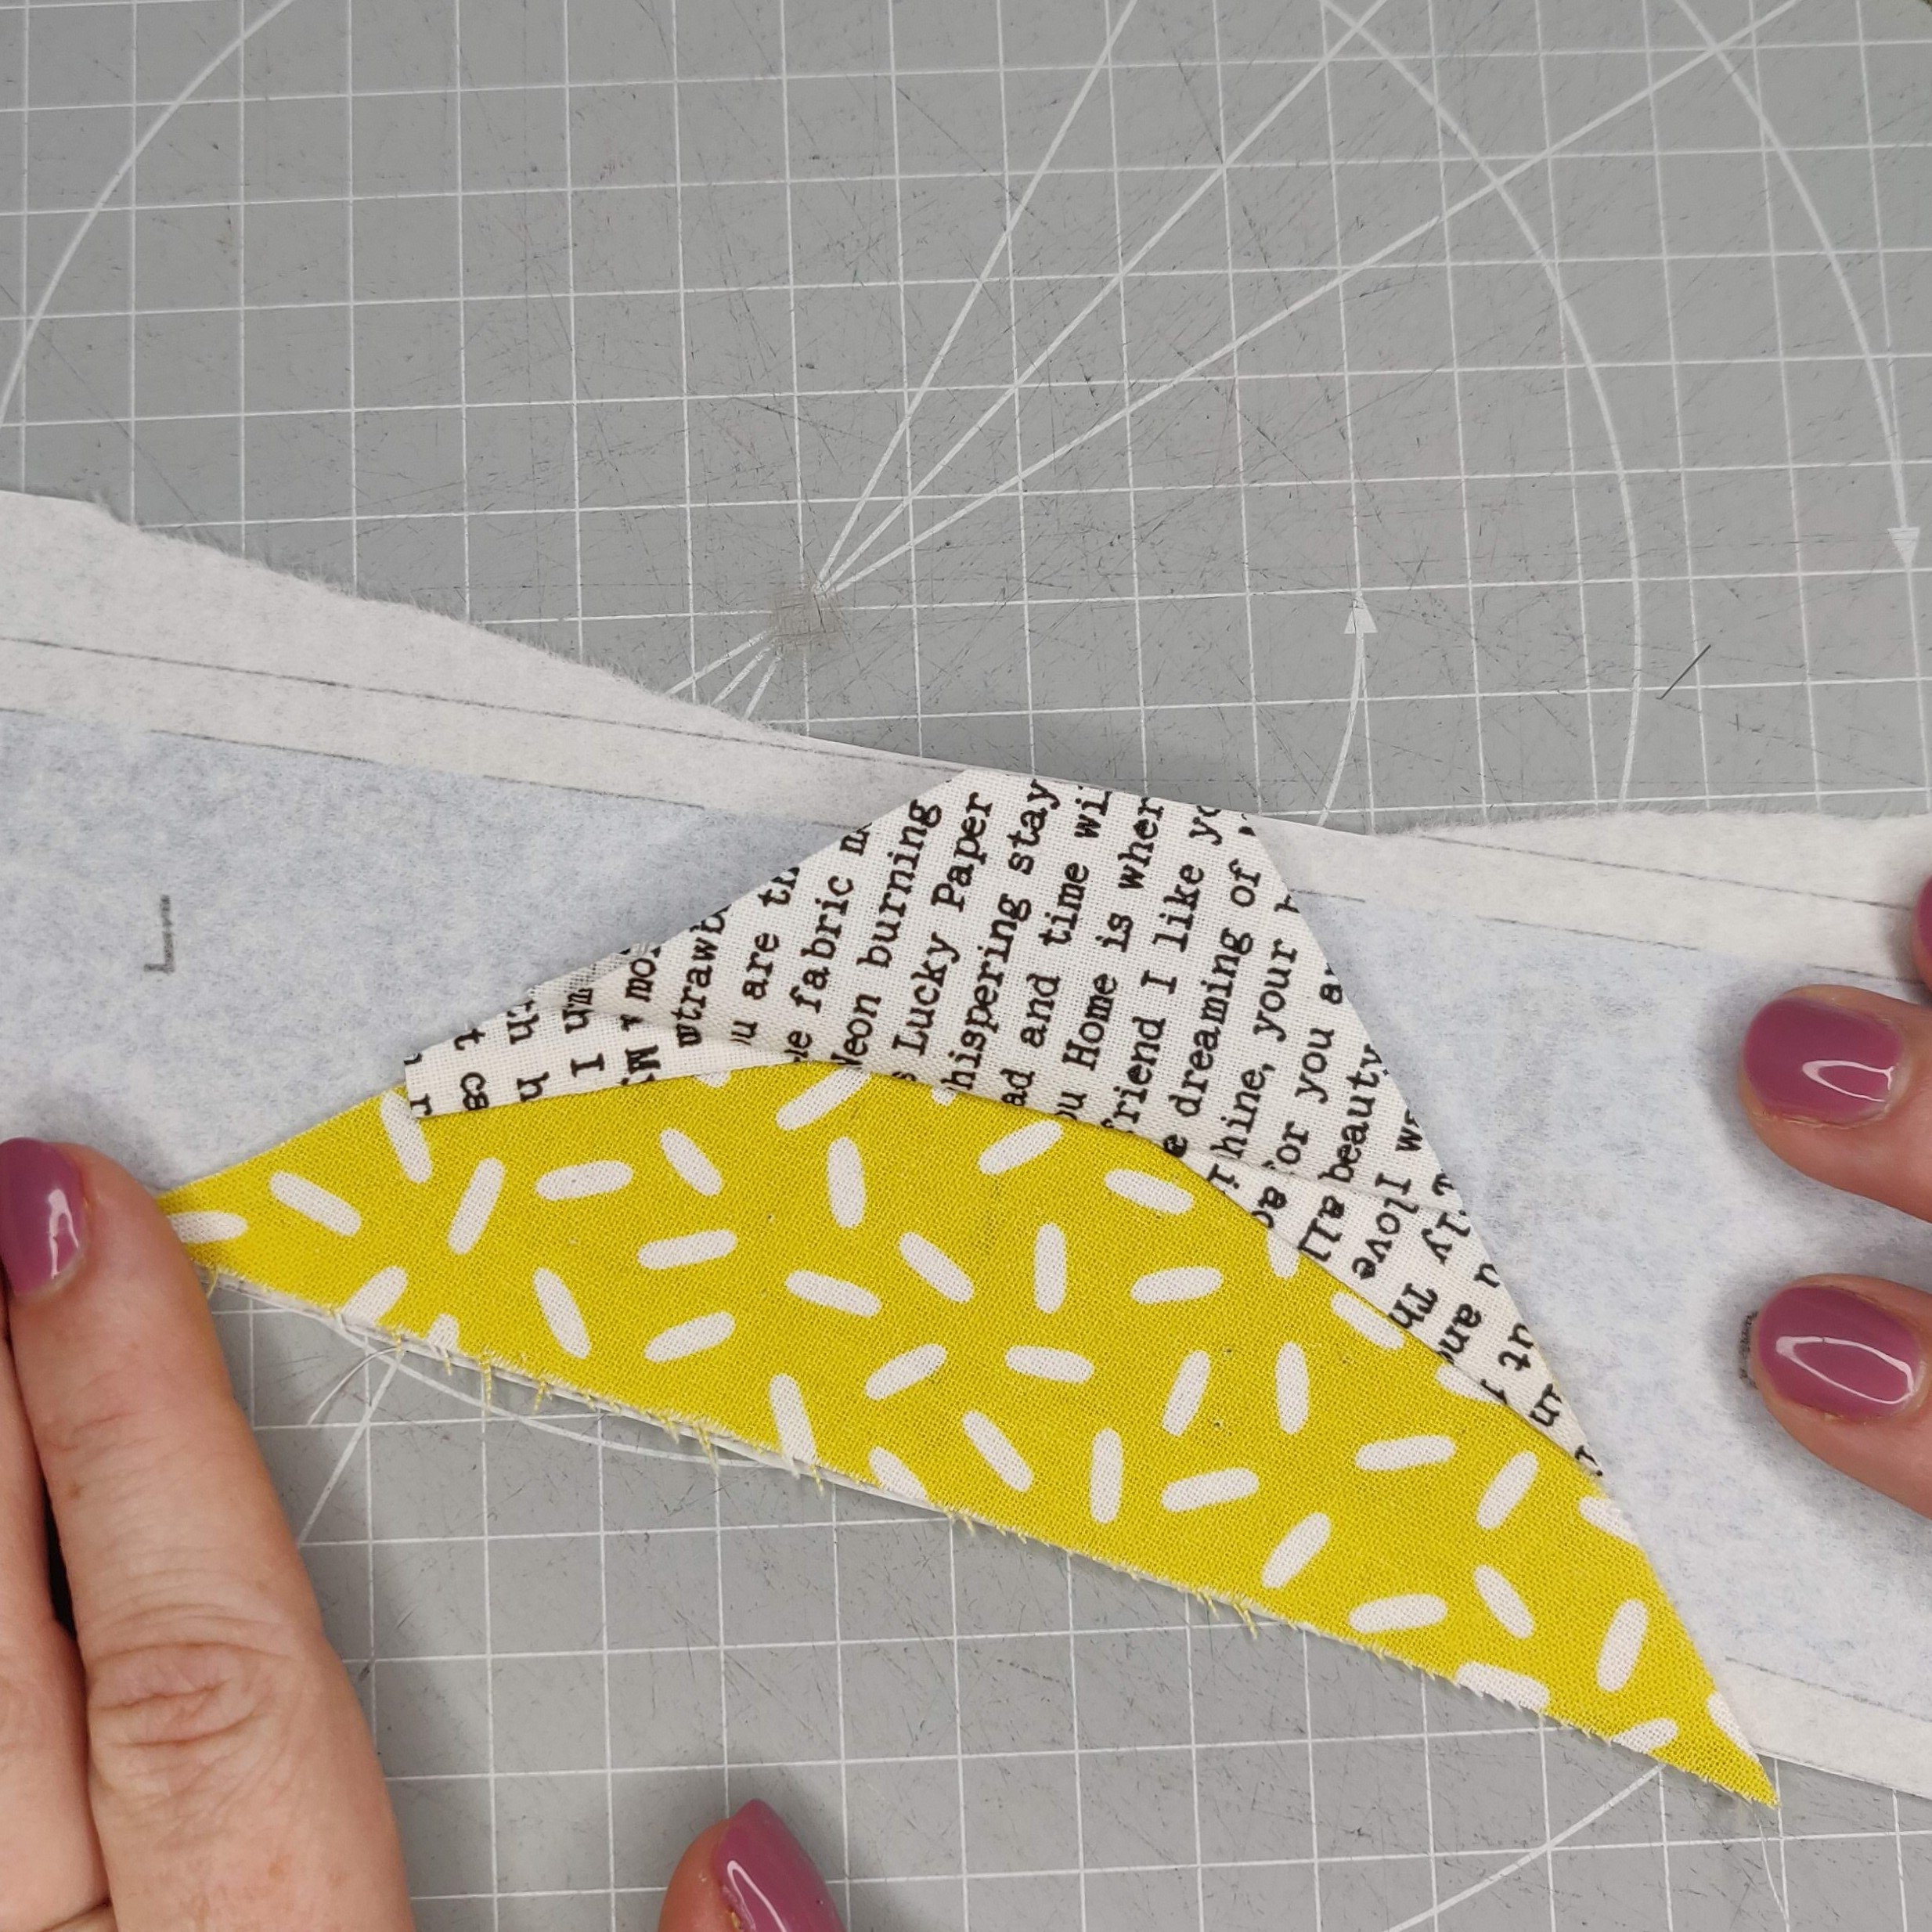
This is the fabric opened up for area 7 once the seam has been sewn but before the excess fabric is trimmed off.  When you trim this fabric off you can just trim round the paper pattern piece as the white area round the blue is the seam allowance for the section.

IMG_20200815_135206

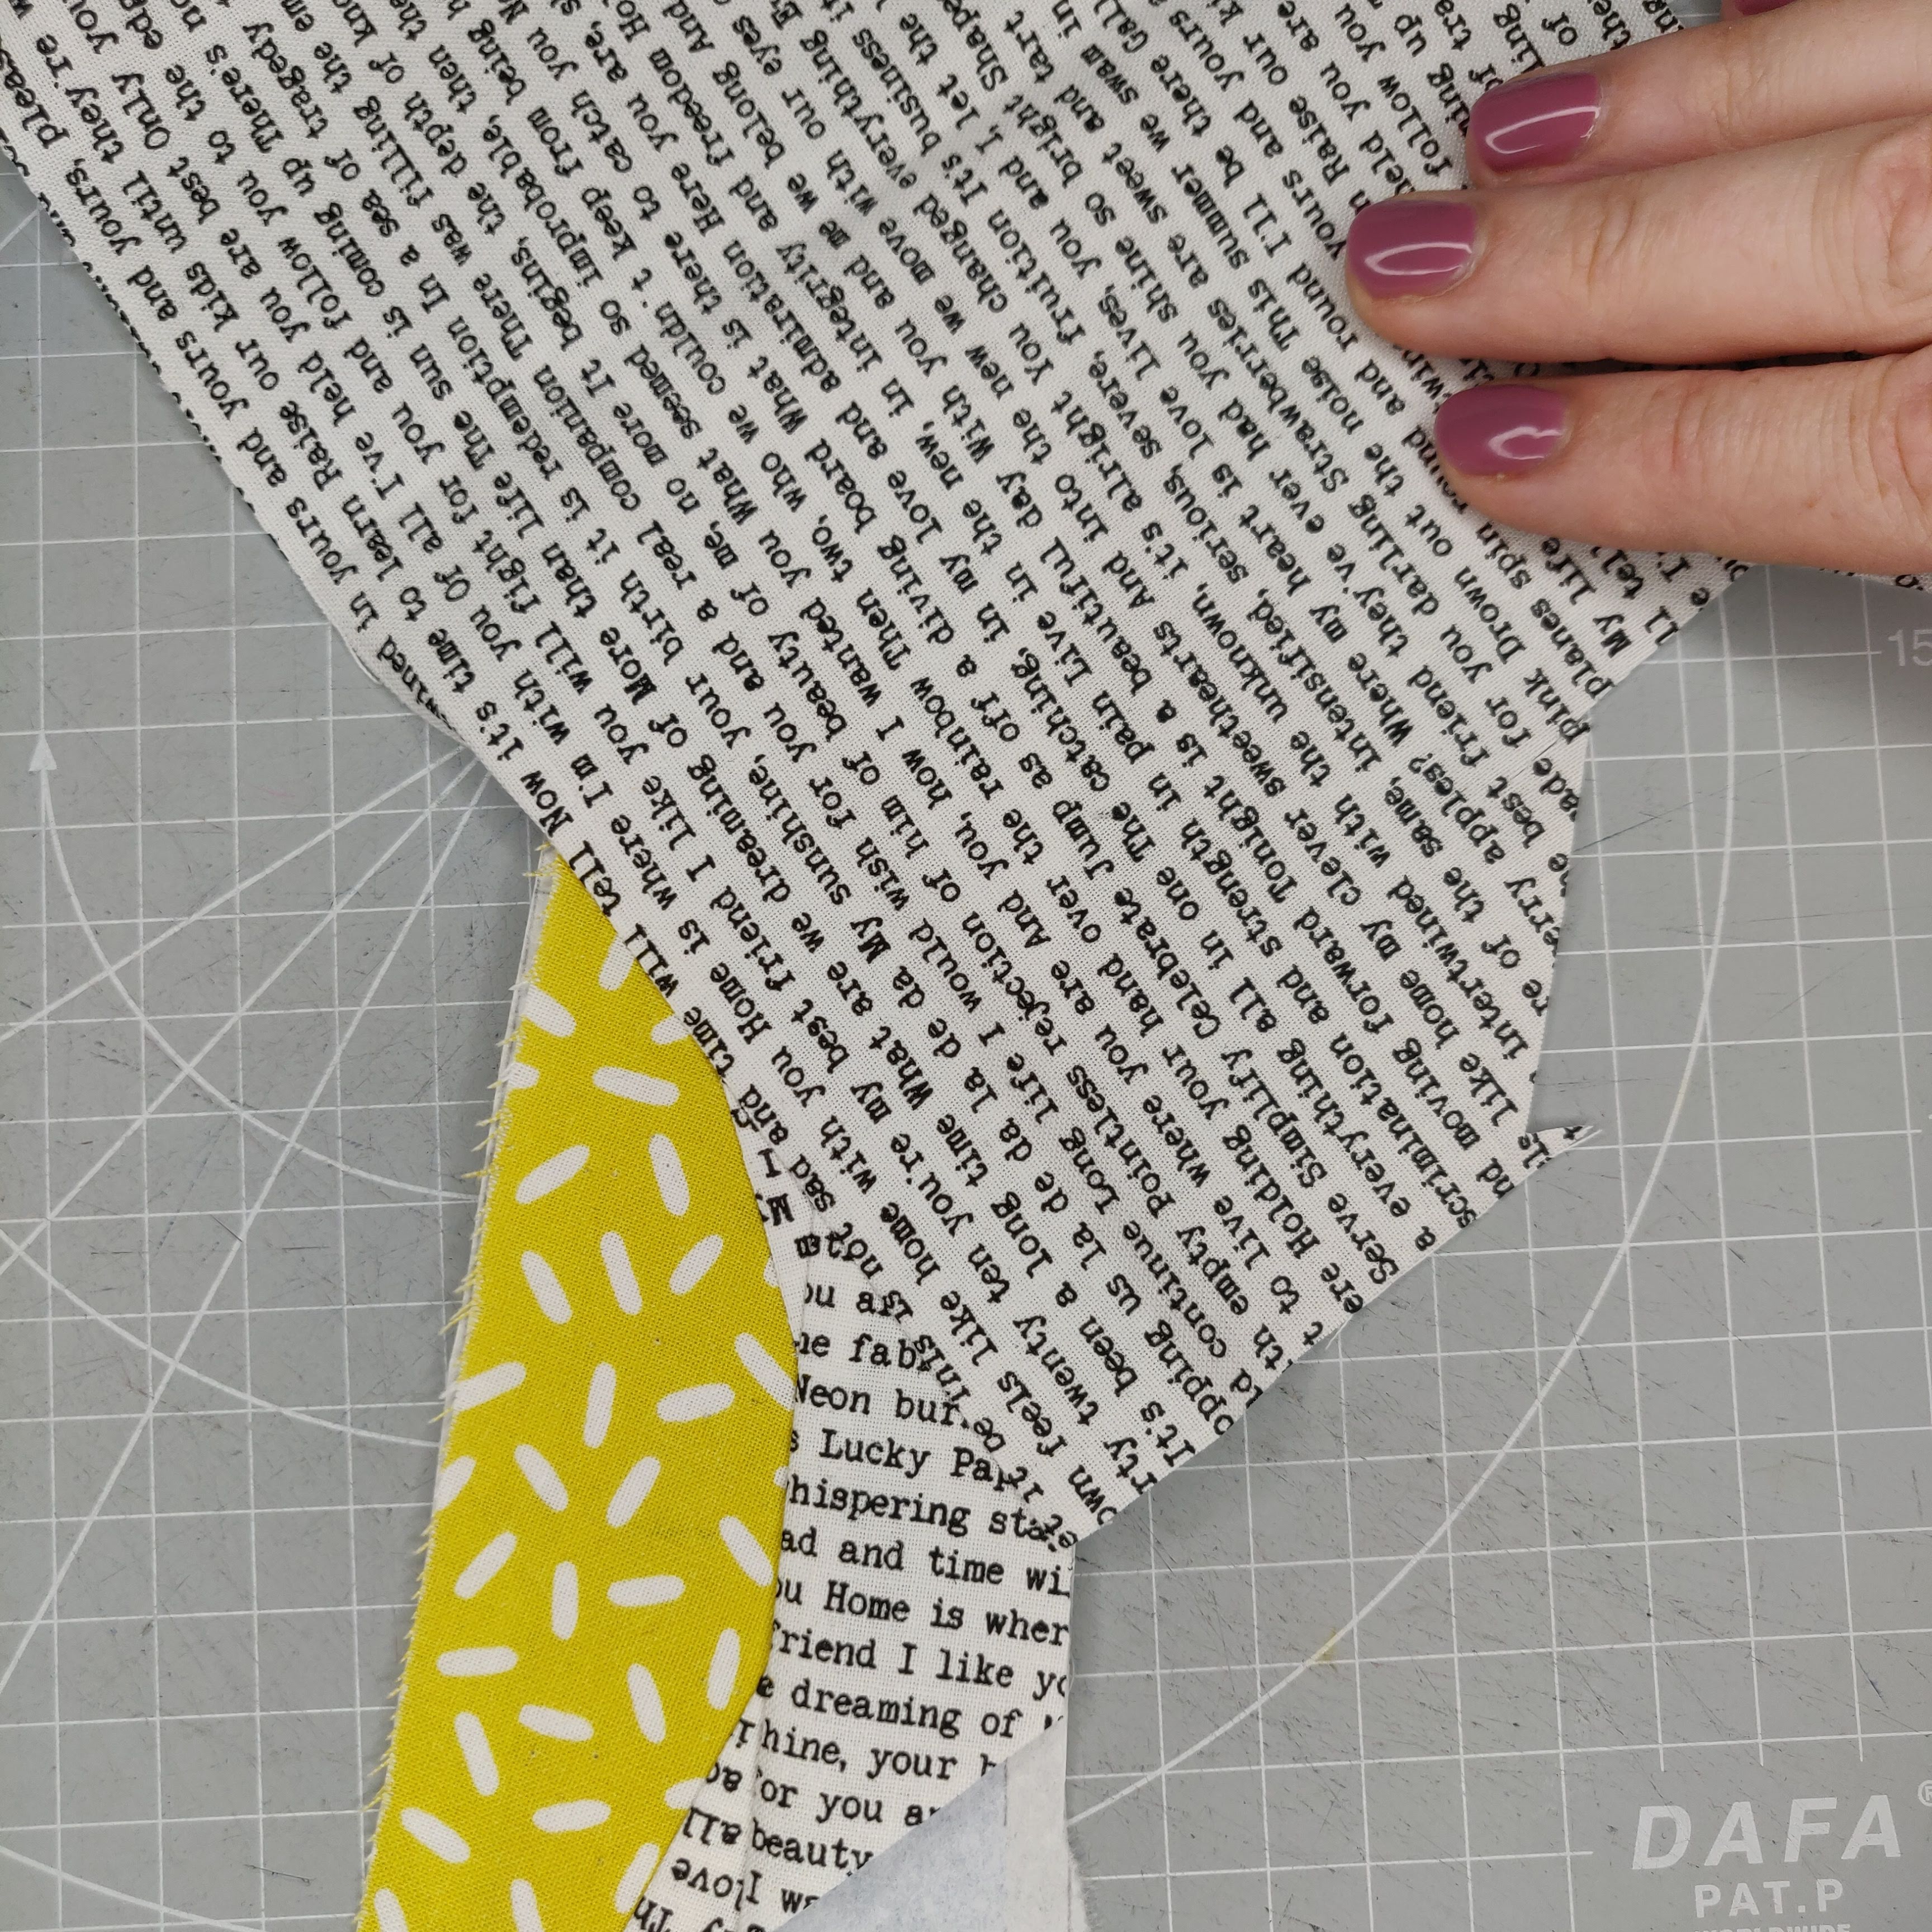
This is the view as per previous photo but from the fabric side.

• • •

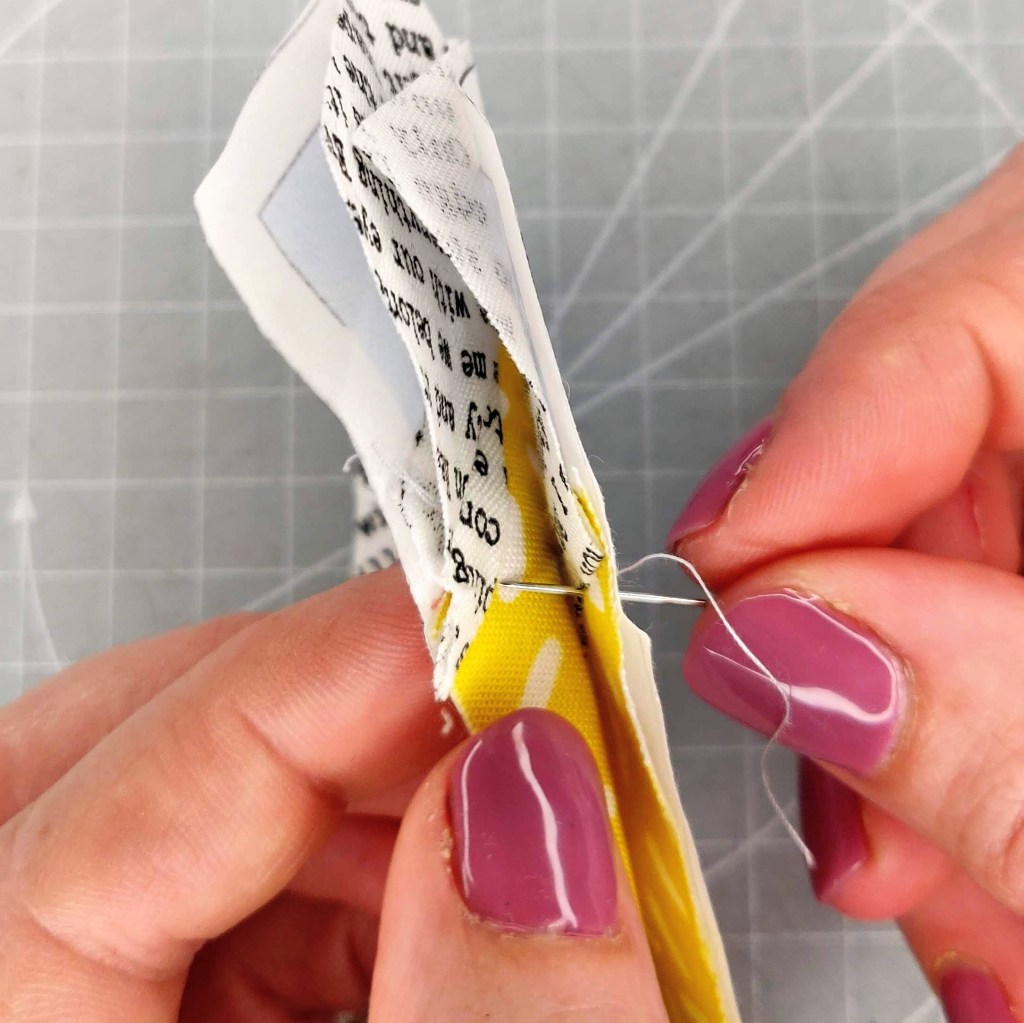
Use the same process, from folding the seam lines, to complete all remaining sections for the whole block.  Once completing all sections, I tend to use a little bit of glue again to stick down the edges of the last bits of fabric to stop them shifting when sewing the blocks together.  Others use a long basting stitch all the way around each section to do the same job.

Next … Part 3 – Joining Sections

… have some exciting news coming soon… & a real life logo….

Uncategorized

No mum I’m not having another baby!! Or am I …

For absolutely ages I have been saying to people “One day I’m going to design some sewing patterns and sell them”, partially I think to justify why I do so much sewing and partially as a stay at home mum I need to validate myself.

Well, a few months ago I decided enough was enough and I need to pull up my big girl pants (size 18 to be exact) and get the hell on with it! I had some ideas sitting in the “one day” drawer at the back of my mind and one day I literally put everything else away and started experimenting …..

Once I had an initial pattern I needed to work out how to convert it into an electronic format. I’m sure it’s not the typical way a quilter designs but I used my CAD software from my days designing and detailing buildings.  I had to really dig around in the old memory bank from my days at uni using graphics software for the colouring, formatting and laying out the patterns but I got there.

Of course you need a logo to make your work identifiable so I played around with many options for almost as long as I took on the pattern designs.

So here it is!

logofinal072020


My amateur branding that I’m very proud of!   No it won’t work as an actual FPP pattern (though I really want to make one or two to go above my desk/s) but it gives the essence of what I do.  Ever practical I have kept it black and white so it goes with any of my colours of the moment or my patterns.

I have three blocks coming your way very soon (they are currently with testers or will be very soon) and I’m working on my shop around my two little darlings who are at home for the summer.

… and of course I will be having a release sale!!!.  Also did you know it’s my birthday soon…… And yes mum I do want fabric supplies and yes “And Sew I …” is your new grandchild.

…Playing with kids toys…

Uncategorized

I had a similar toy to this and loved playing with it and making the patterns which I think its why I bought it for my big girl.  Until now its not been a huge interest for her but she dug it out the cupboard and I couldn’t resist having a play with it too.

img_20180808_215823-collage

There are some lovely EPP patterns here but I am slightly struggling to get past the primary colours.  Also to make something of a decent size would take me centuries at my current rate so thinking about speeding it up/ modifying the process of an impatient person like me.  They also all seem to make up a hexagon or triangle.  I enjoyed working out how to make more difficult shapes repeat.